Kaidan QuickPan IV Detent Discs
Recently I've been getting back into panoramic photography. It's been a lot of fun, after perhaps a decade long hiatus, to capture spherical panoramas again. I picked up a mint condition Kaidan QuickPan IV tripod head with Spherical Bracket to relive my early 00's QTVR days, while securely mounting my new Nikon D810 camera when capturing photos.
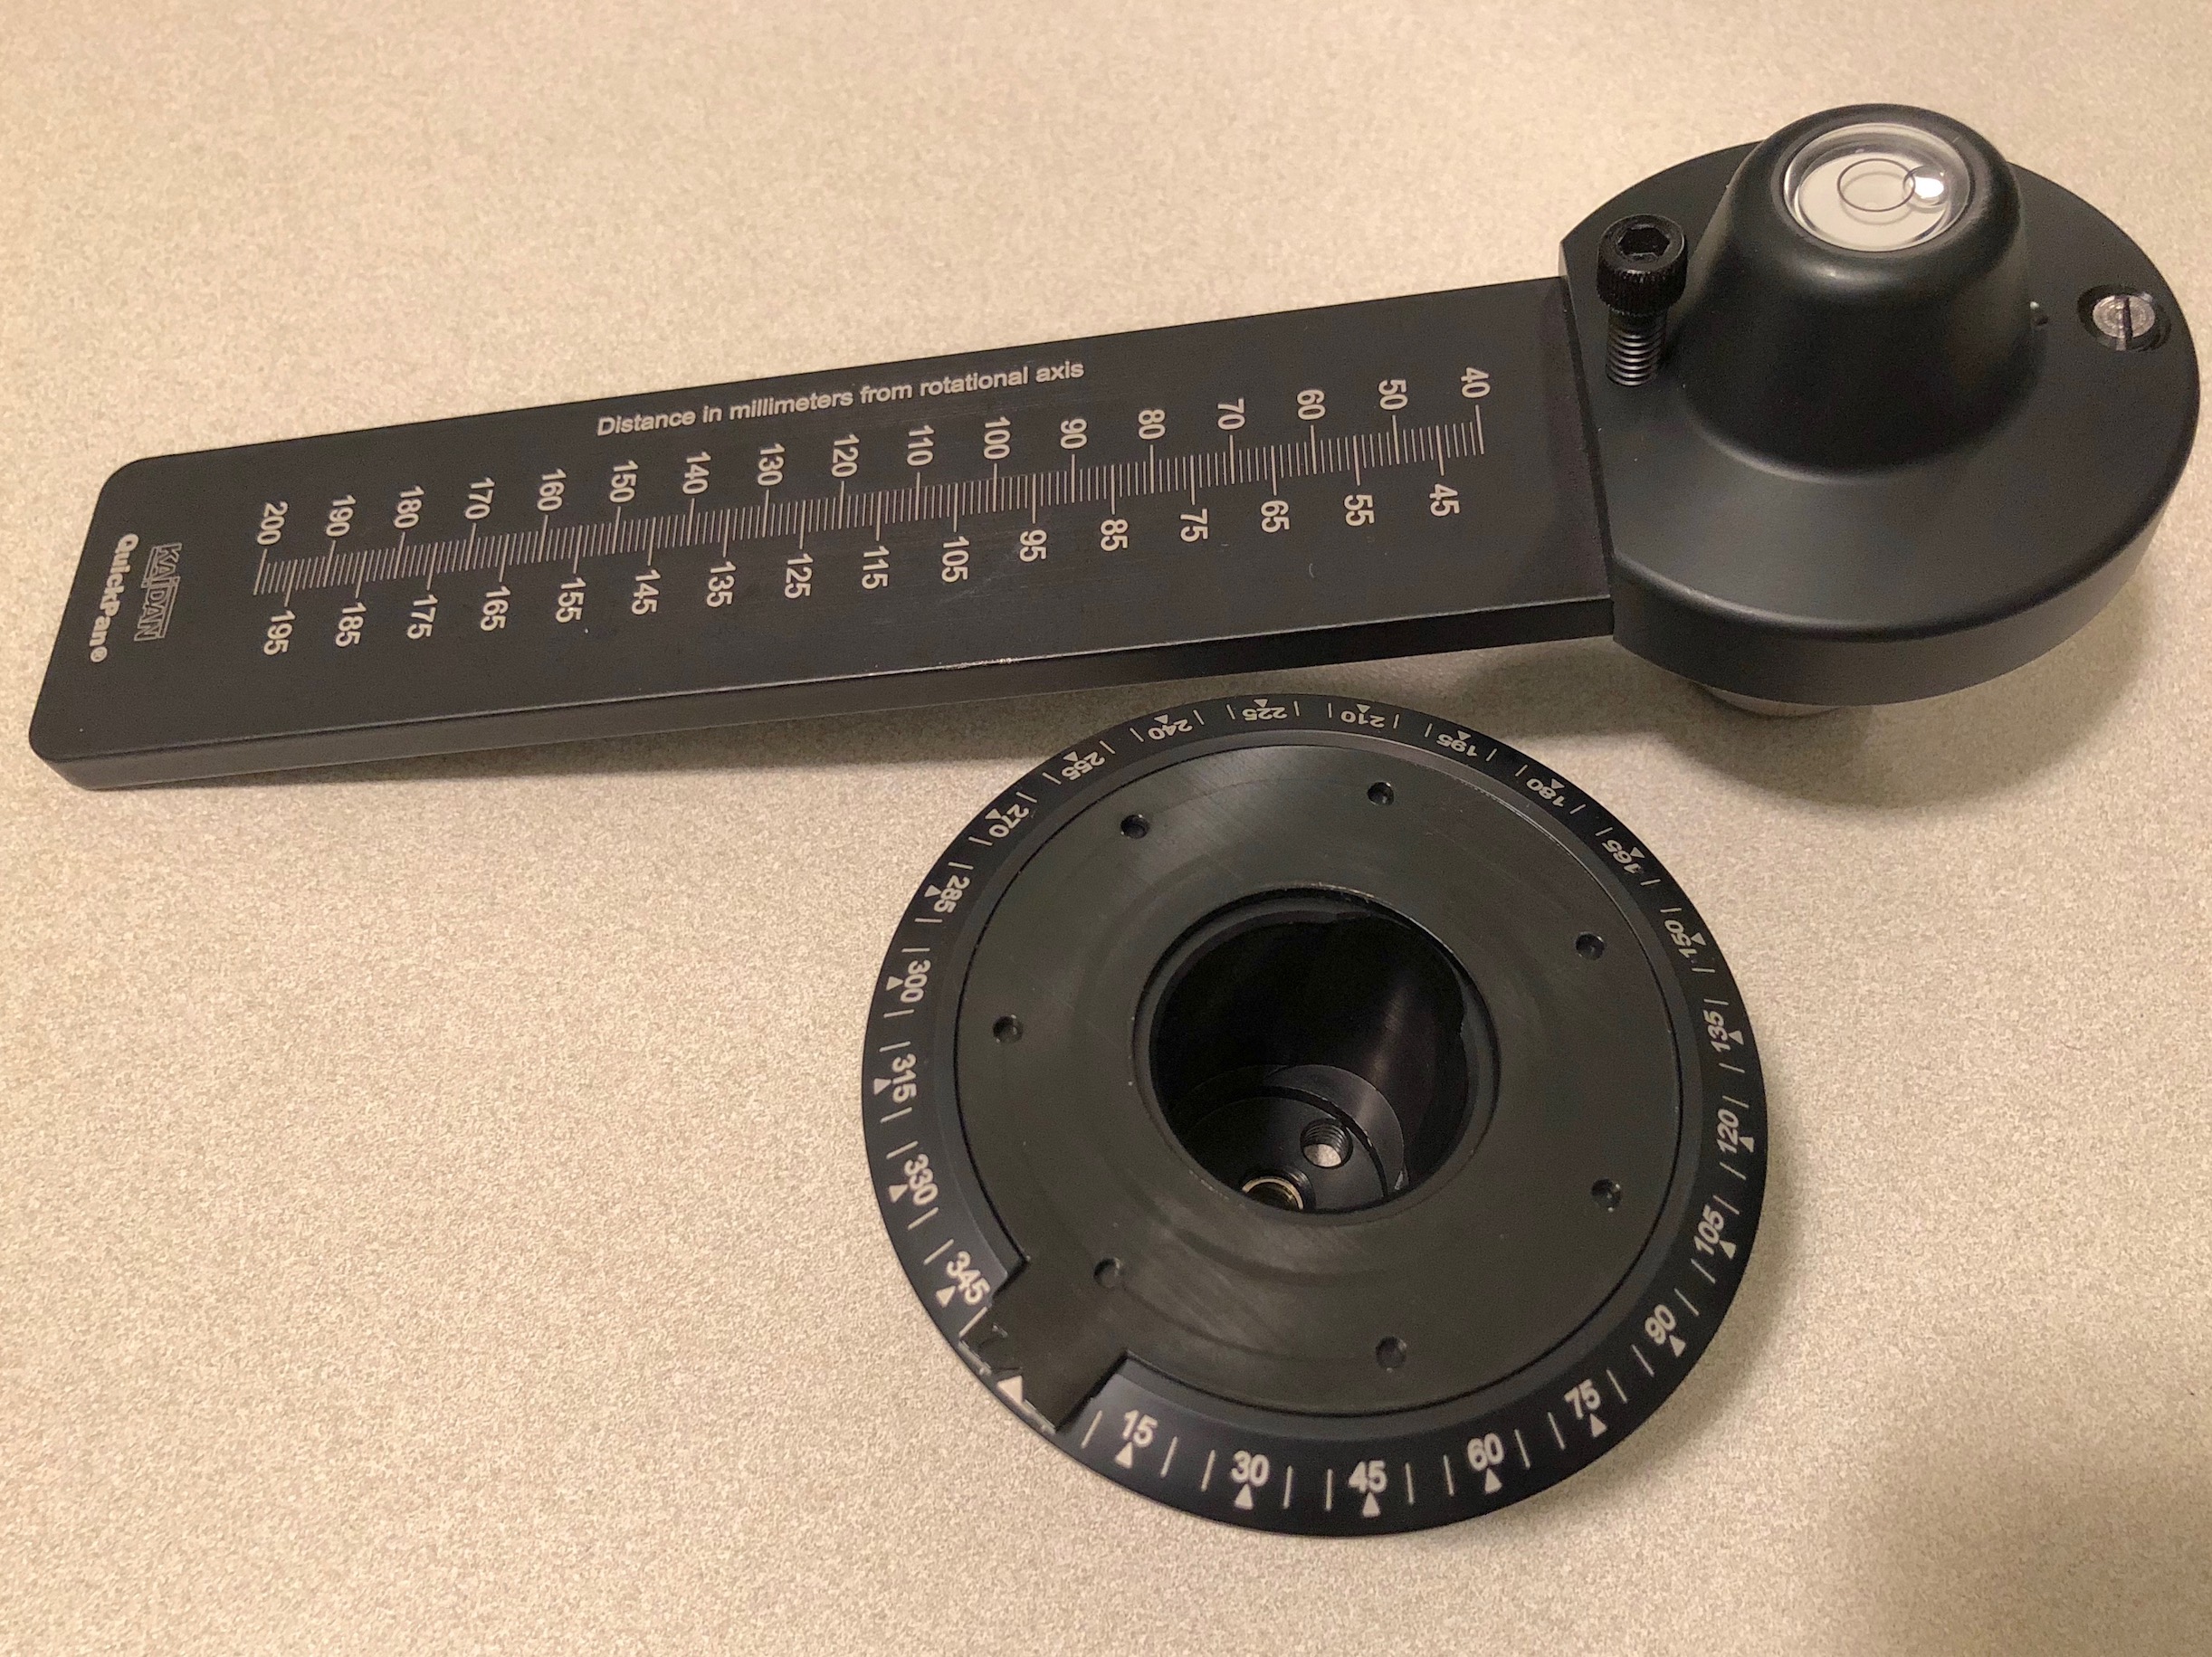
In order to capture a panorama I use the tripod head to take evenly spaced photographs in all directions. It uses small plastic disks to click into the right position, so the photos are easily aligned.
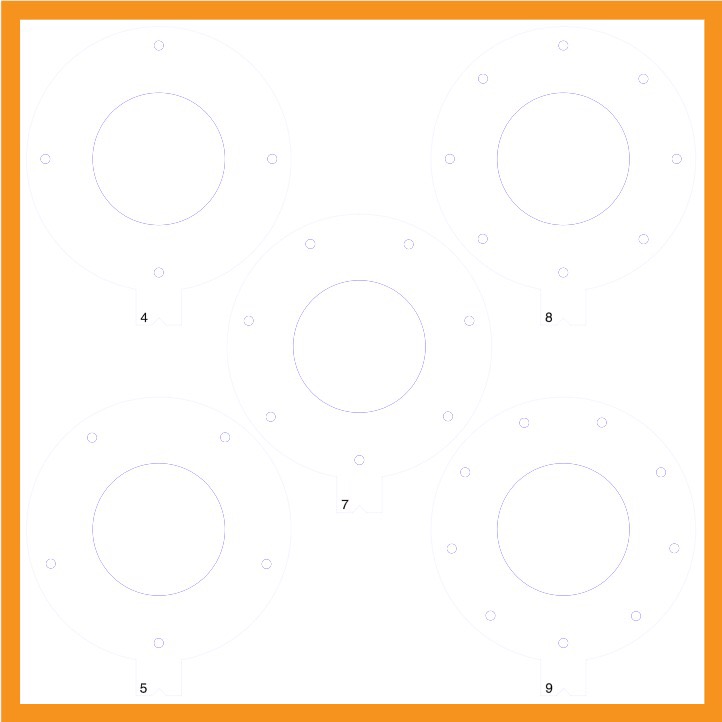
It works great, but I found that I needed a different set of detent discs than came with the tripod head. I think there was some standard set—but to achieve 25% overlap with my 17-35mm lens, I calculated 7 photos would be optimal, but that value wasn't included in the kit.
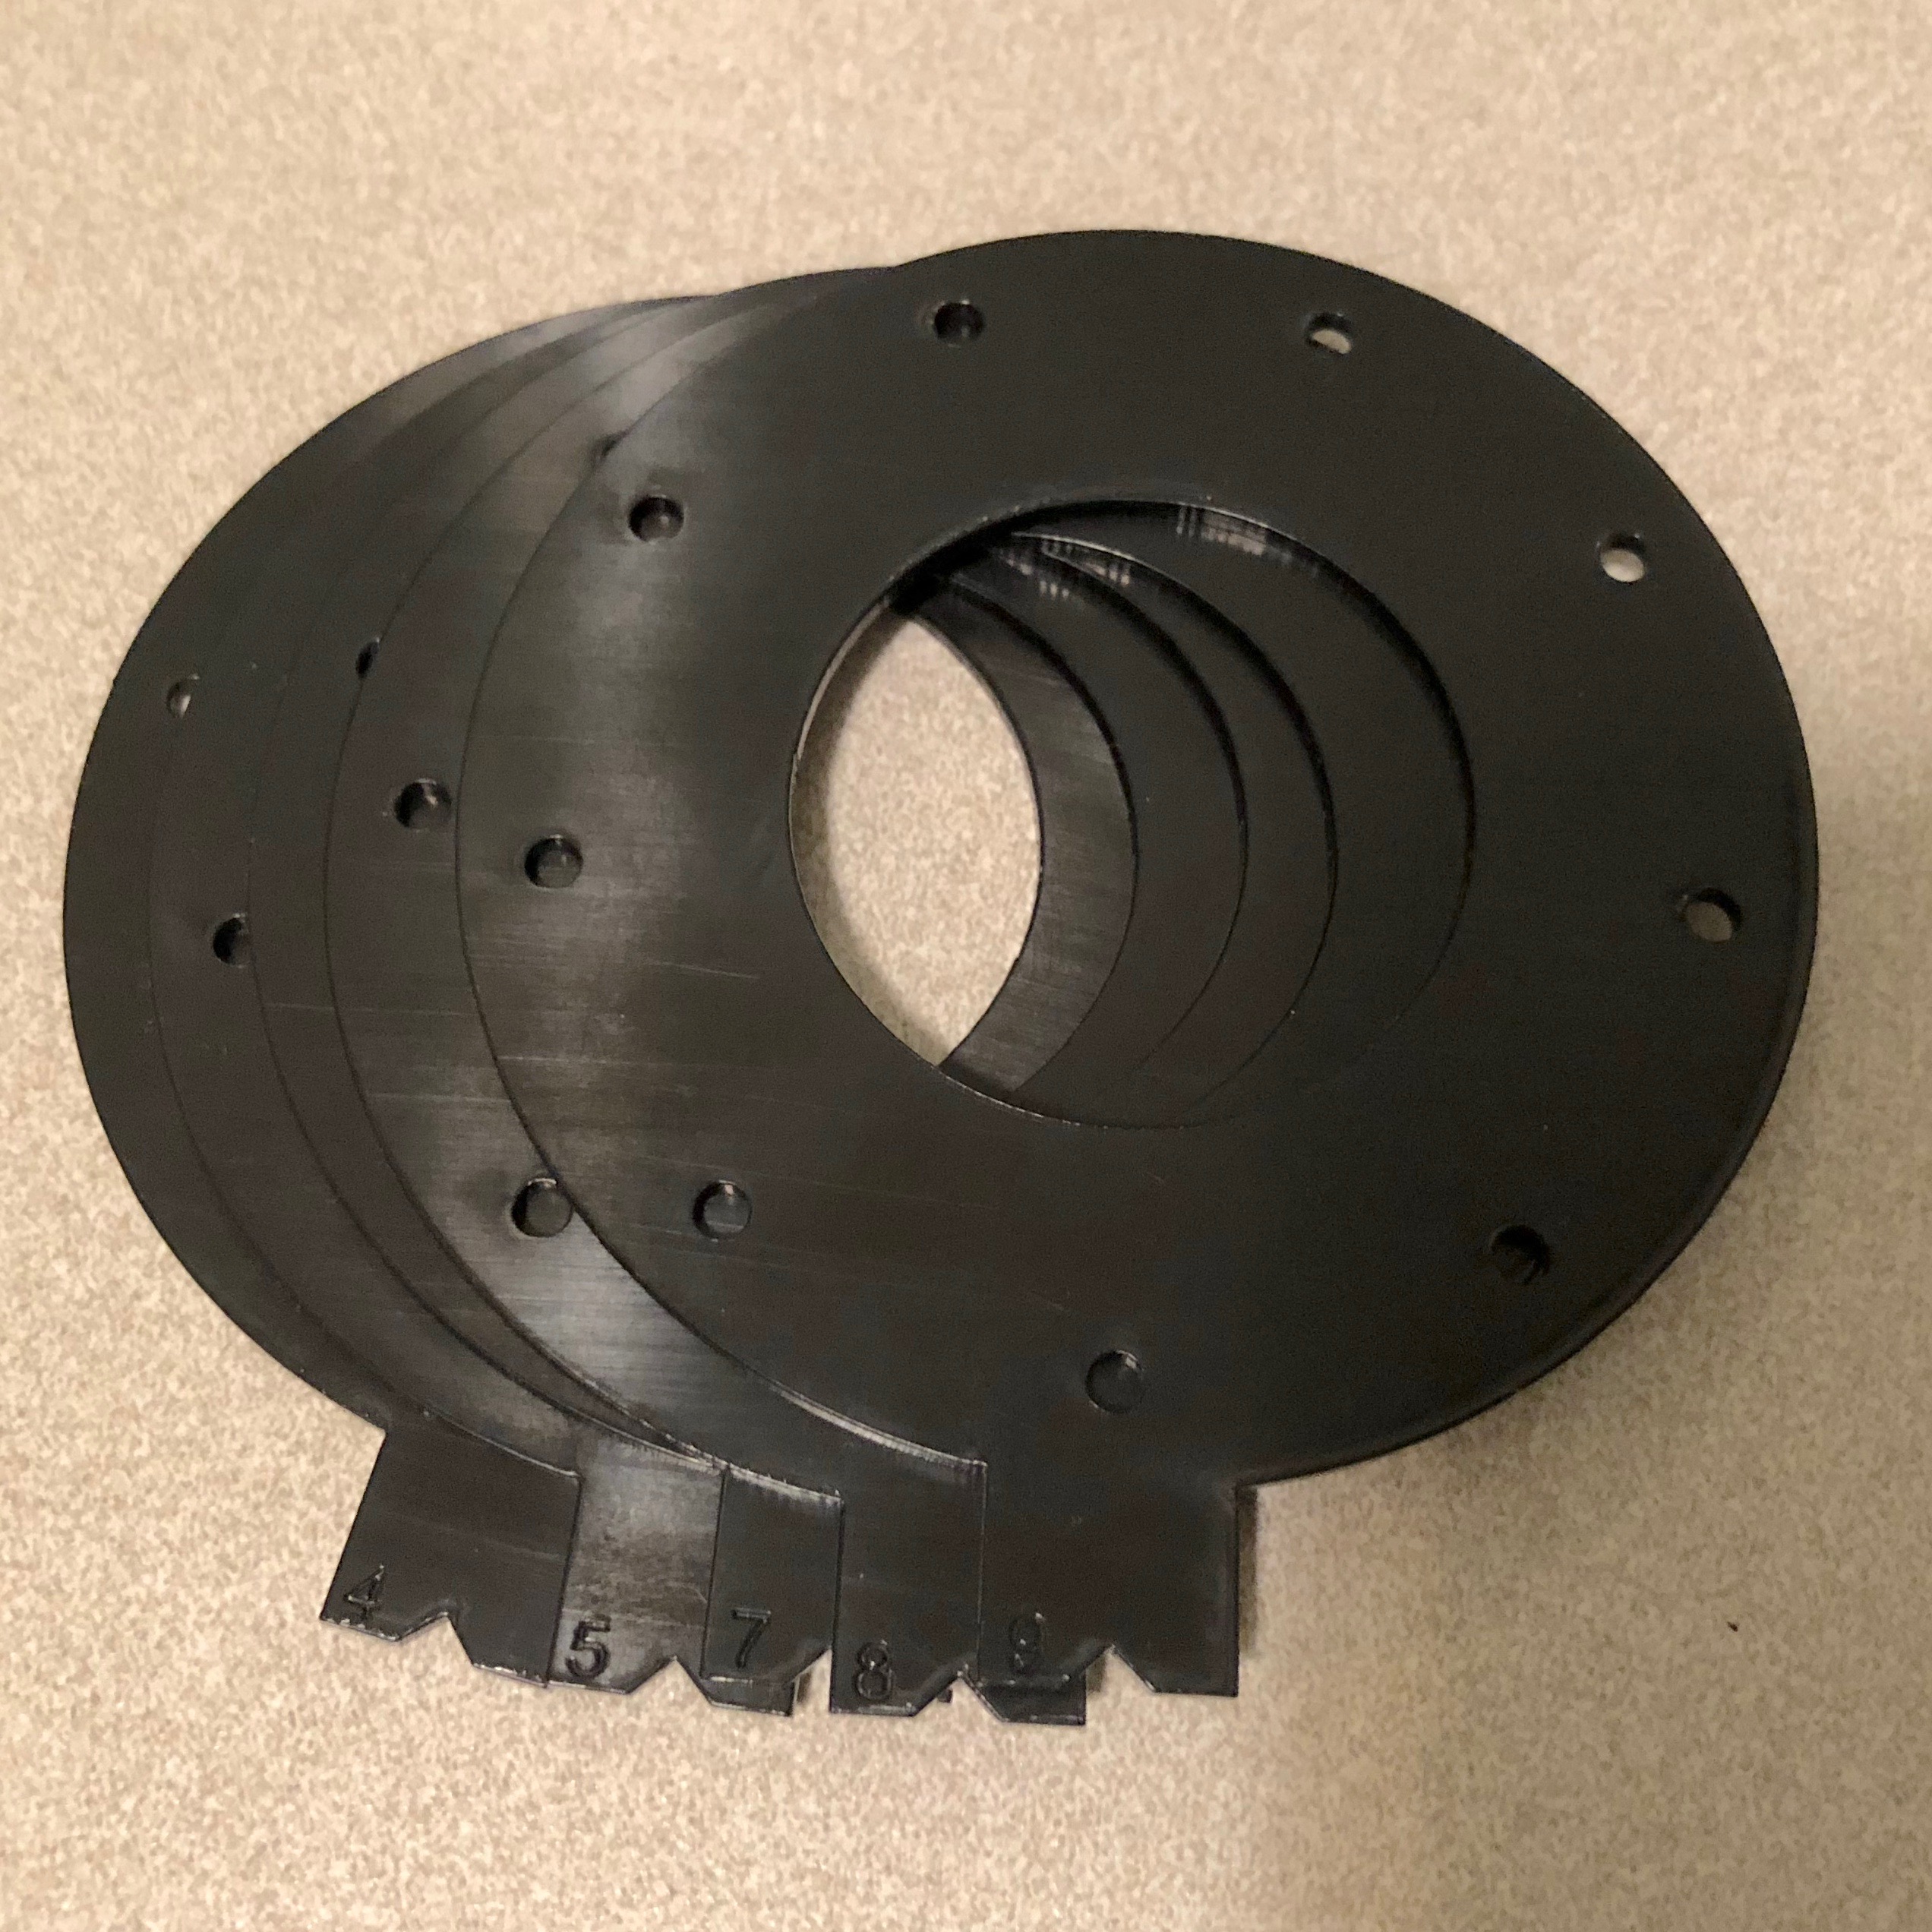
I figured it would be nearly impossible to find additional Kaidan detent discs since the company is now defunct, so I set about making my own through Ponoko. I used my vintage Browne & Sharpe Dial Caliper to measure the original discs, then drew up some new ones using Inkscape. Ponoko gave me a $20 coupon for signing up, so I got my set of 5 laser-cut discs for less than $10 shipping & handling. The quality is excellent, and the 1.5mm Delrin material is perfect for the discs.
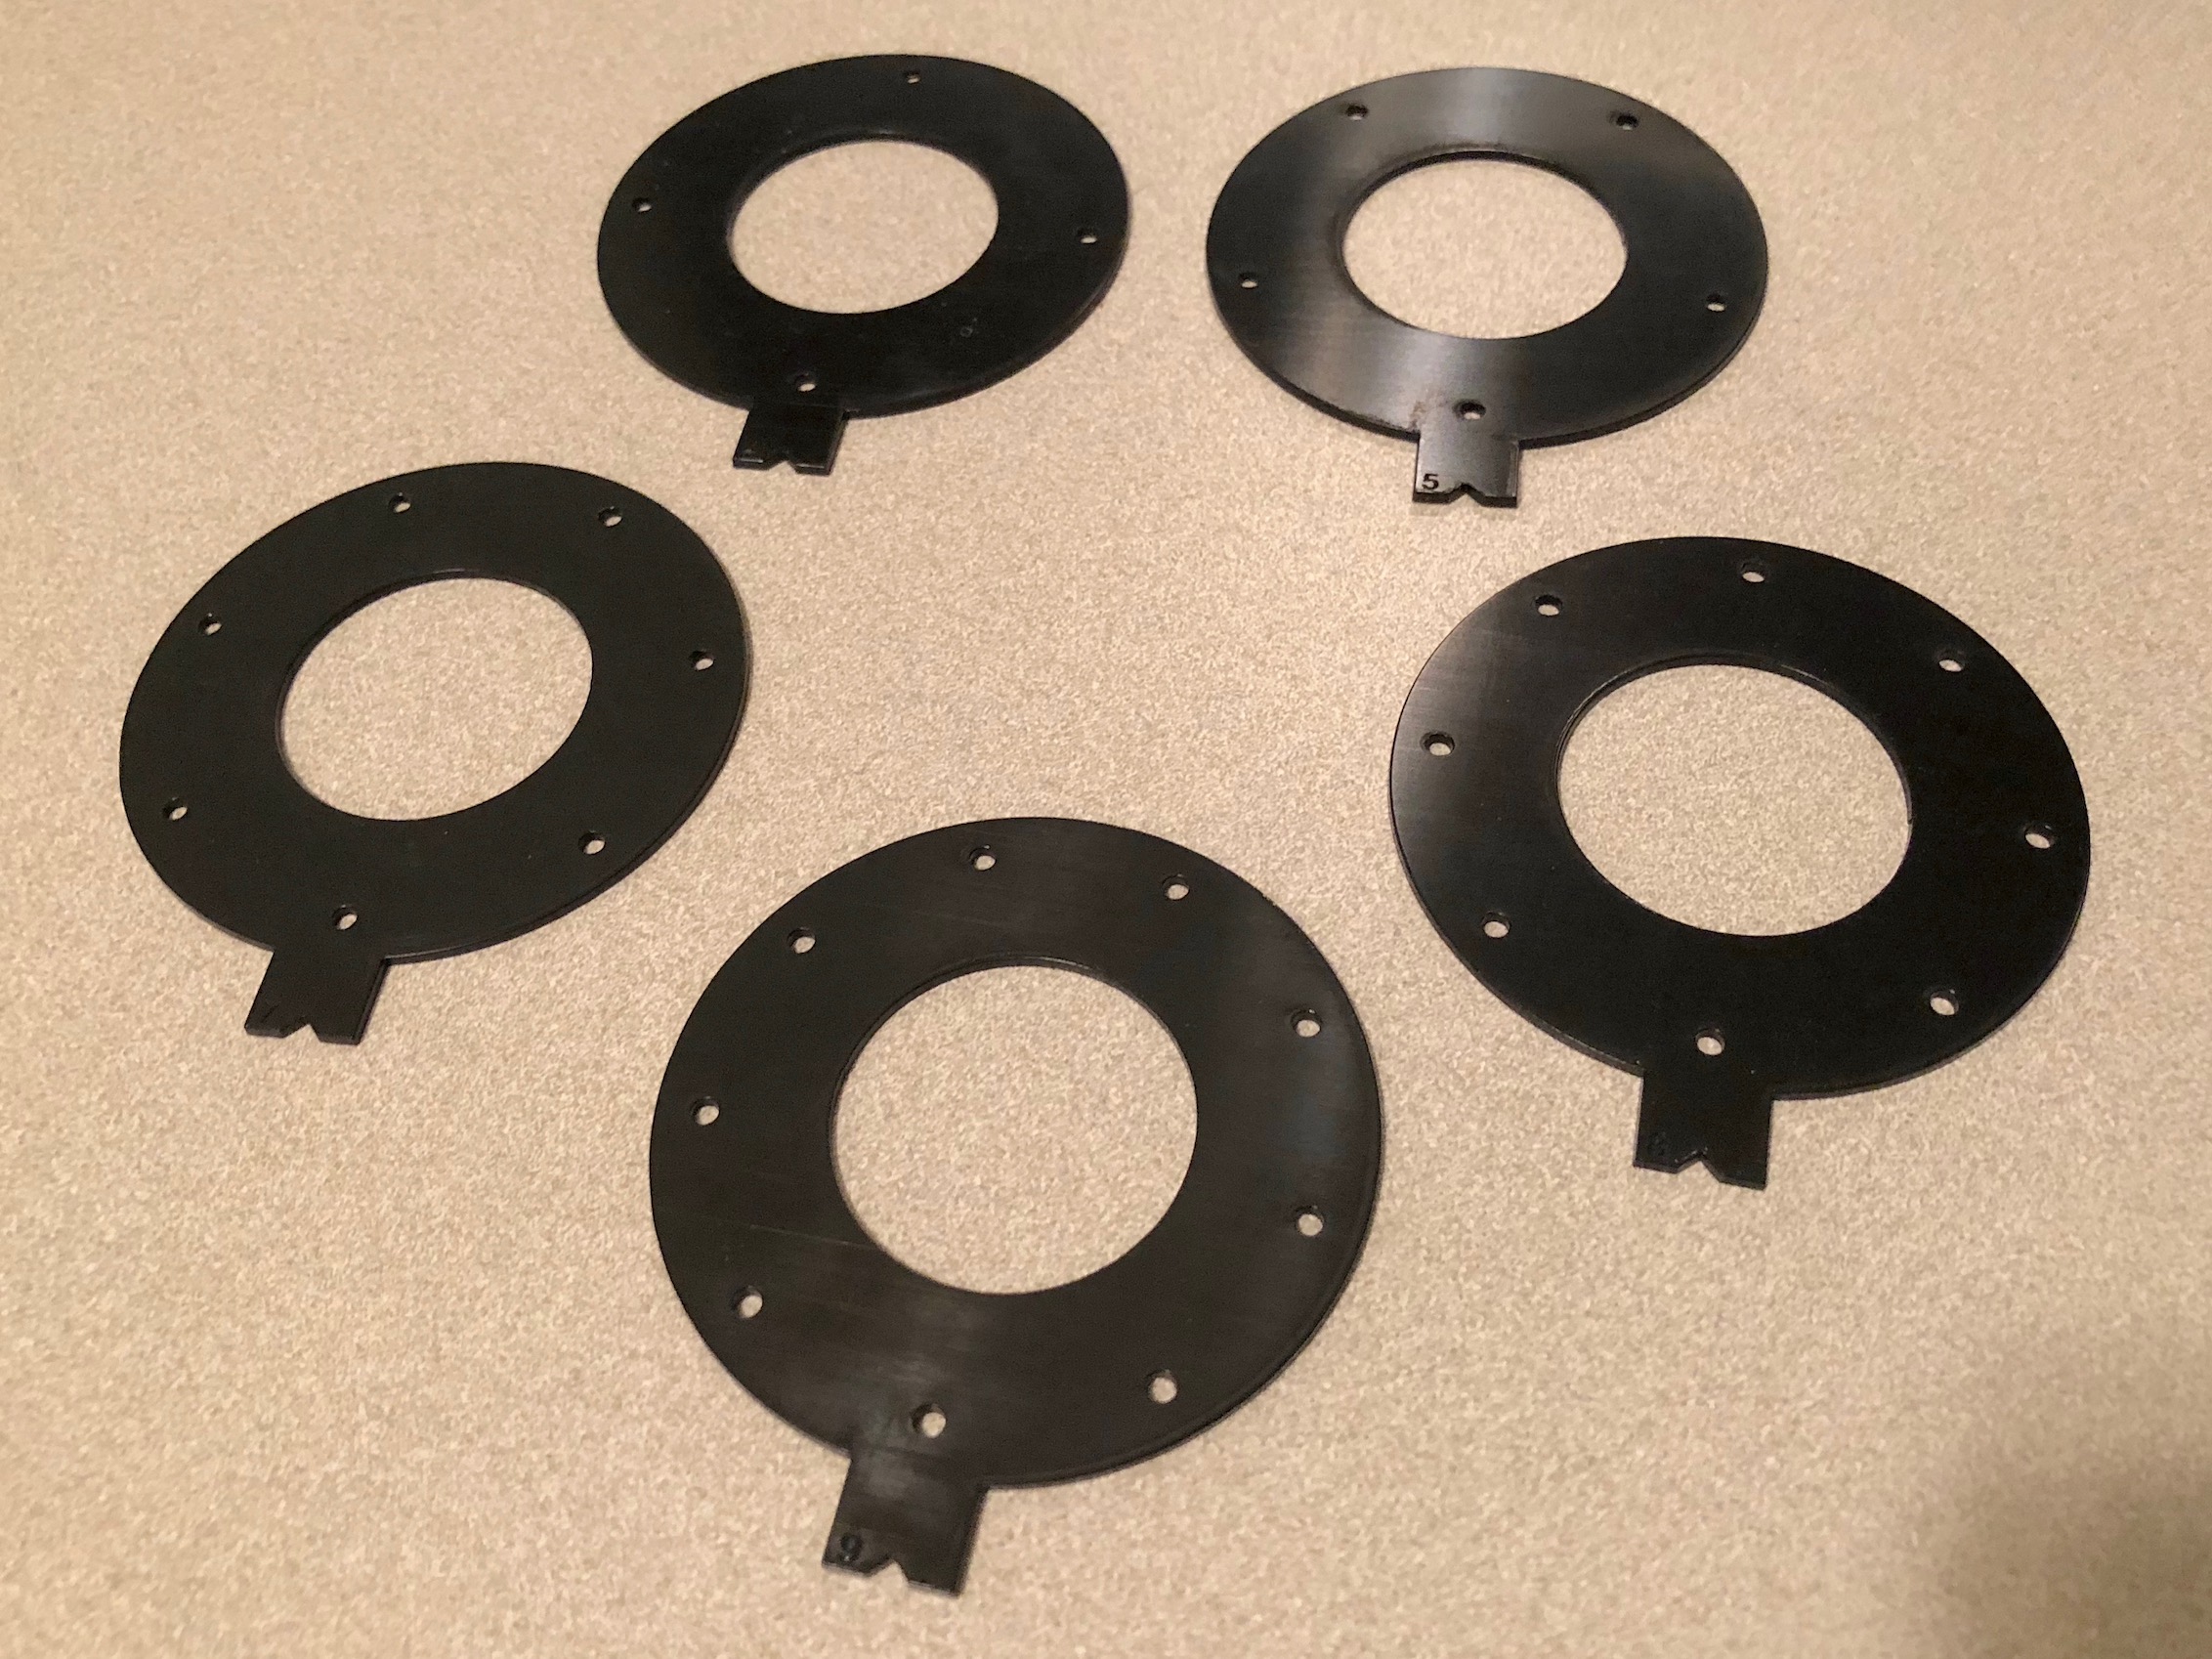
The fit is a bit snug, but they work great! I've made the discs available for purchase through Ponoko here, and also am providing the design file for download here. While it's unlikely many folks are looking for detent discs for the long discontinued QuickPan IV tripod head, I figured it'd be nice to have some source to get them in case anybody needs replacements.
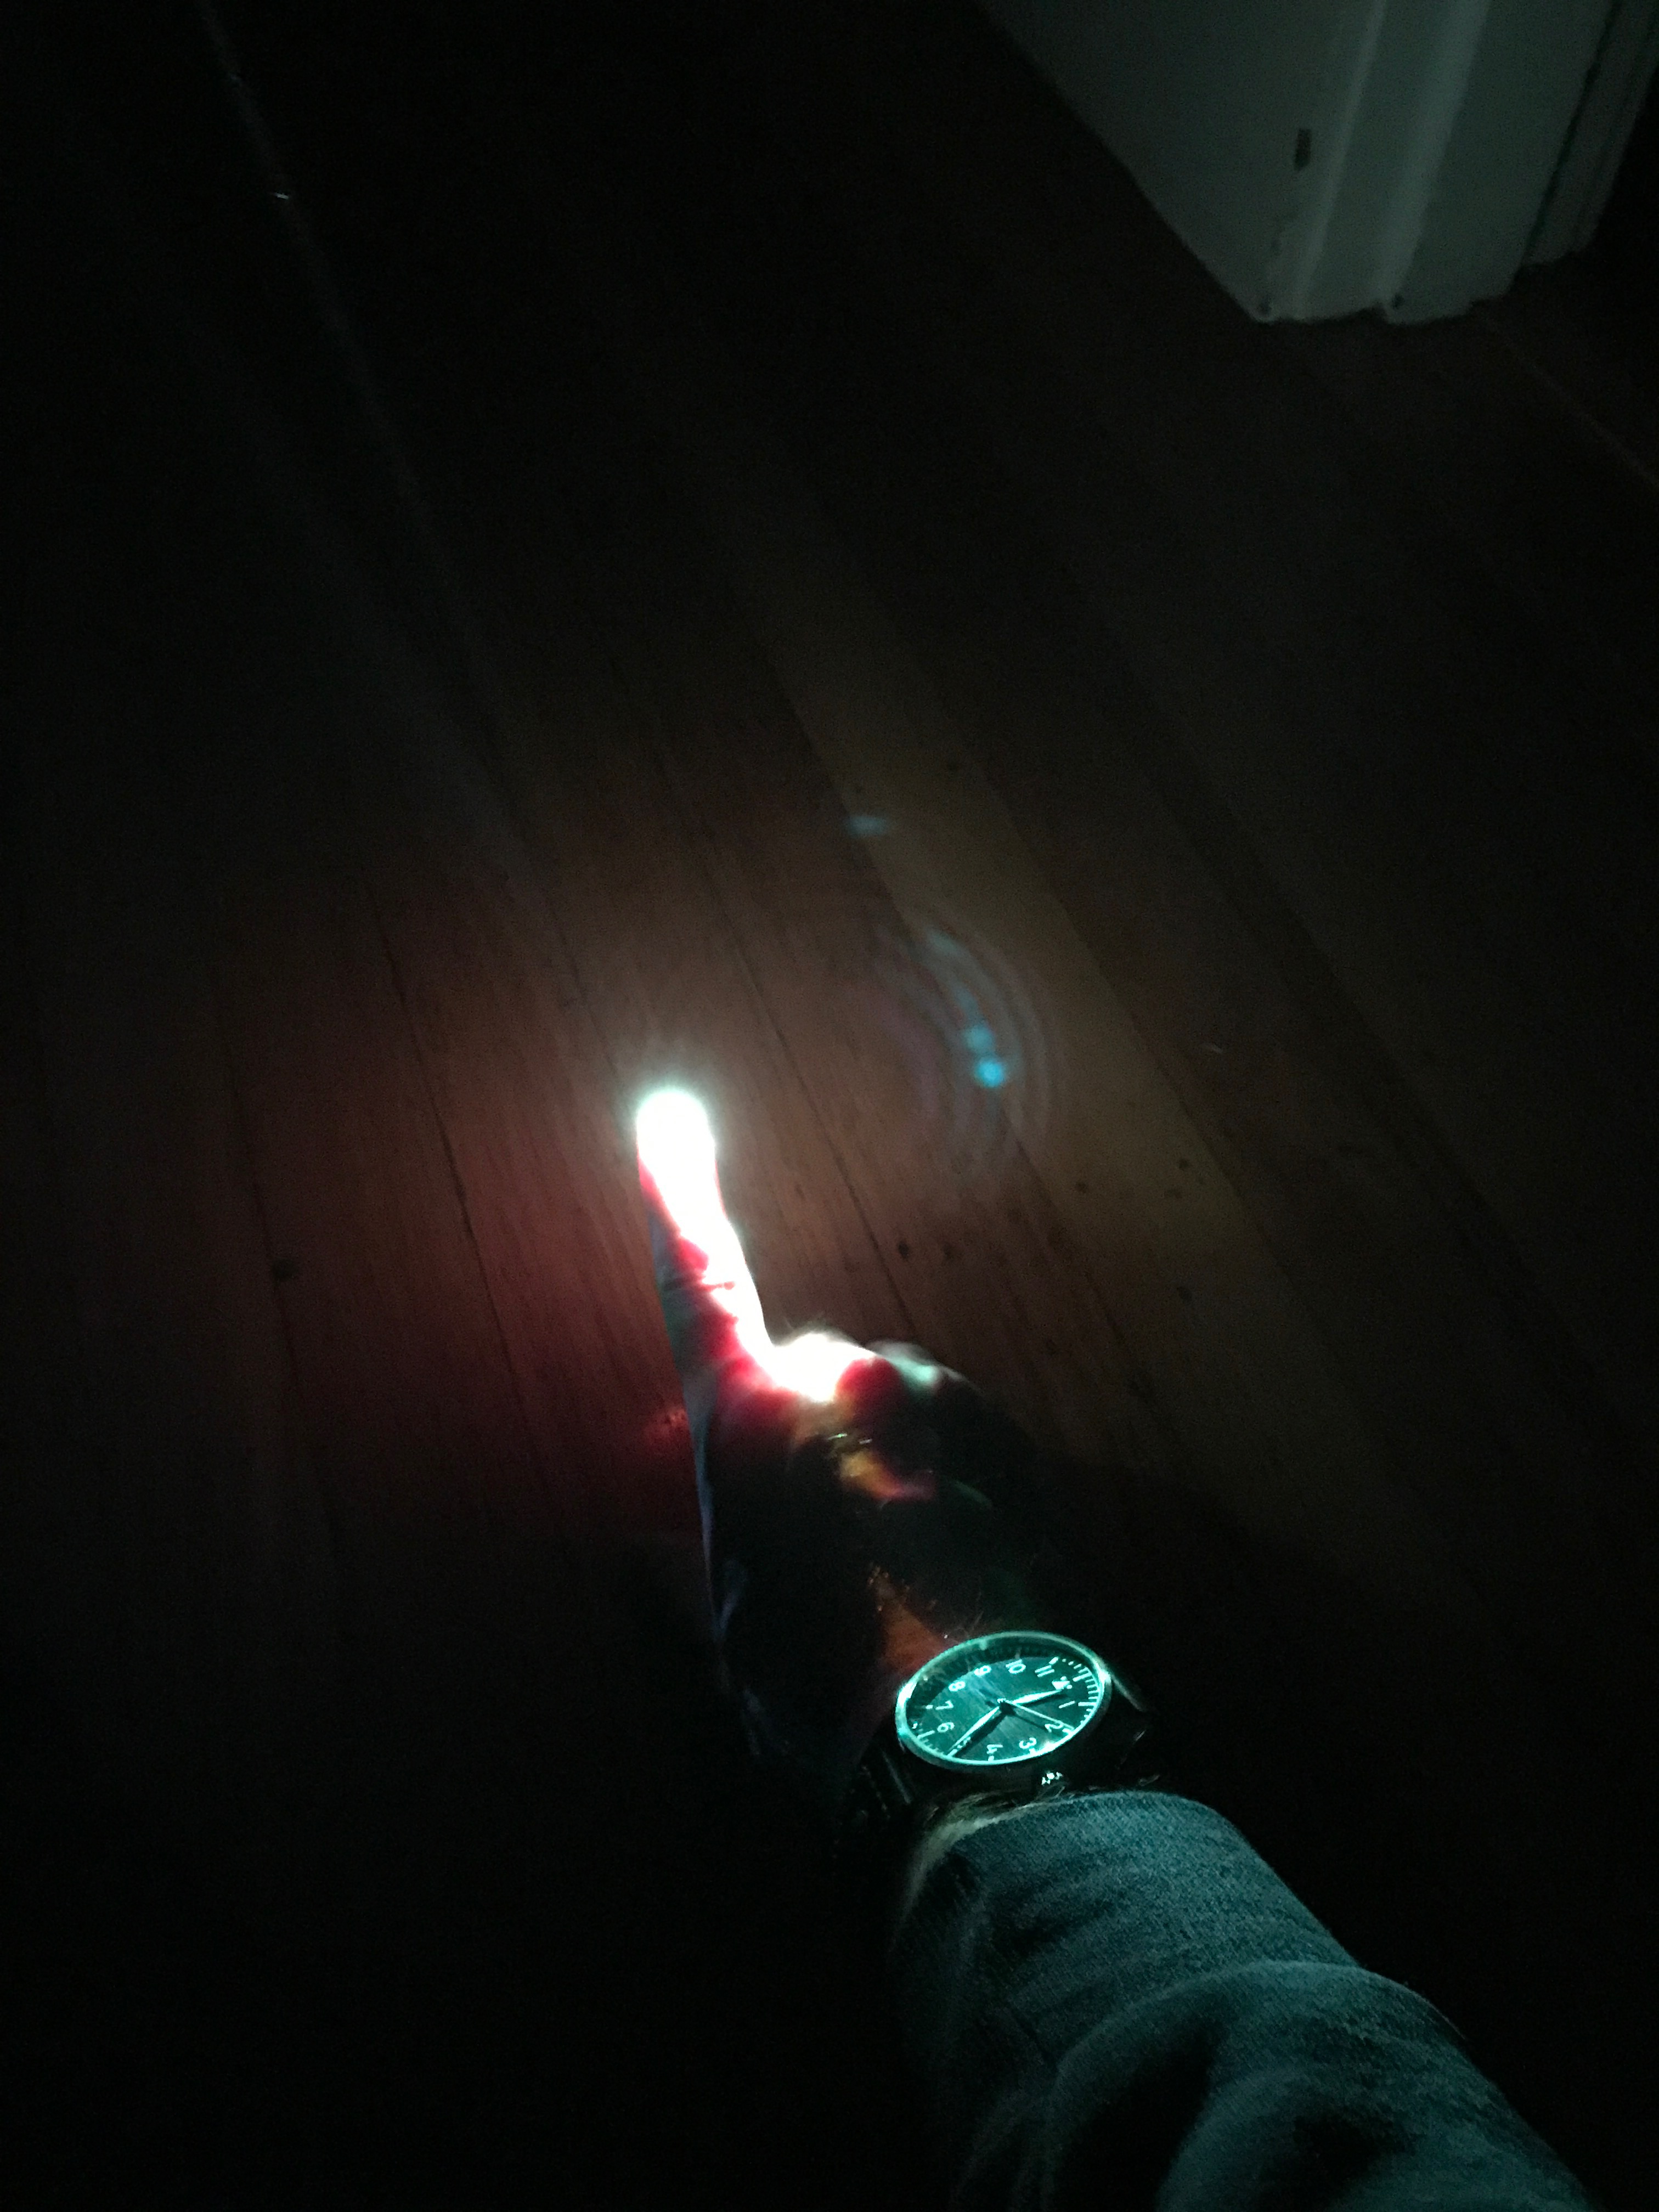
I haven't yet captured a panorama with my new discs, but last weekend I went to Treasure Island and recorded the image below. I'm still working on HDR, color, and stitching details, but still happy with the results.

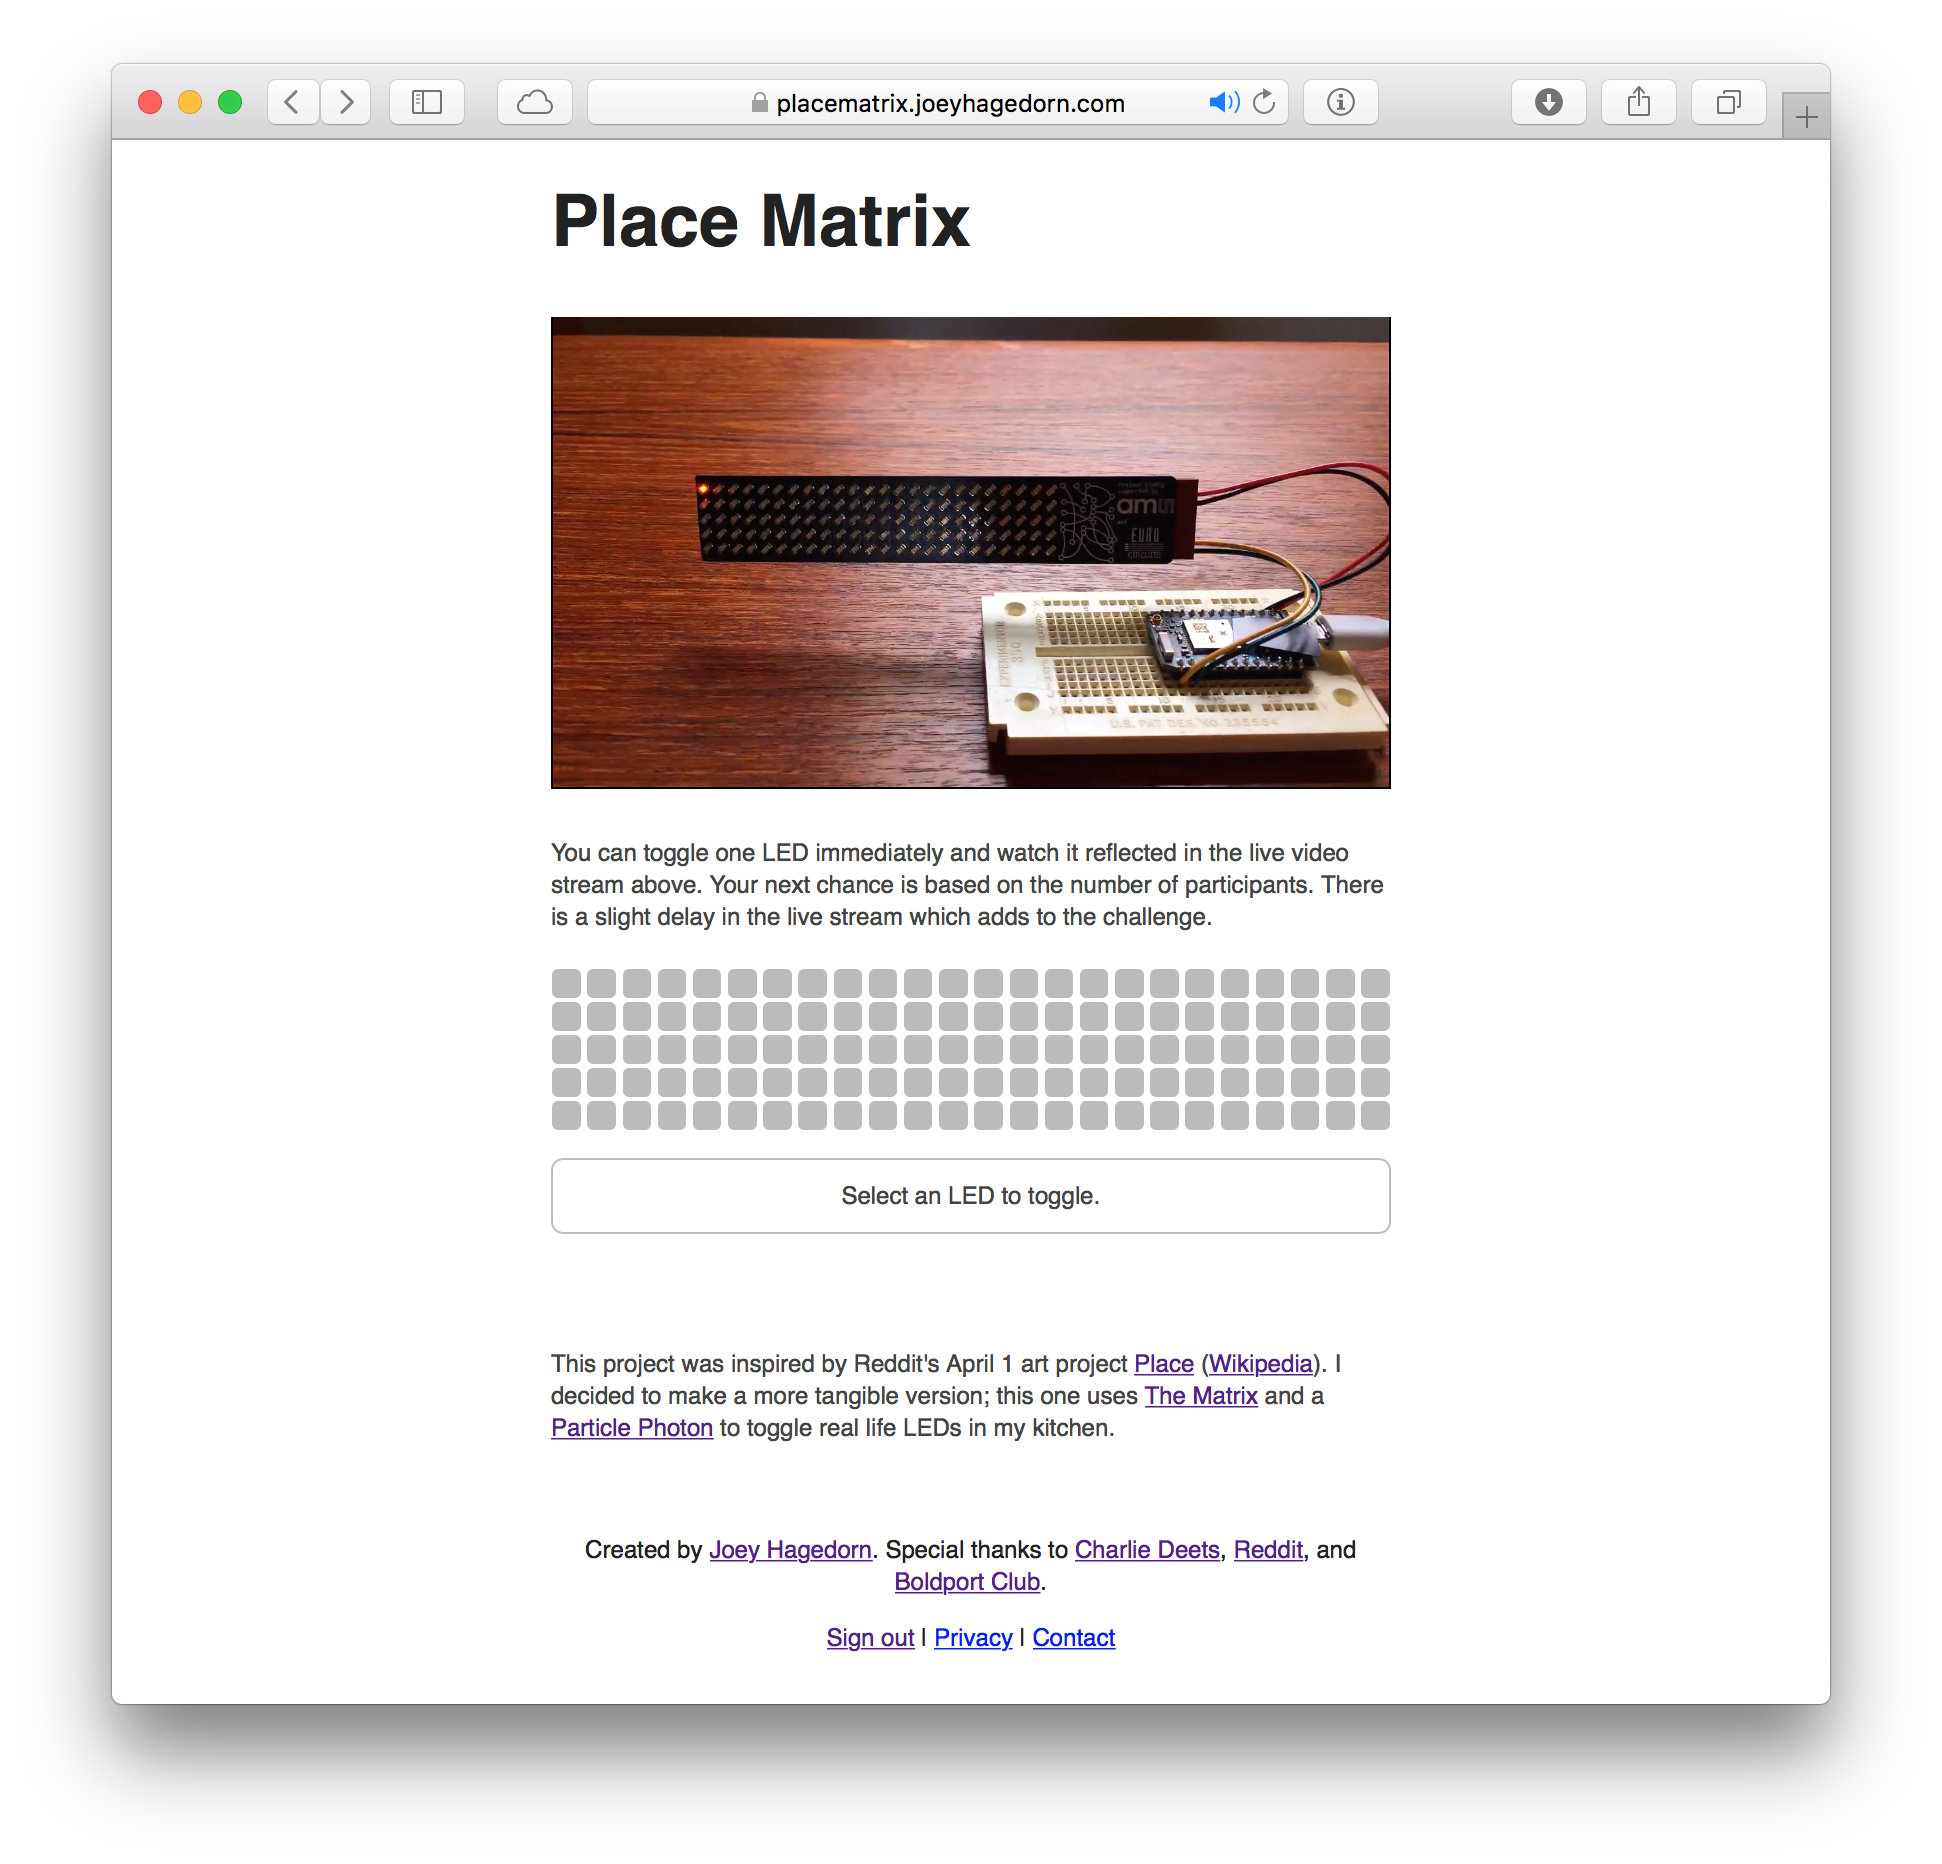
Place Matrix
Reddit put together what was ostensibly an April Fools' joke that allowed users to "place" one pixel at a time on a large canvas. It turned out to be a really awesome social art project; groups needed to collaborate to get anything done because there was a long delay between opportunities to place pixels.
Update: Incidentally, Reddit published a great article today about how they built r/Place. Highly recommended.
Update 2: I wrote a technical description of how I built Place Matrix.
Because I'm not a big Redditor, my friend Andrew showed this to me, I think after a post on Twitter. We had a great discussion about the emergent behaviors that occurred with such a simple system on Saturday night, and talked about how such constraints can make things a lot of fun. I had just finished building my p11-matrix project from Boldport Club, and had connected it to the web with an API that only allowed toggling a single pixel.
So the next day I woke up and realized I had to port Place over to meatspace and started hacking. Thanks Andrew for helping incubate the idea. I'm not a web programmer, but my Python skills aren't too bad so I found a tutorial on Medium and started setting up AWS Elastic Beanstalk. One full Sunday of programming (followed by 3 back-to-back late night debugging sessions…) and it works. Lots of thanks to my friend Charlie for help and support through these manic last couple of days, and to the Saar for making Boldport Club and inspring projects.
Check it out at Place Matrix.
(enlarge)
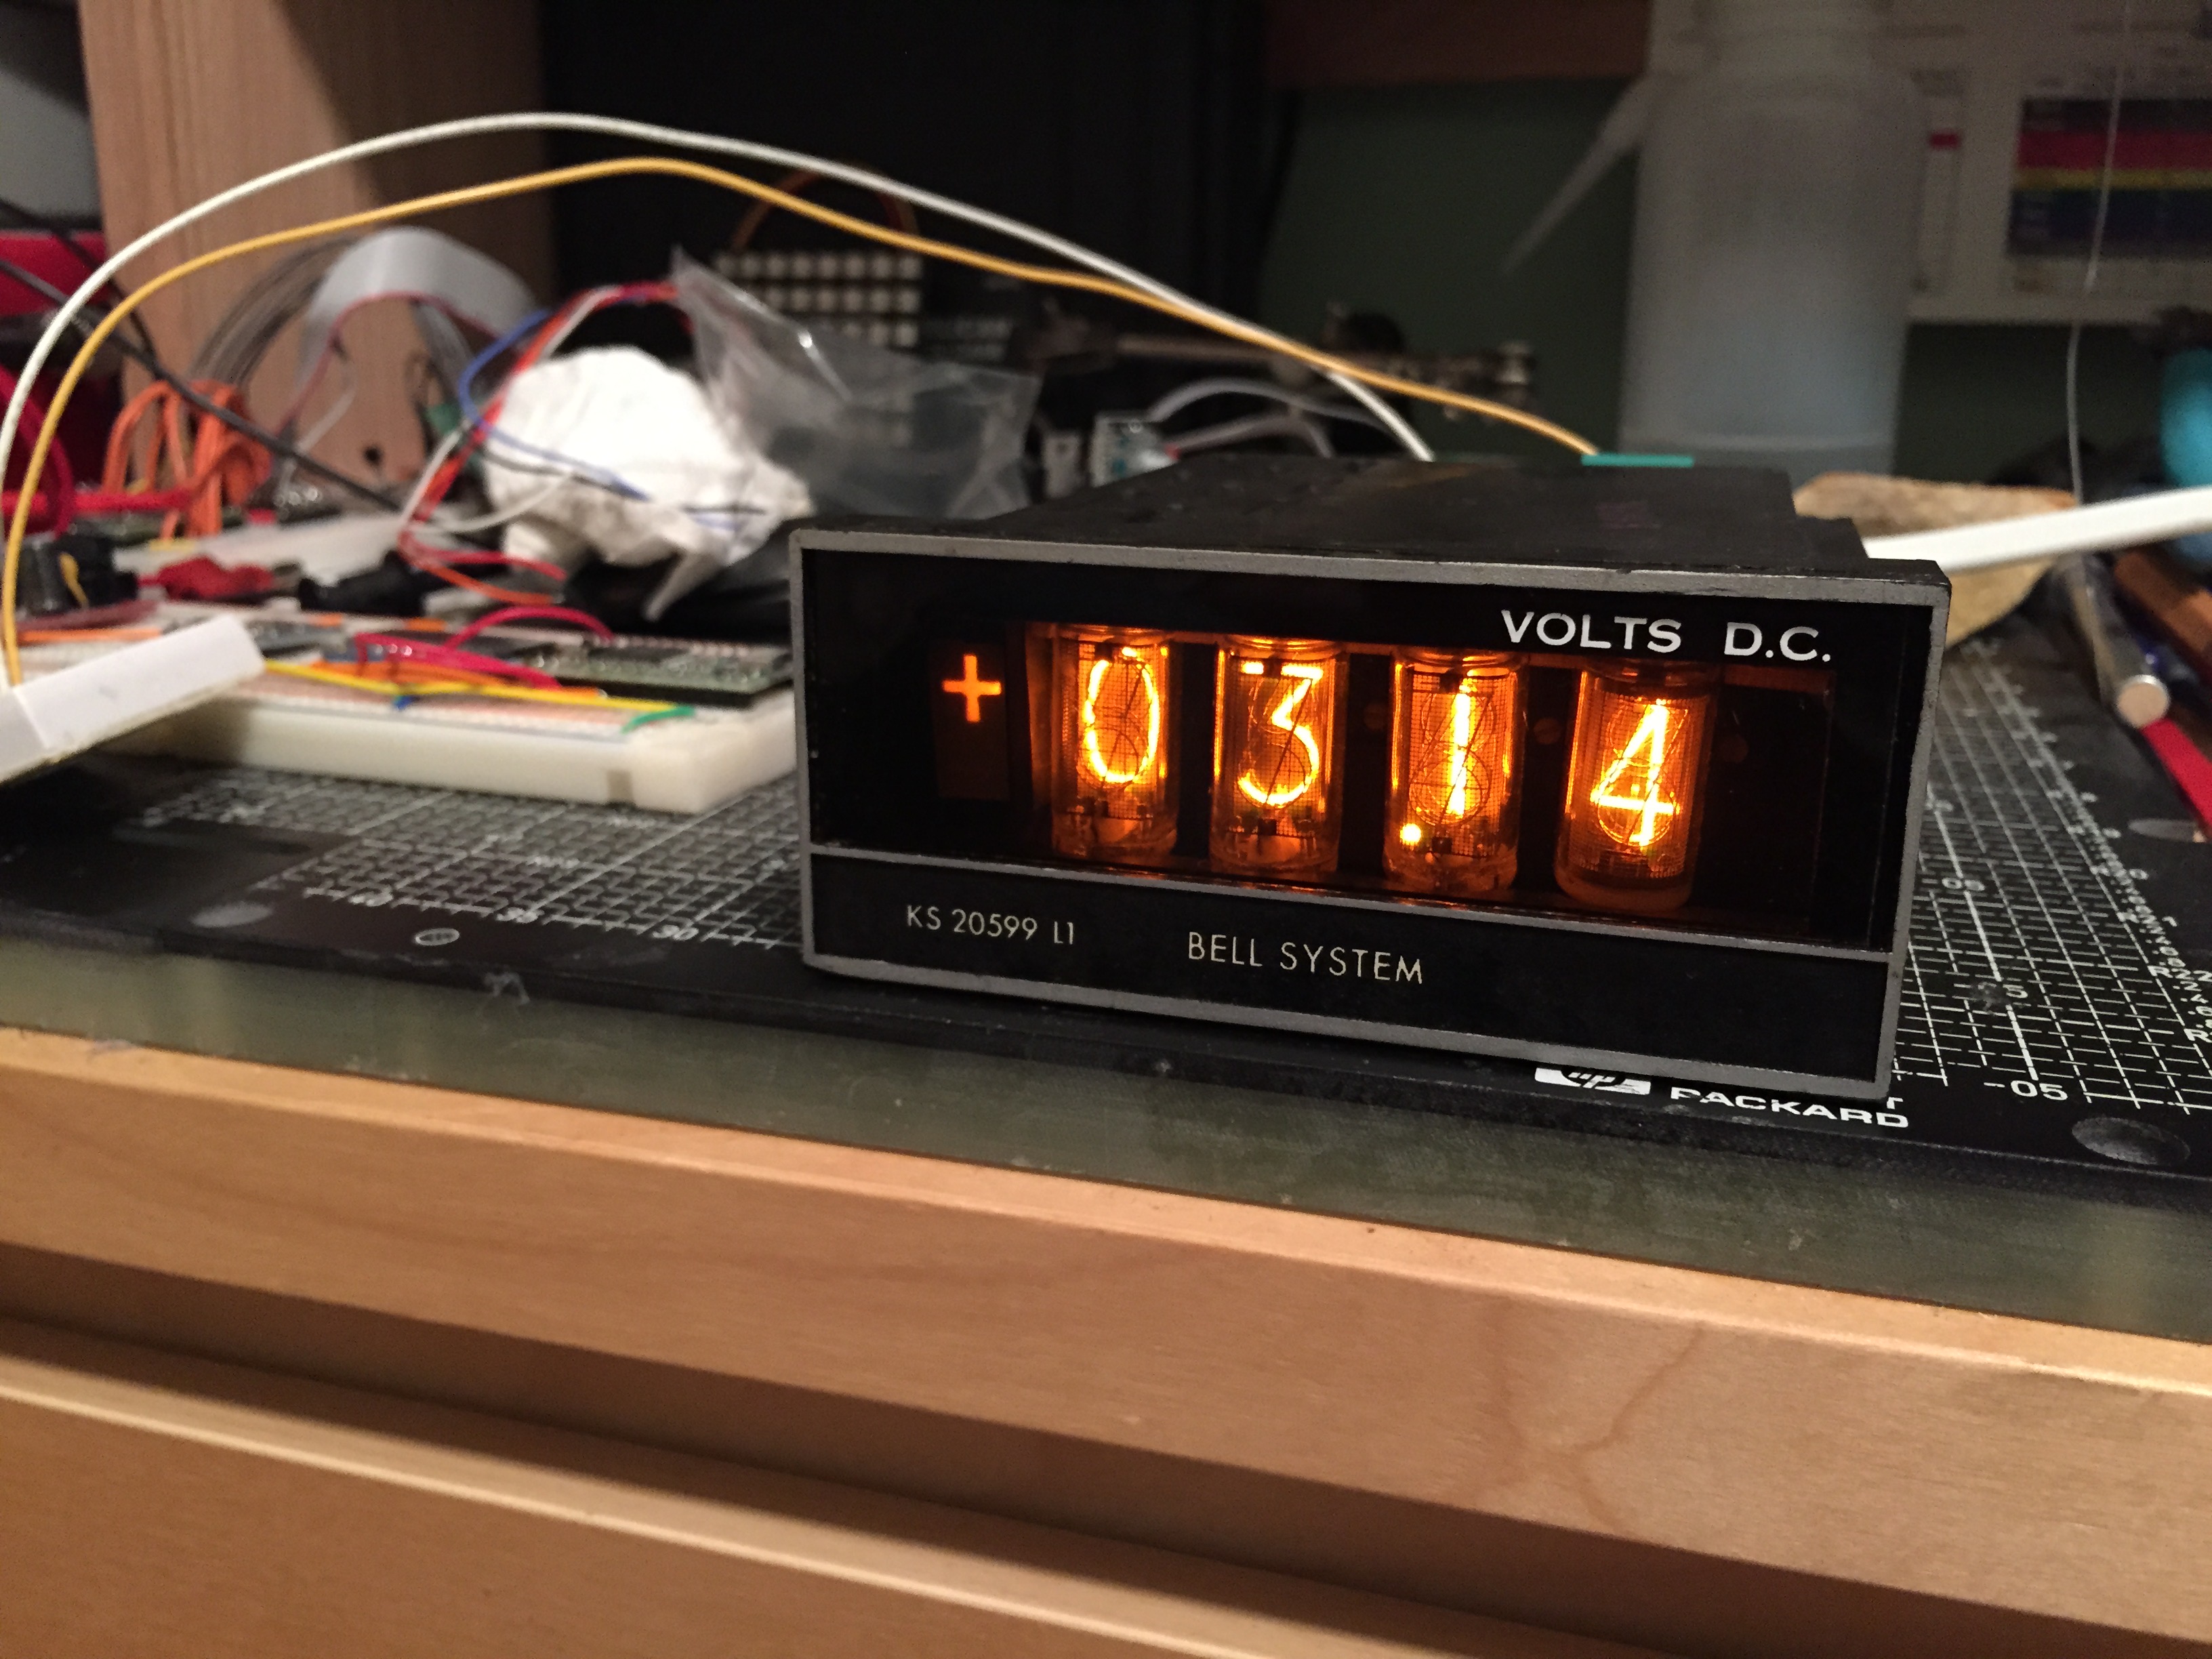
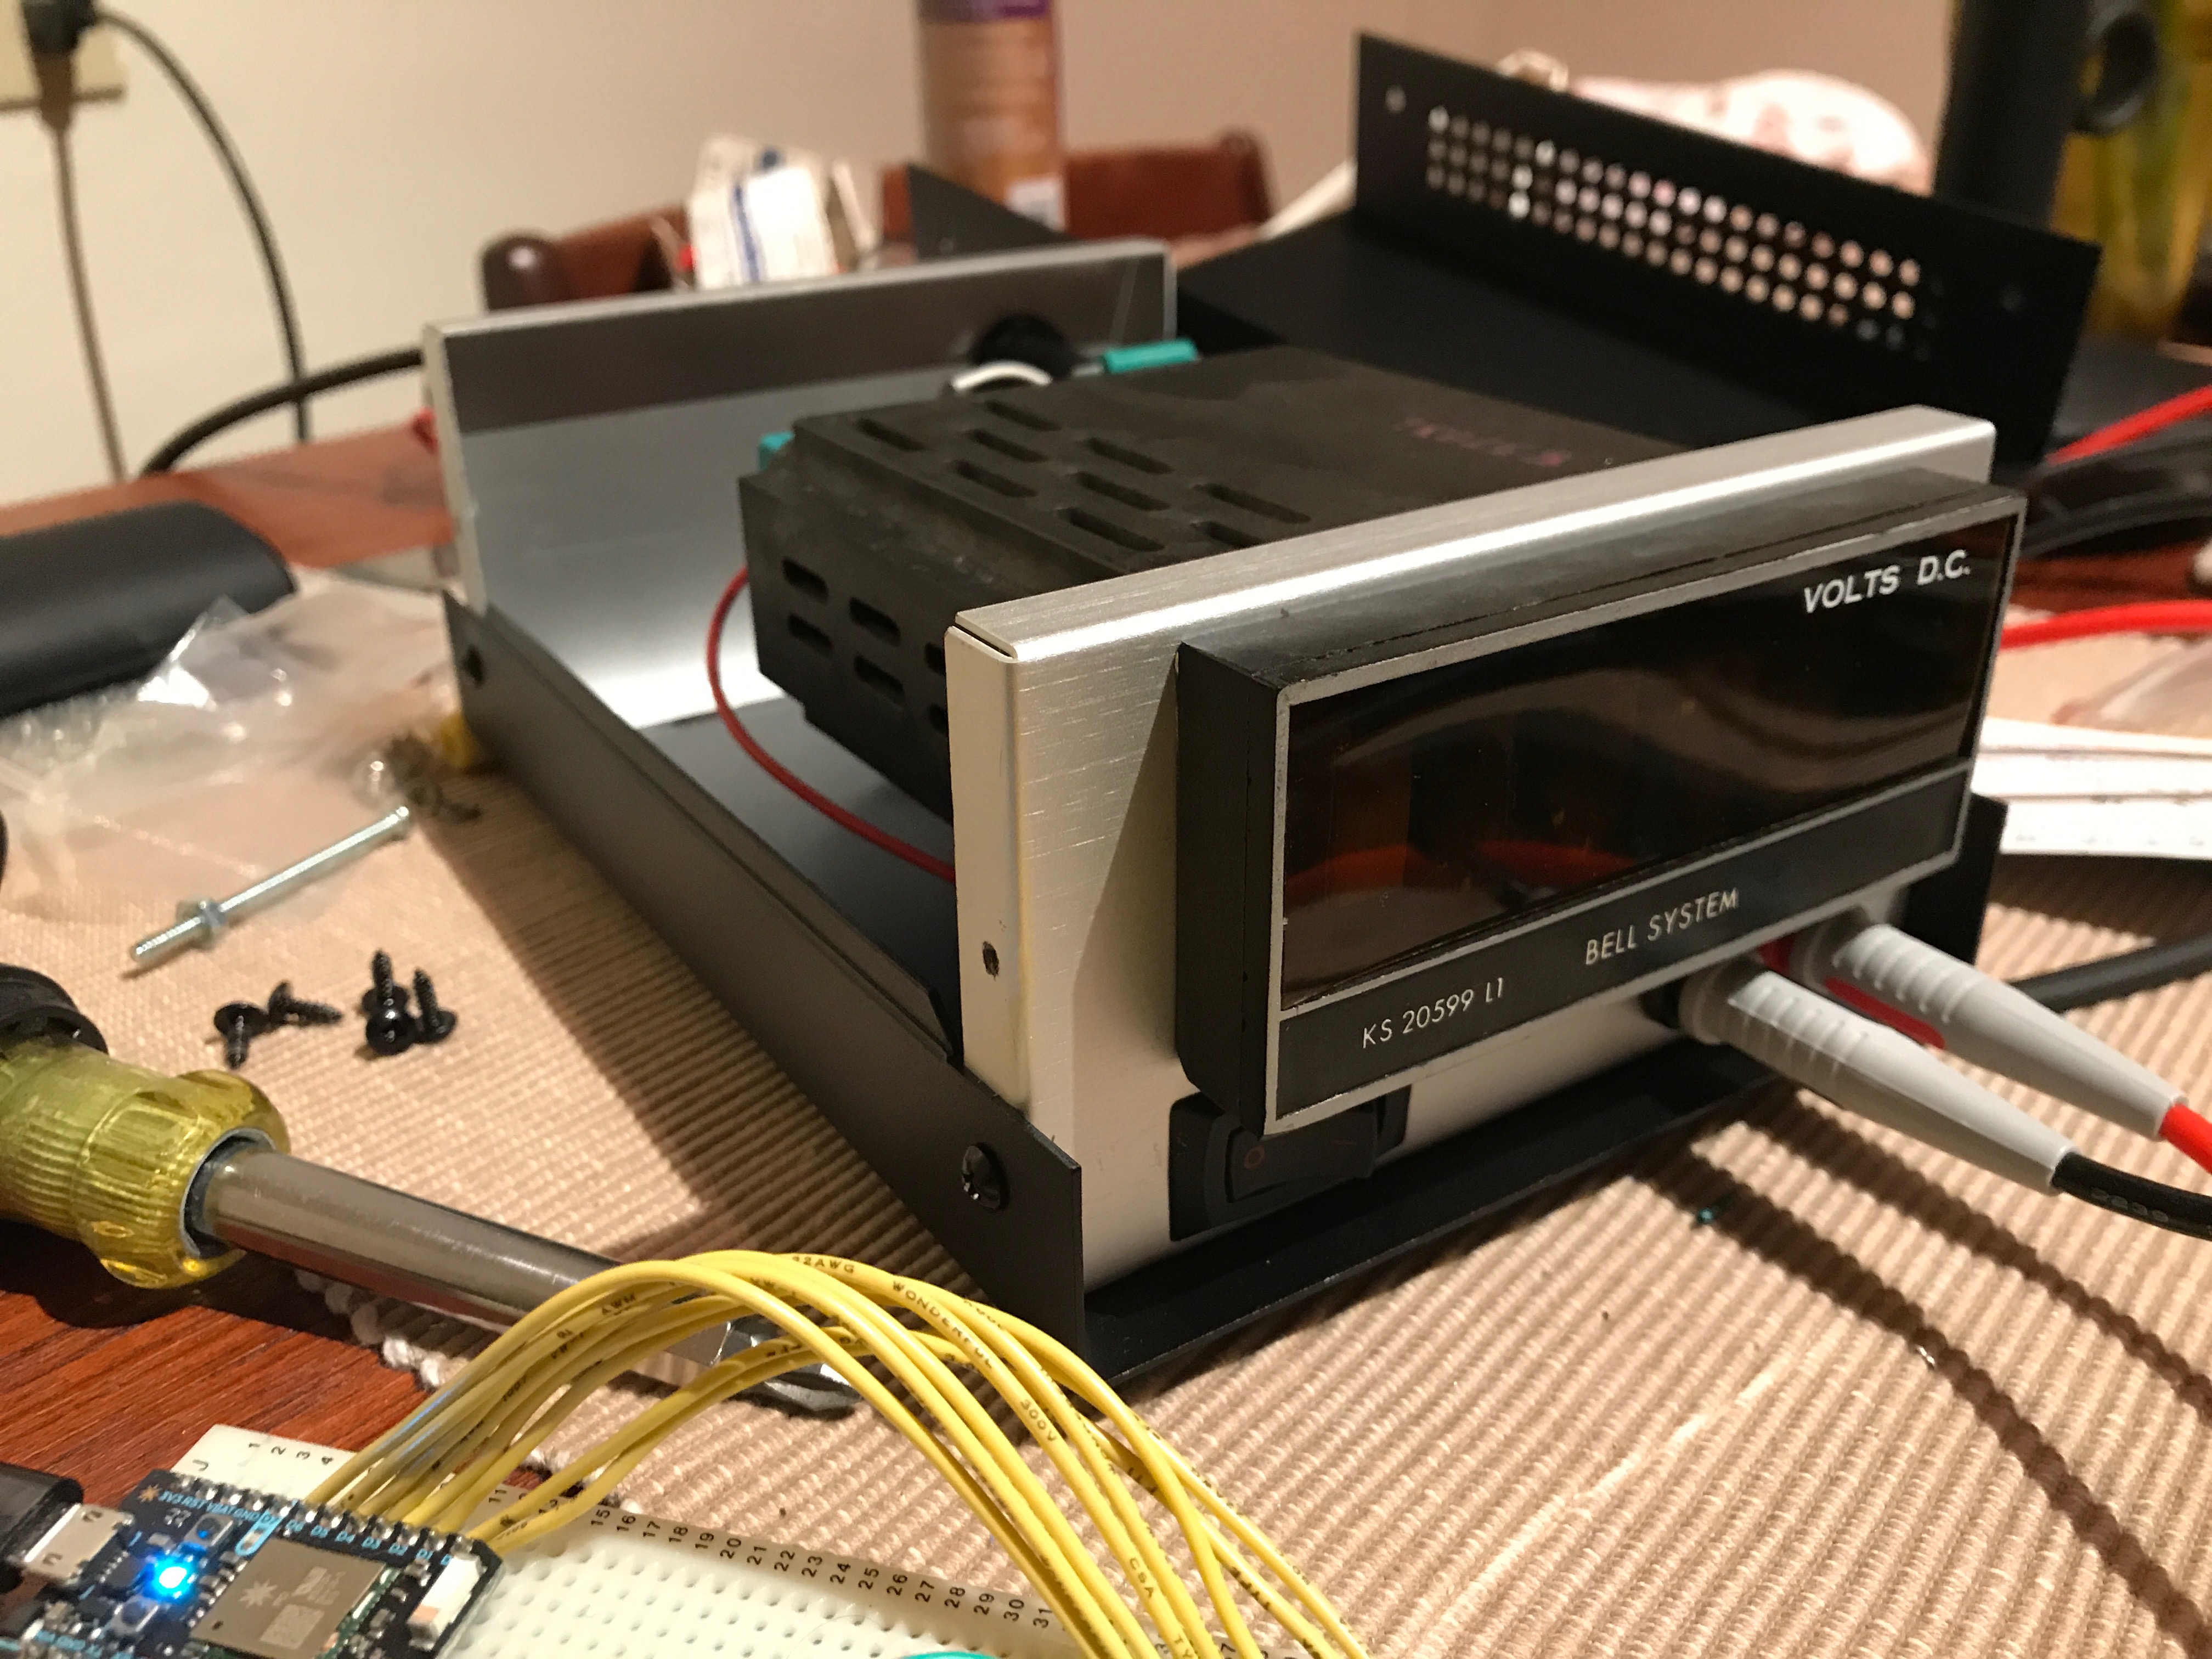
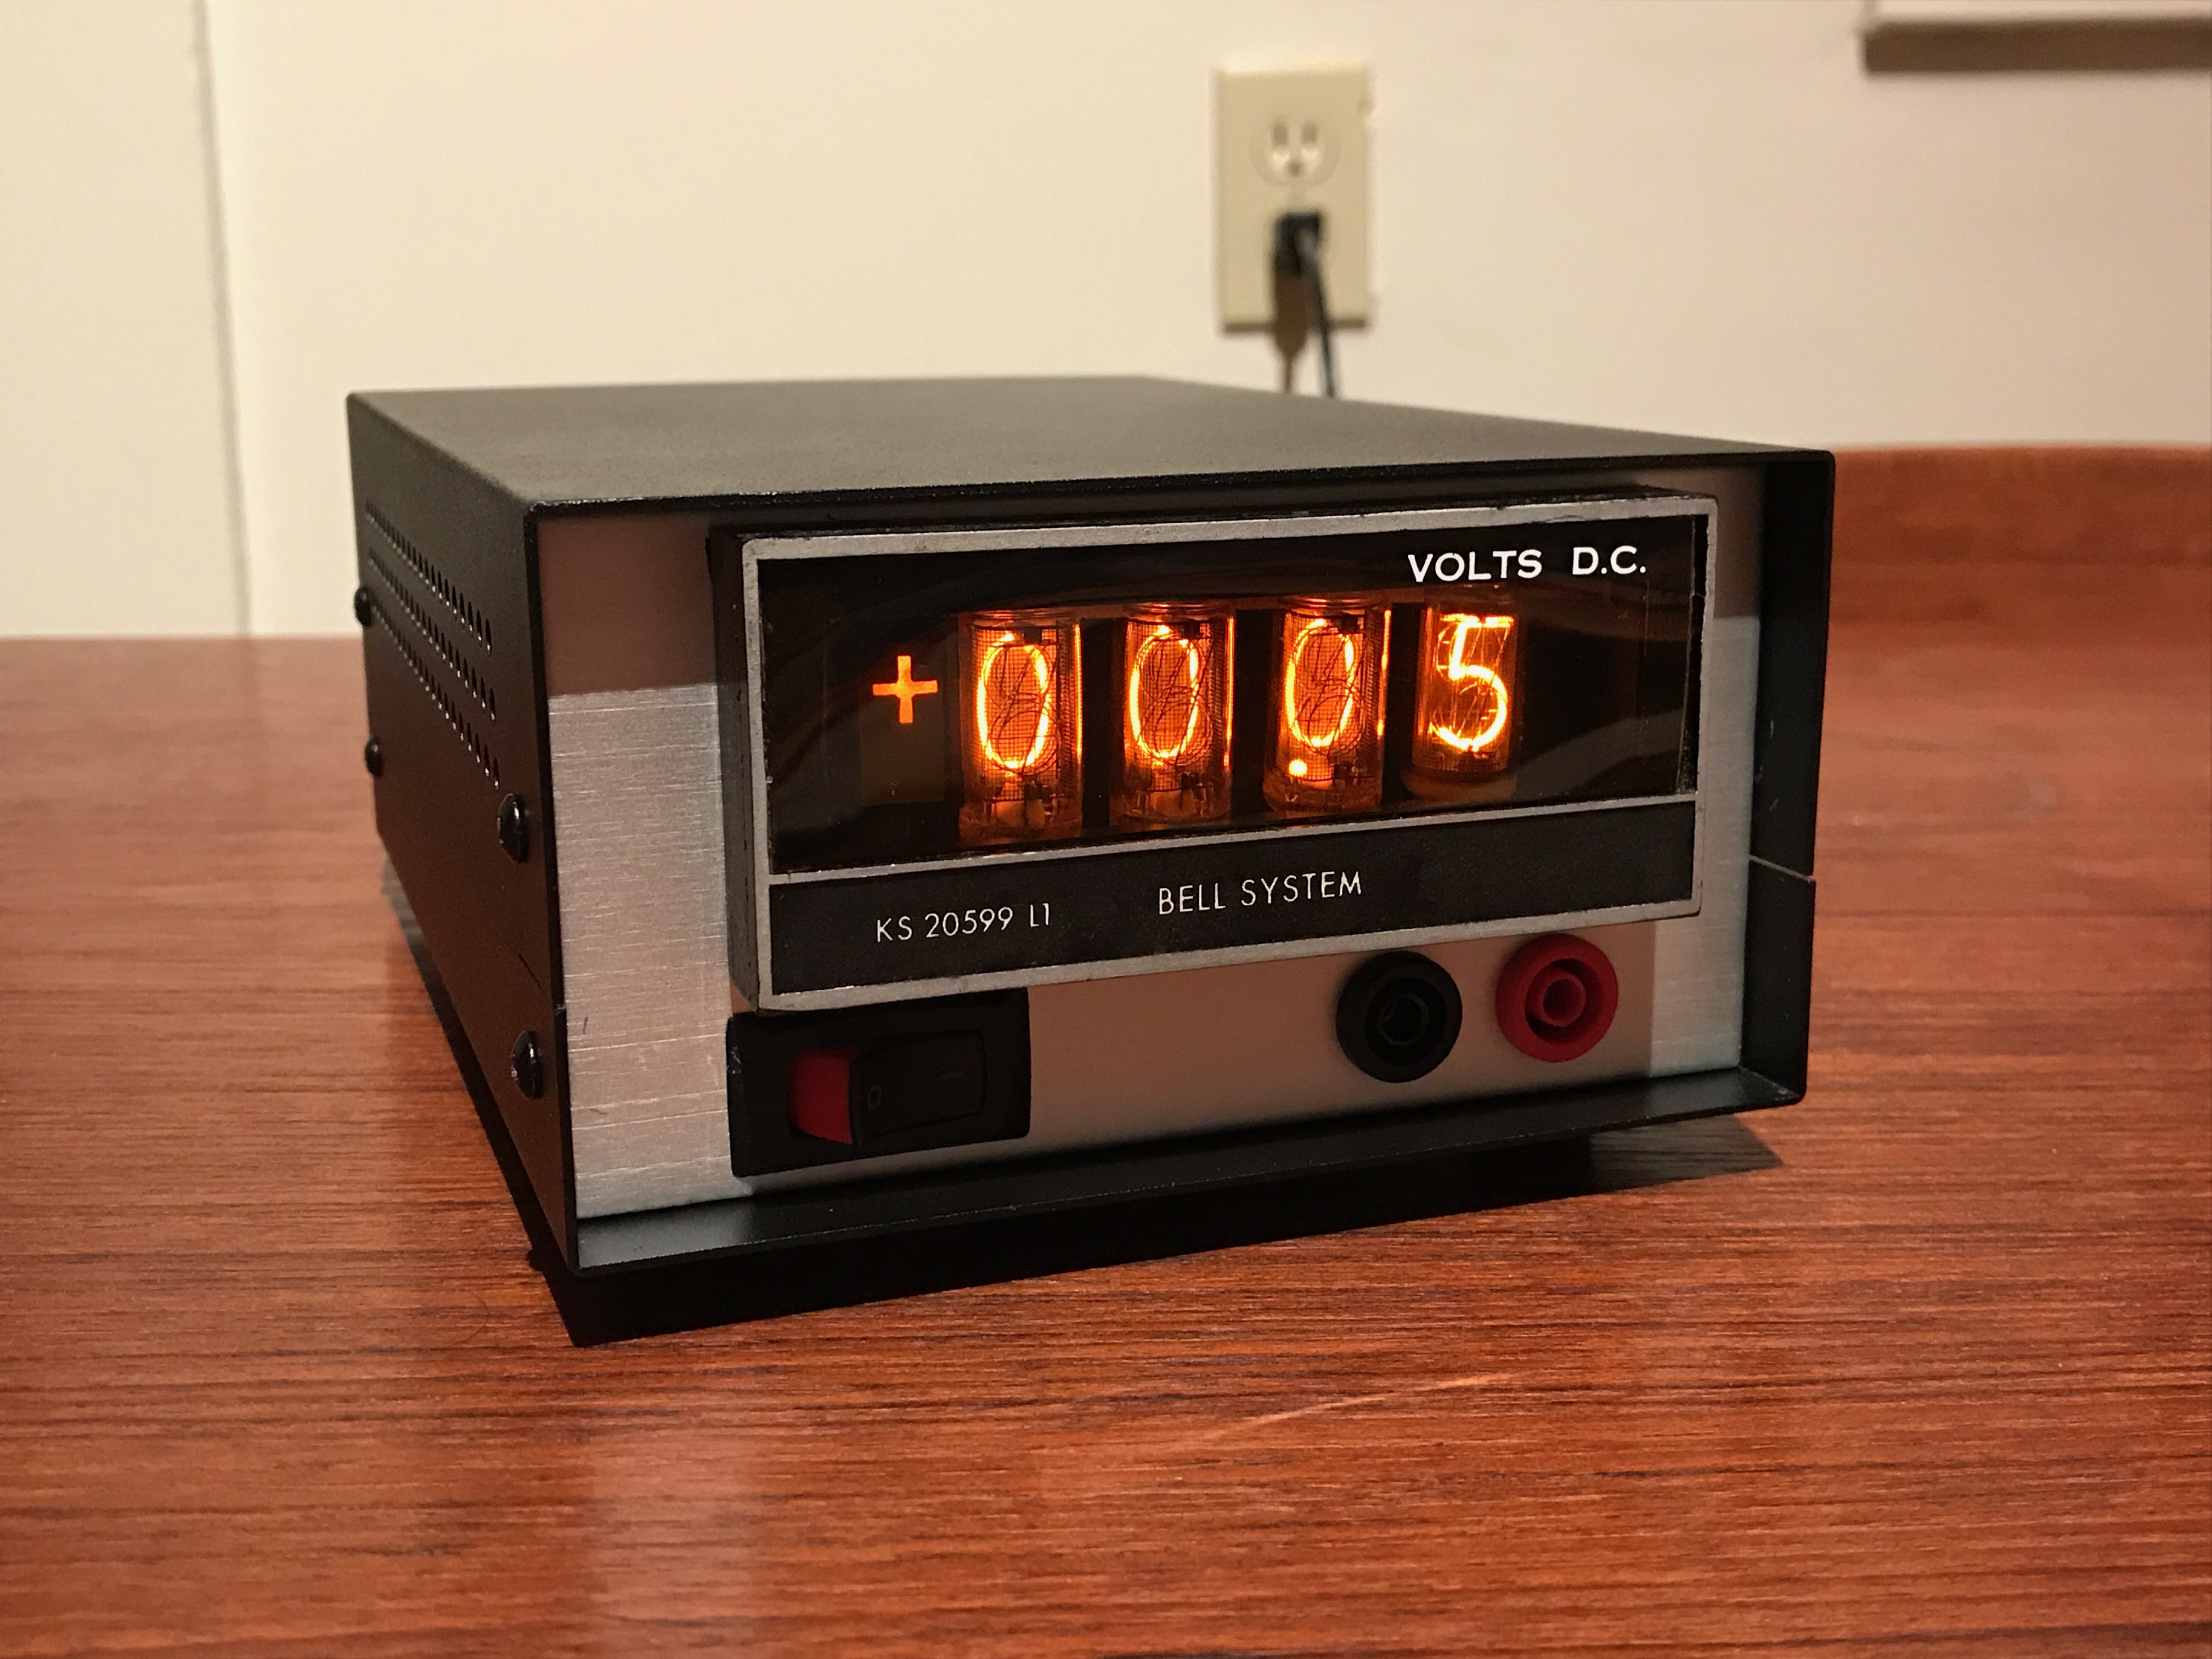
Weston 1293 Nixie Tube DVM
A couple of years ago I was at an estate sale with my mom and picked up this interesting Weston 1293 Digital Volt Meter. Could not resist nixie tube test equipment for $15.

I'd learned a lot about how it worked from a web page describing the Weston 1294, though that web page appears to be completely gone from the internet without a trace—not even a page is cached in the Internet Archive. I hope that site has a shorter hiatus than mine did…
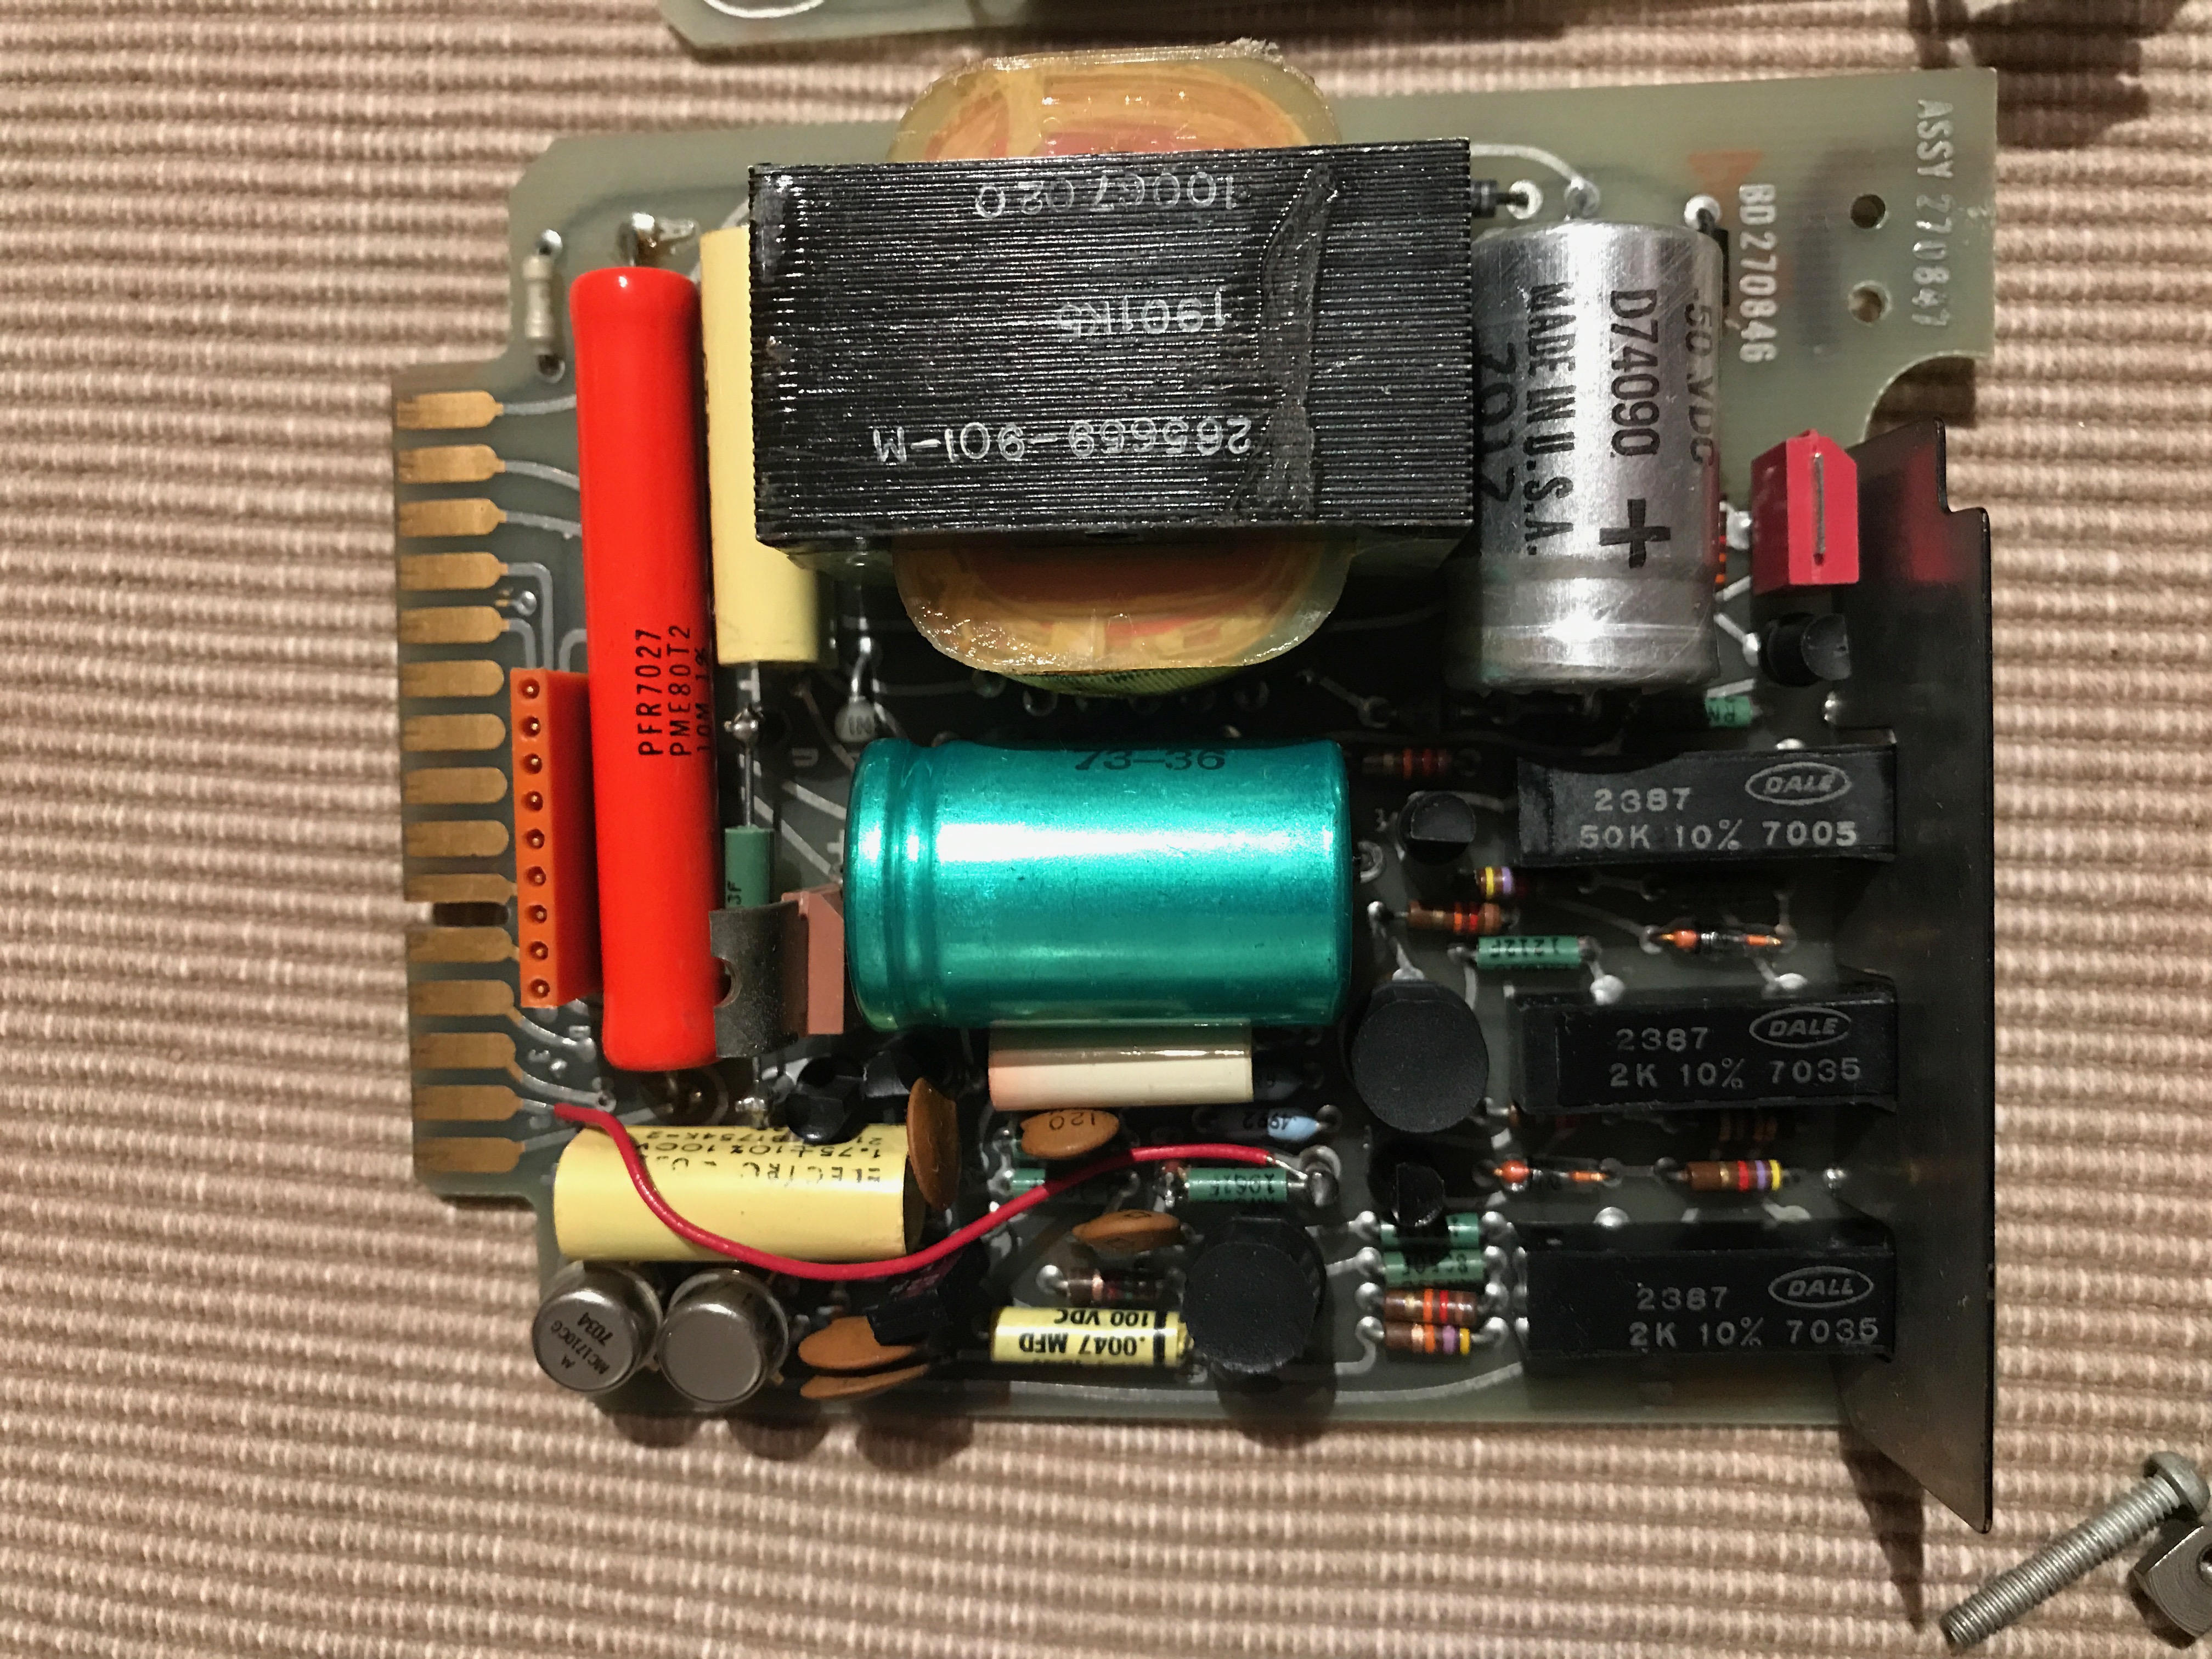
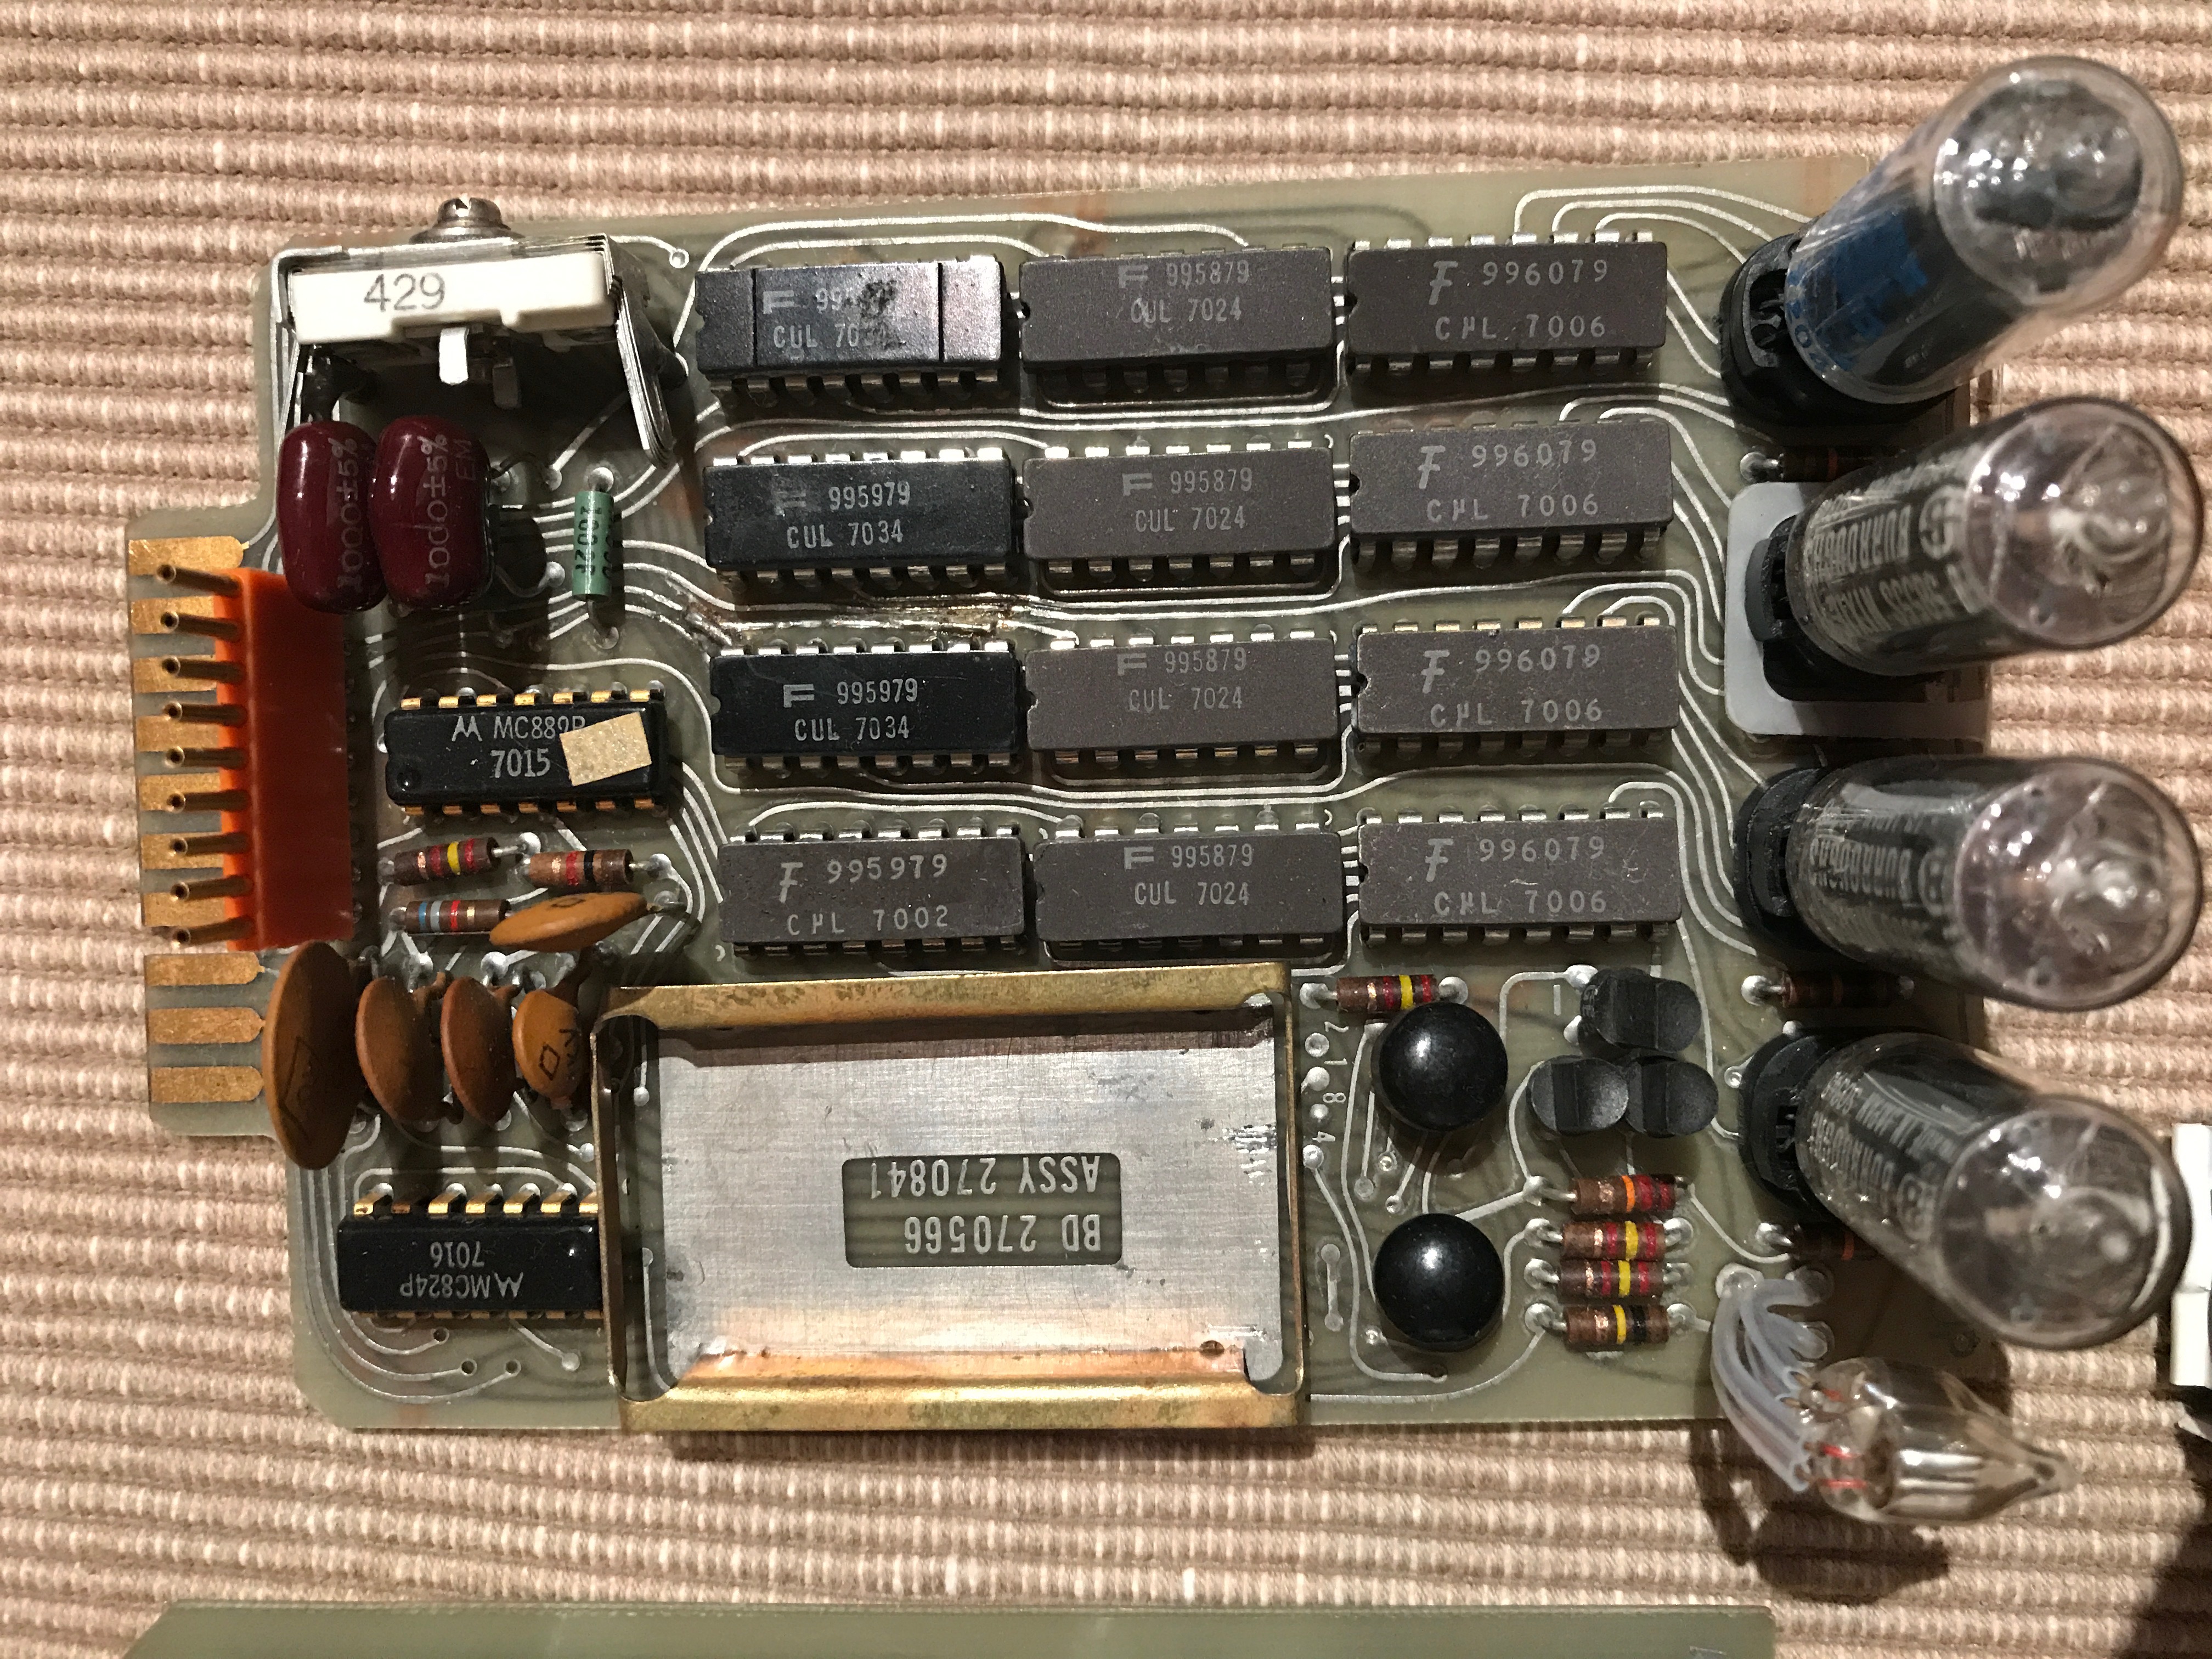
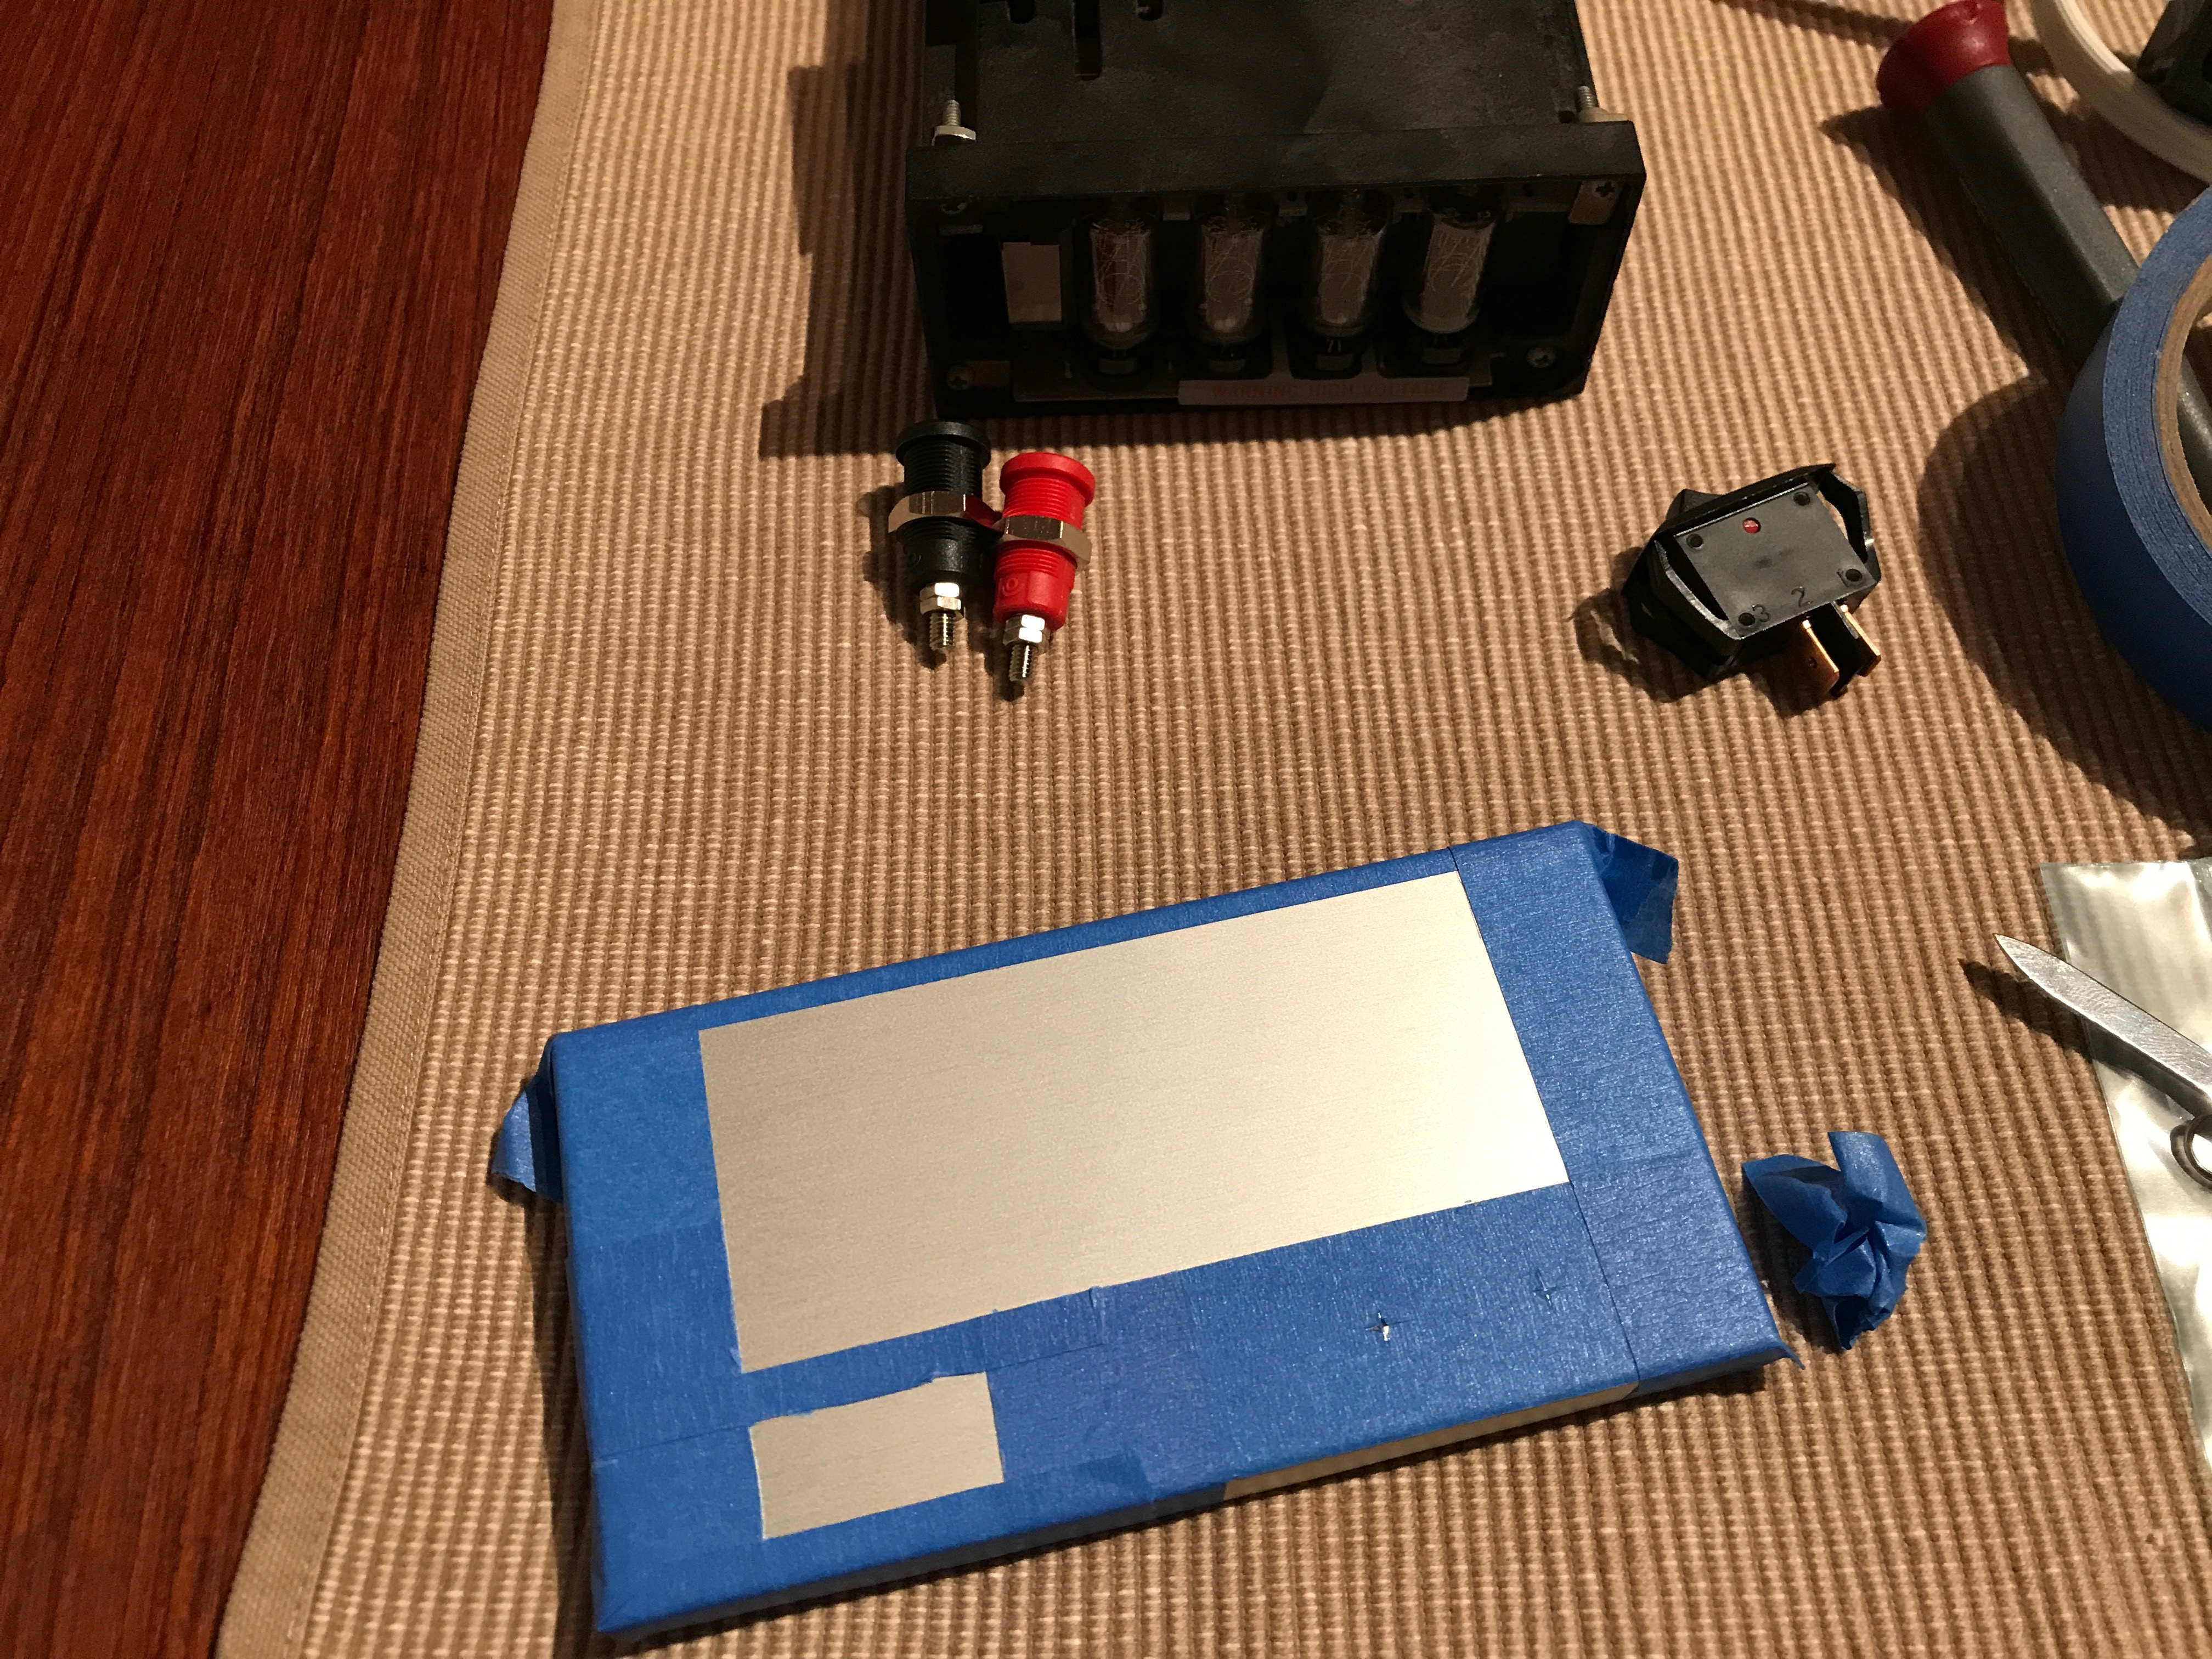
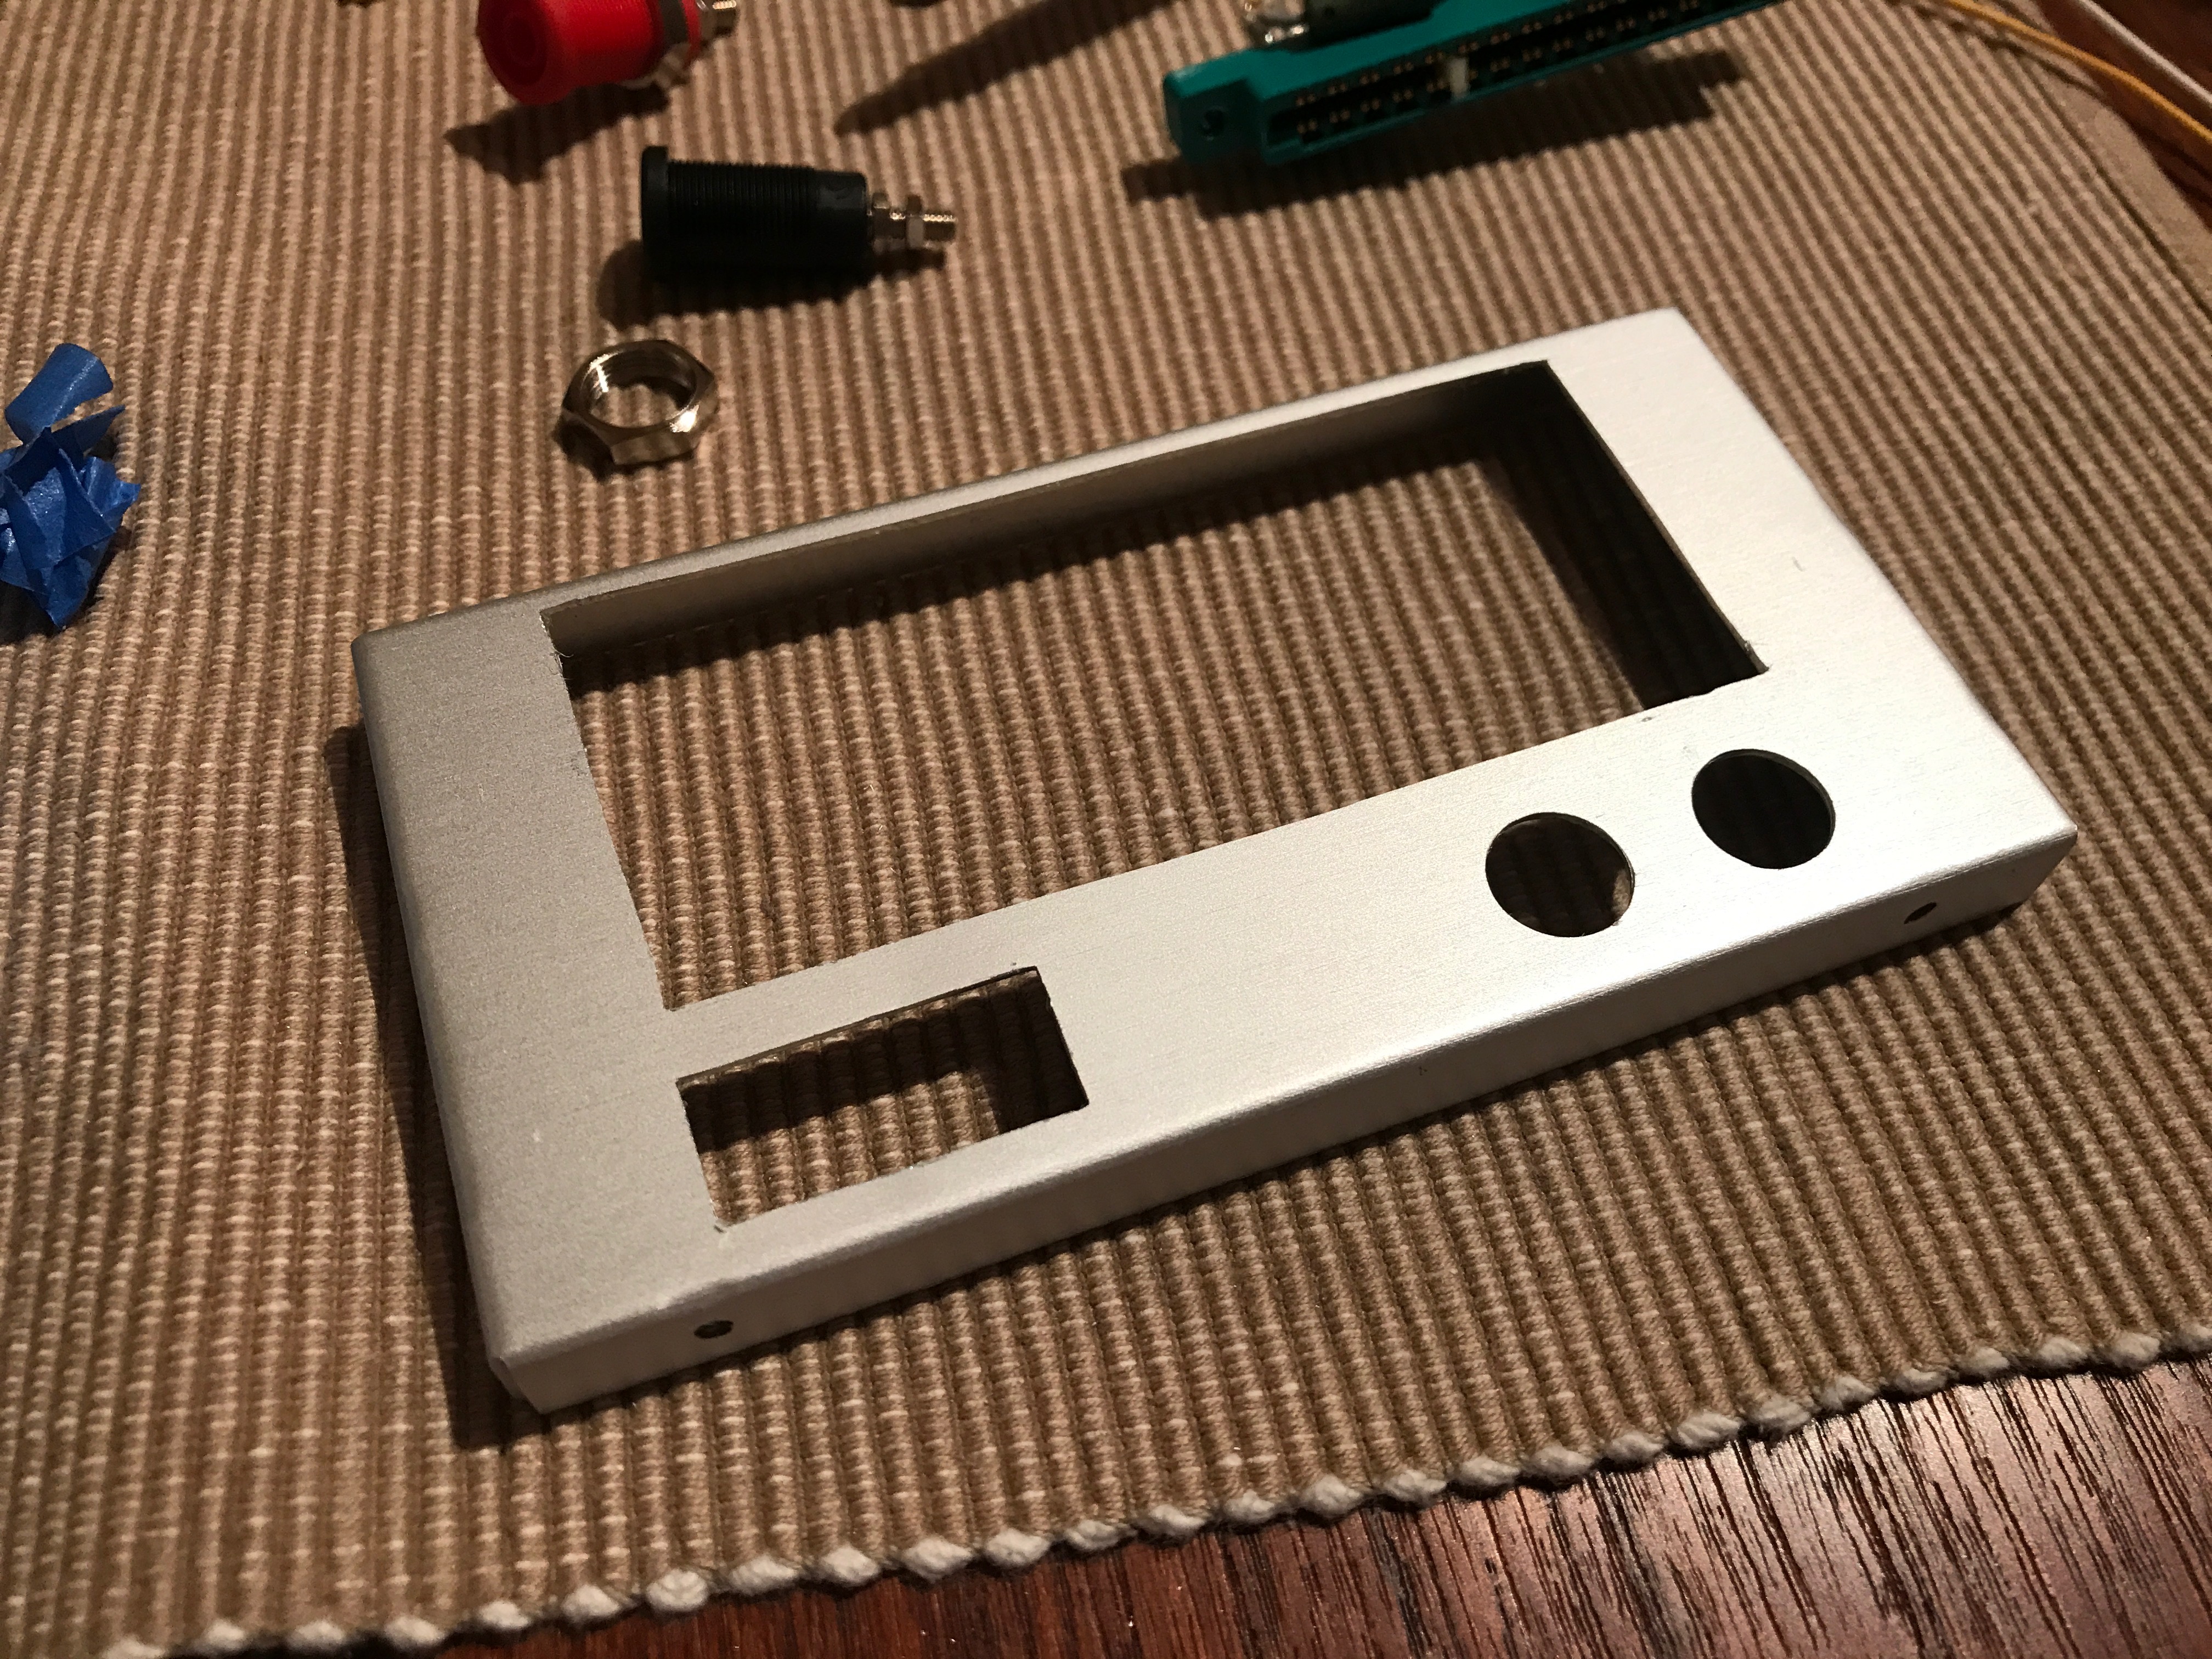
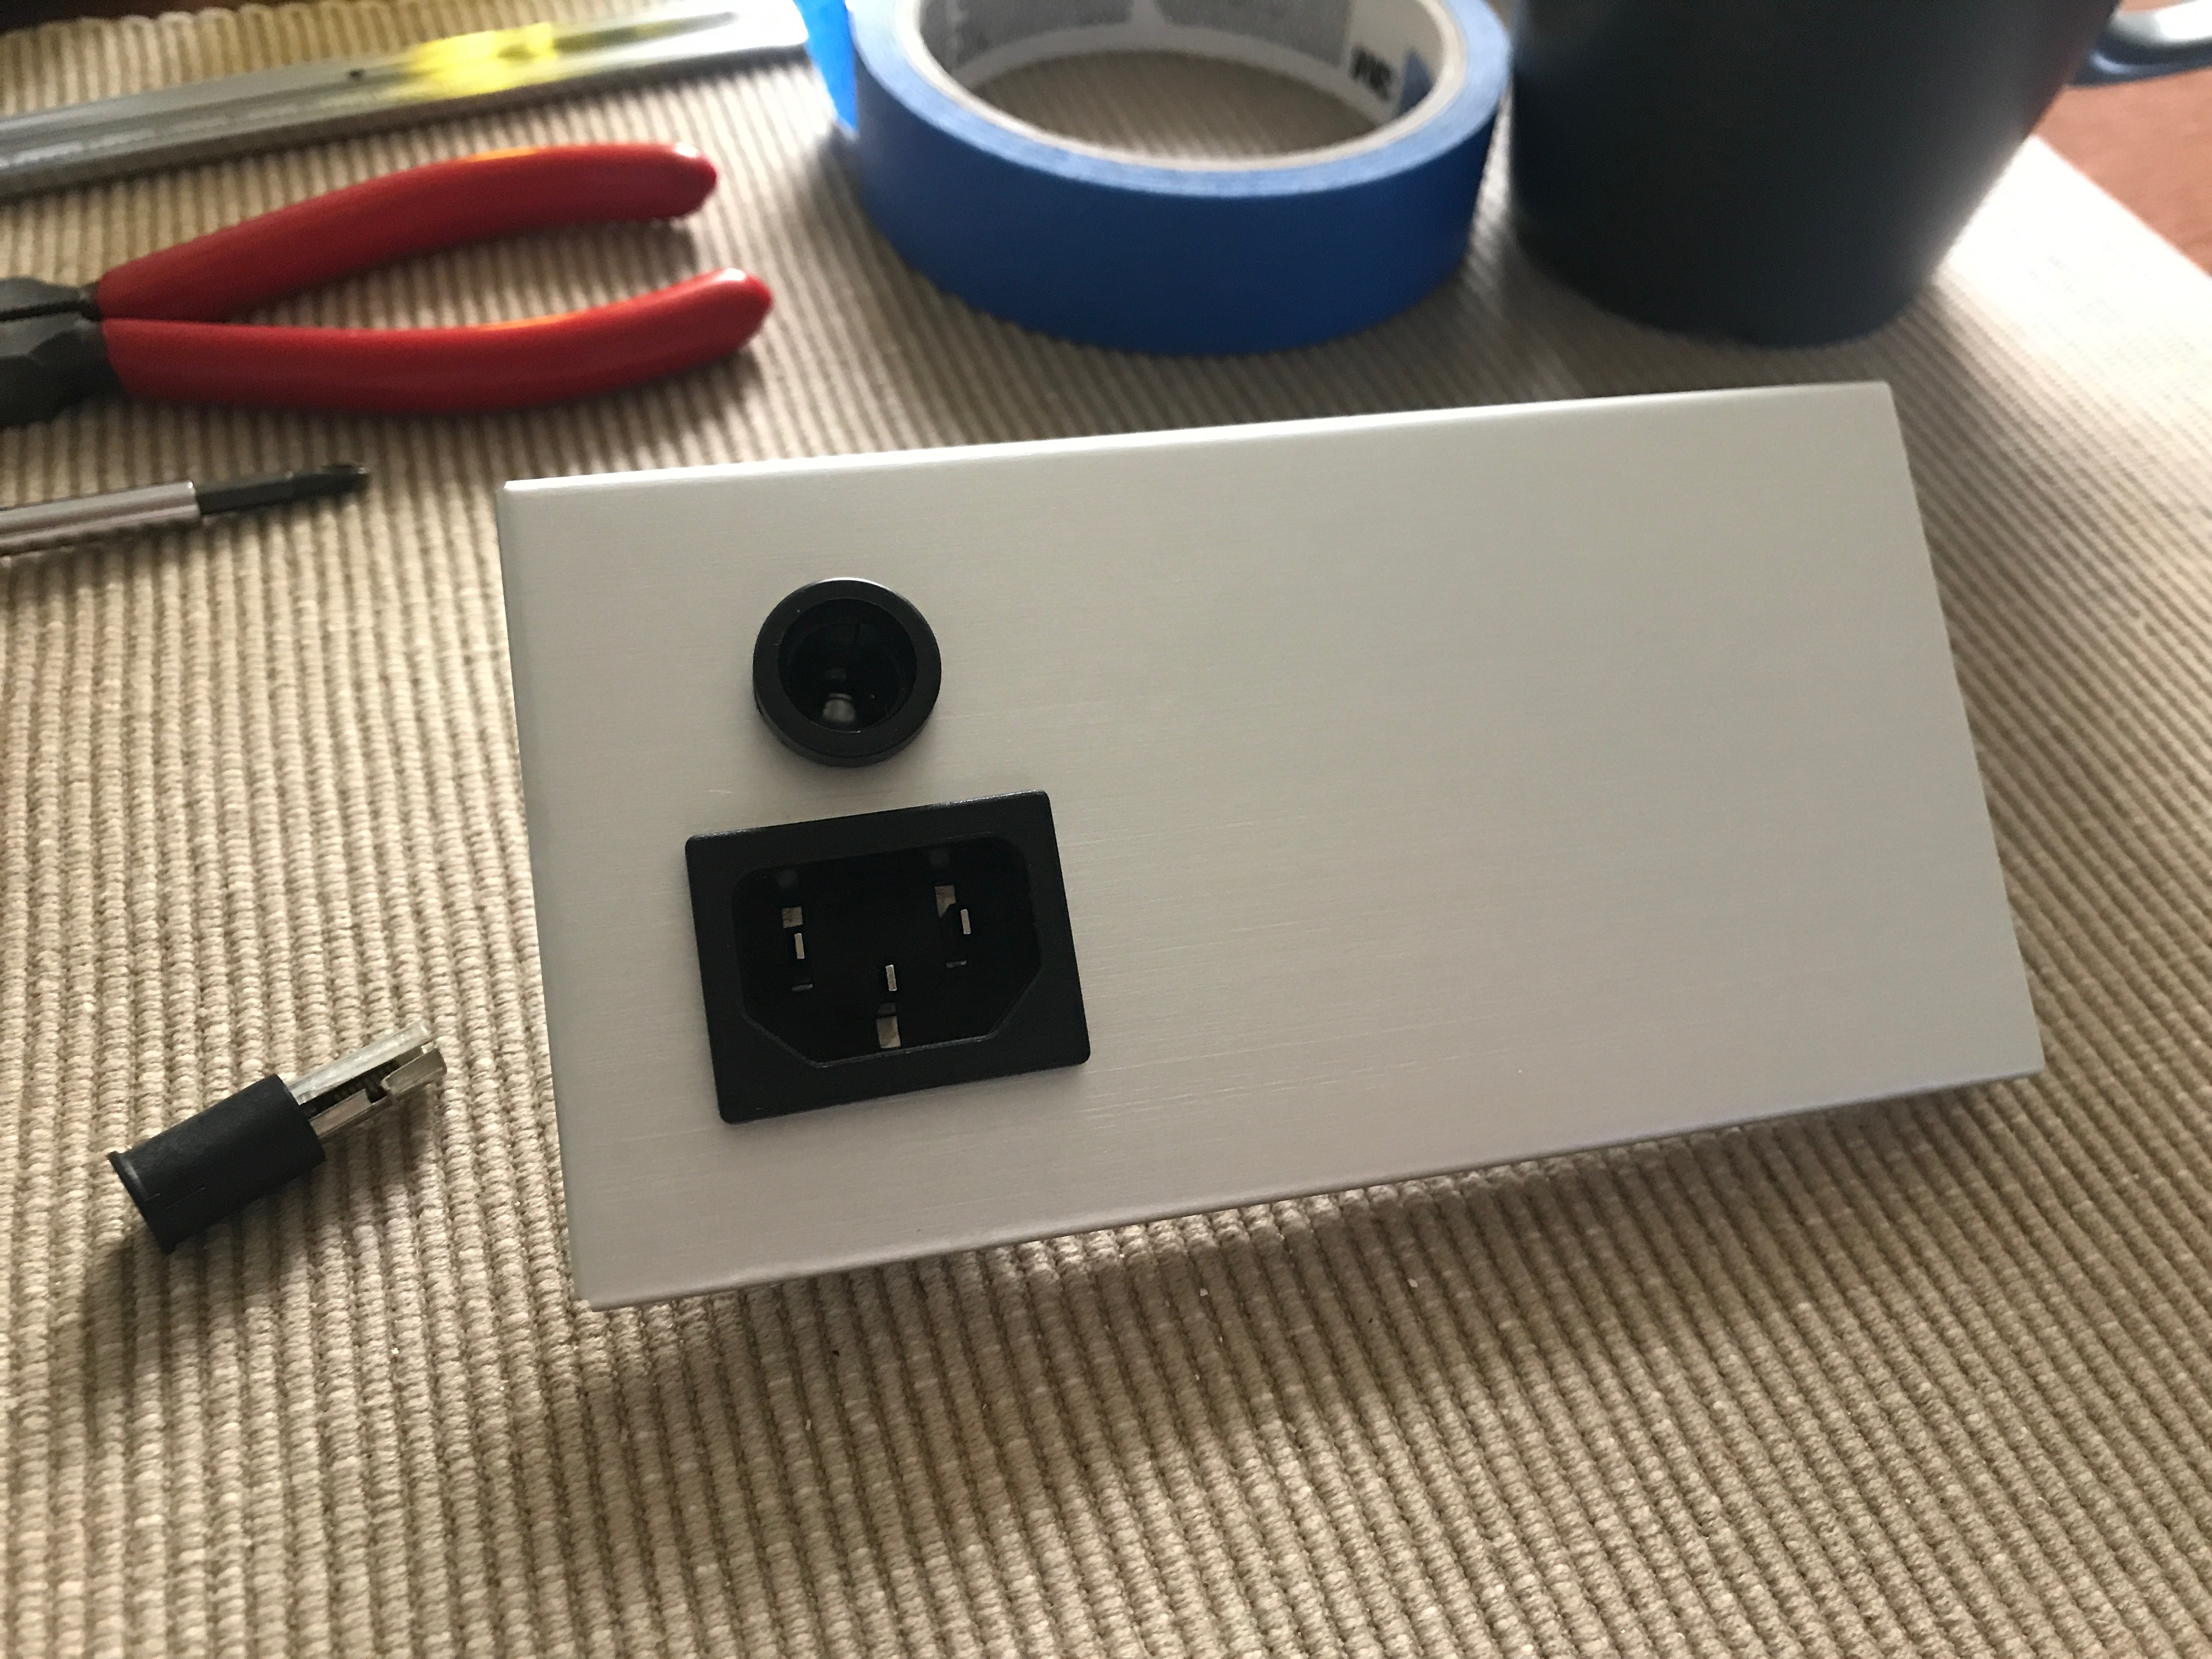
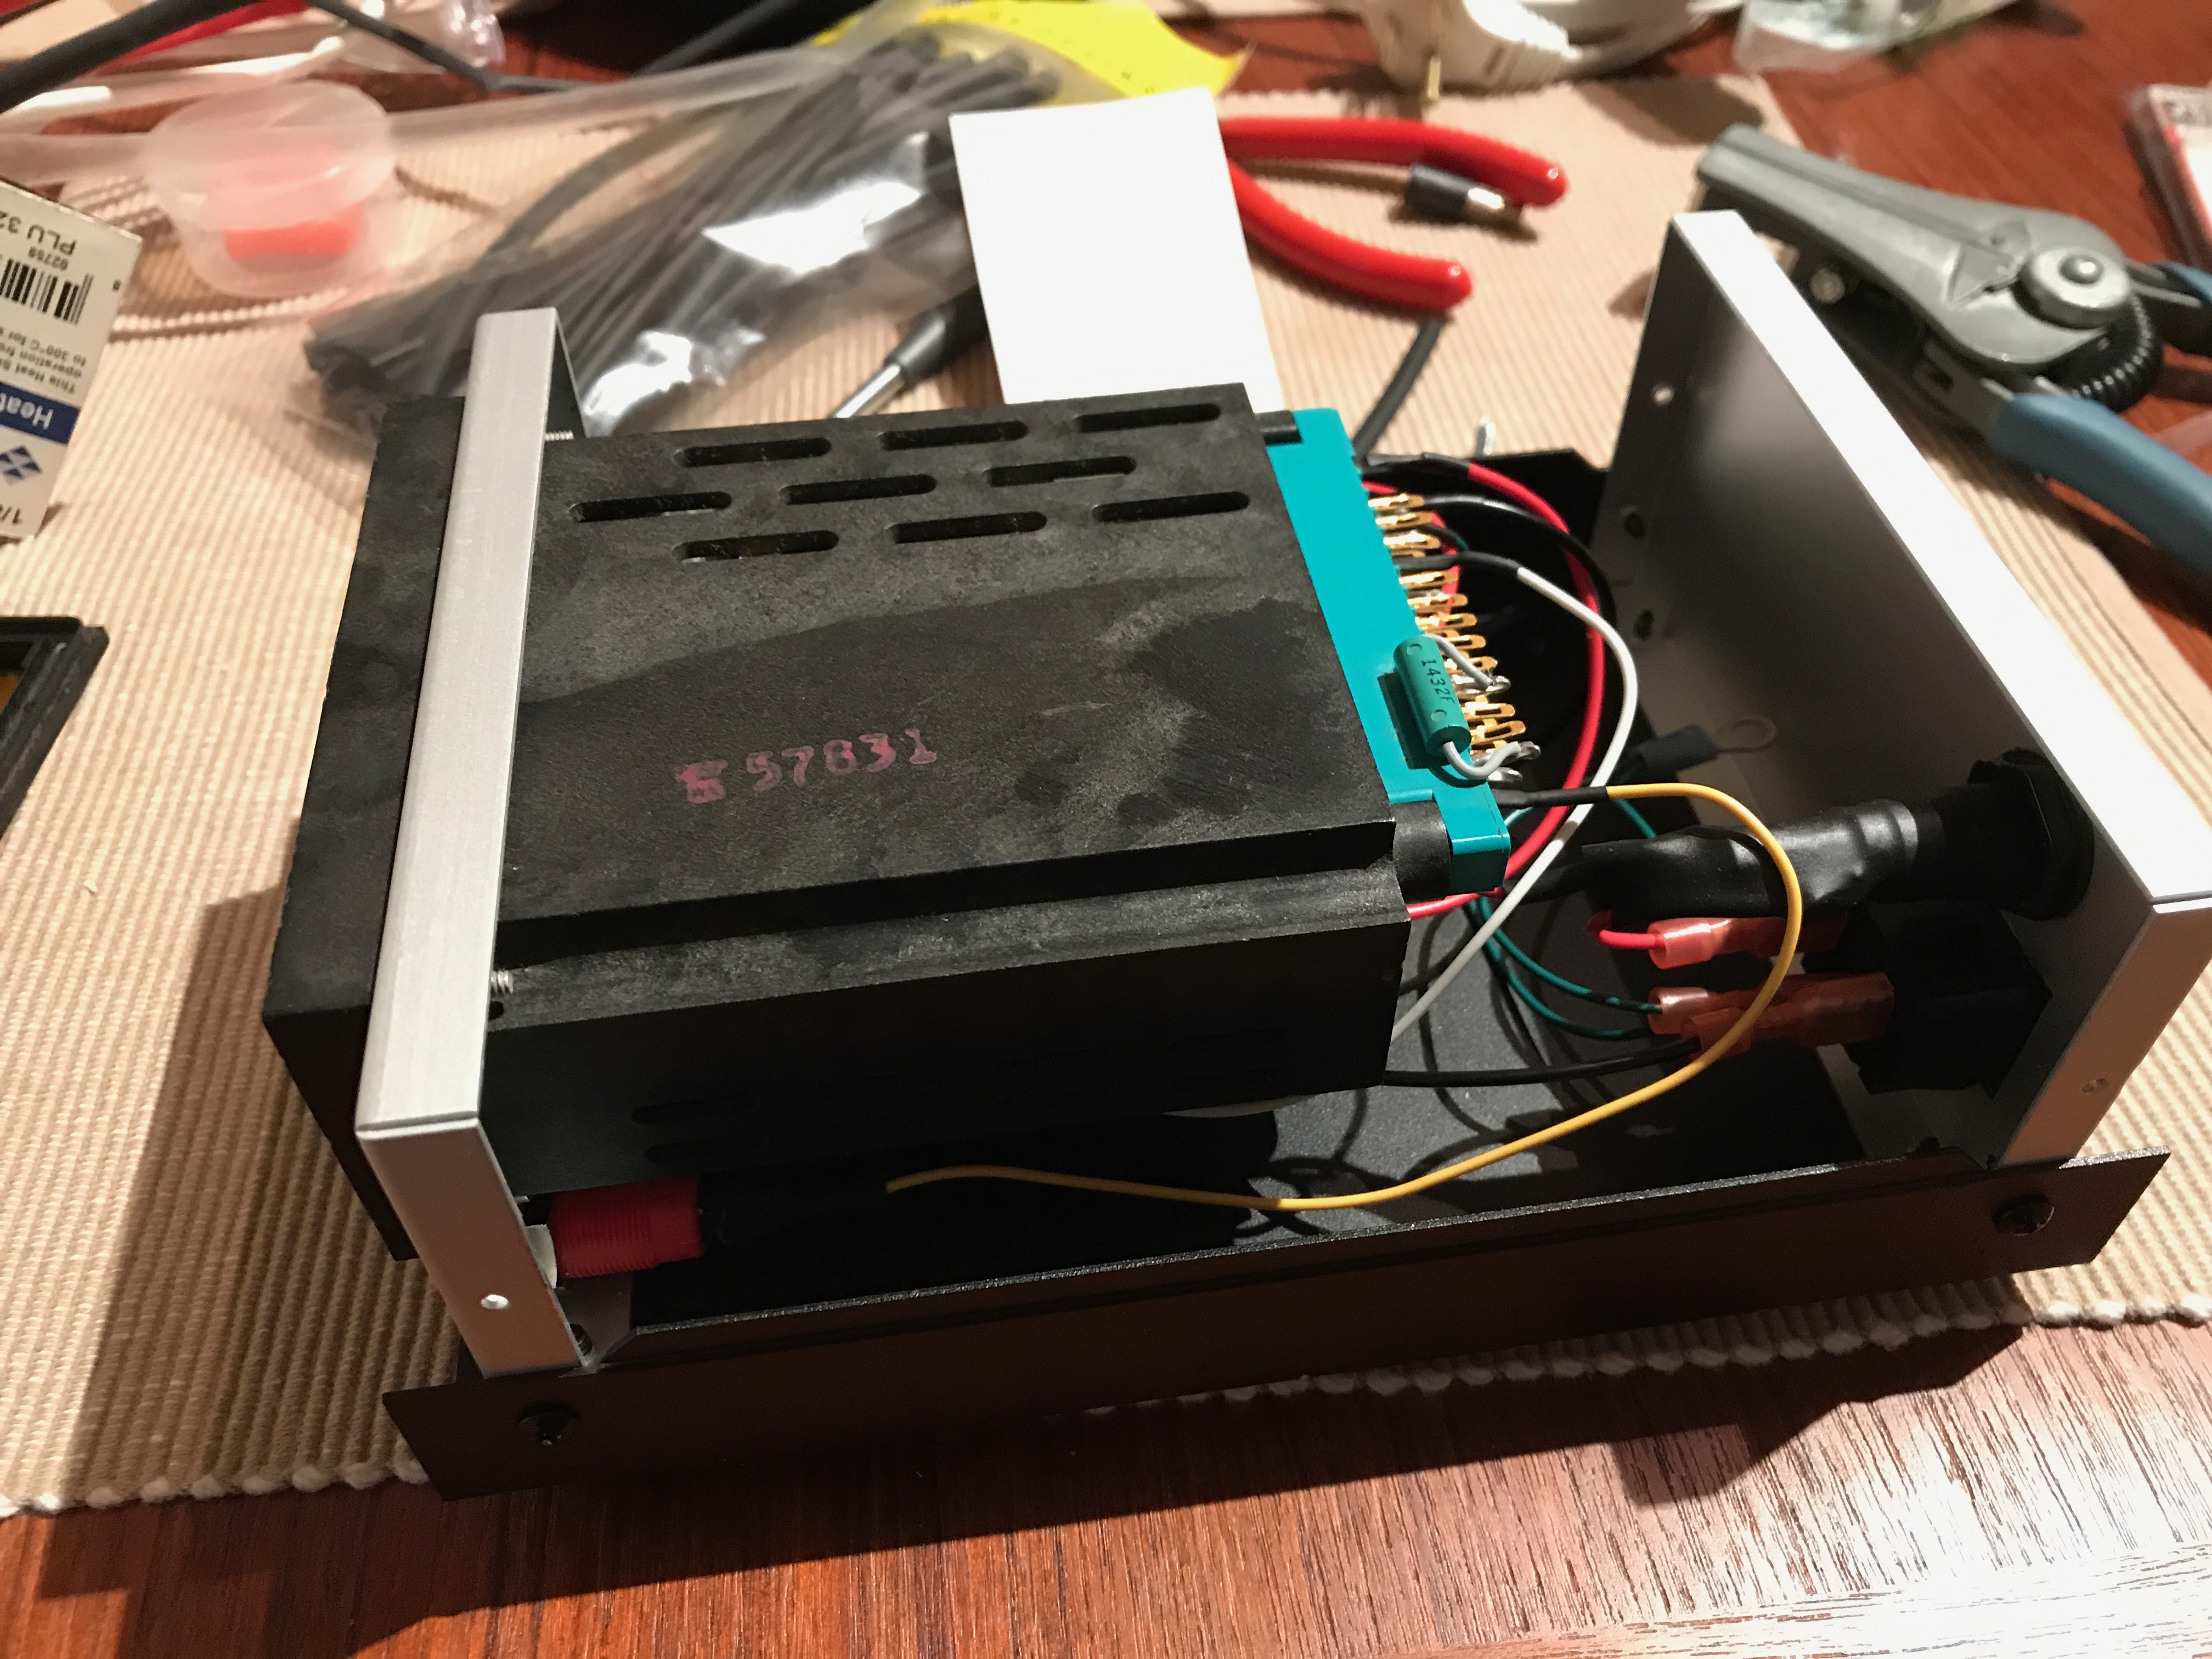
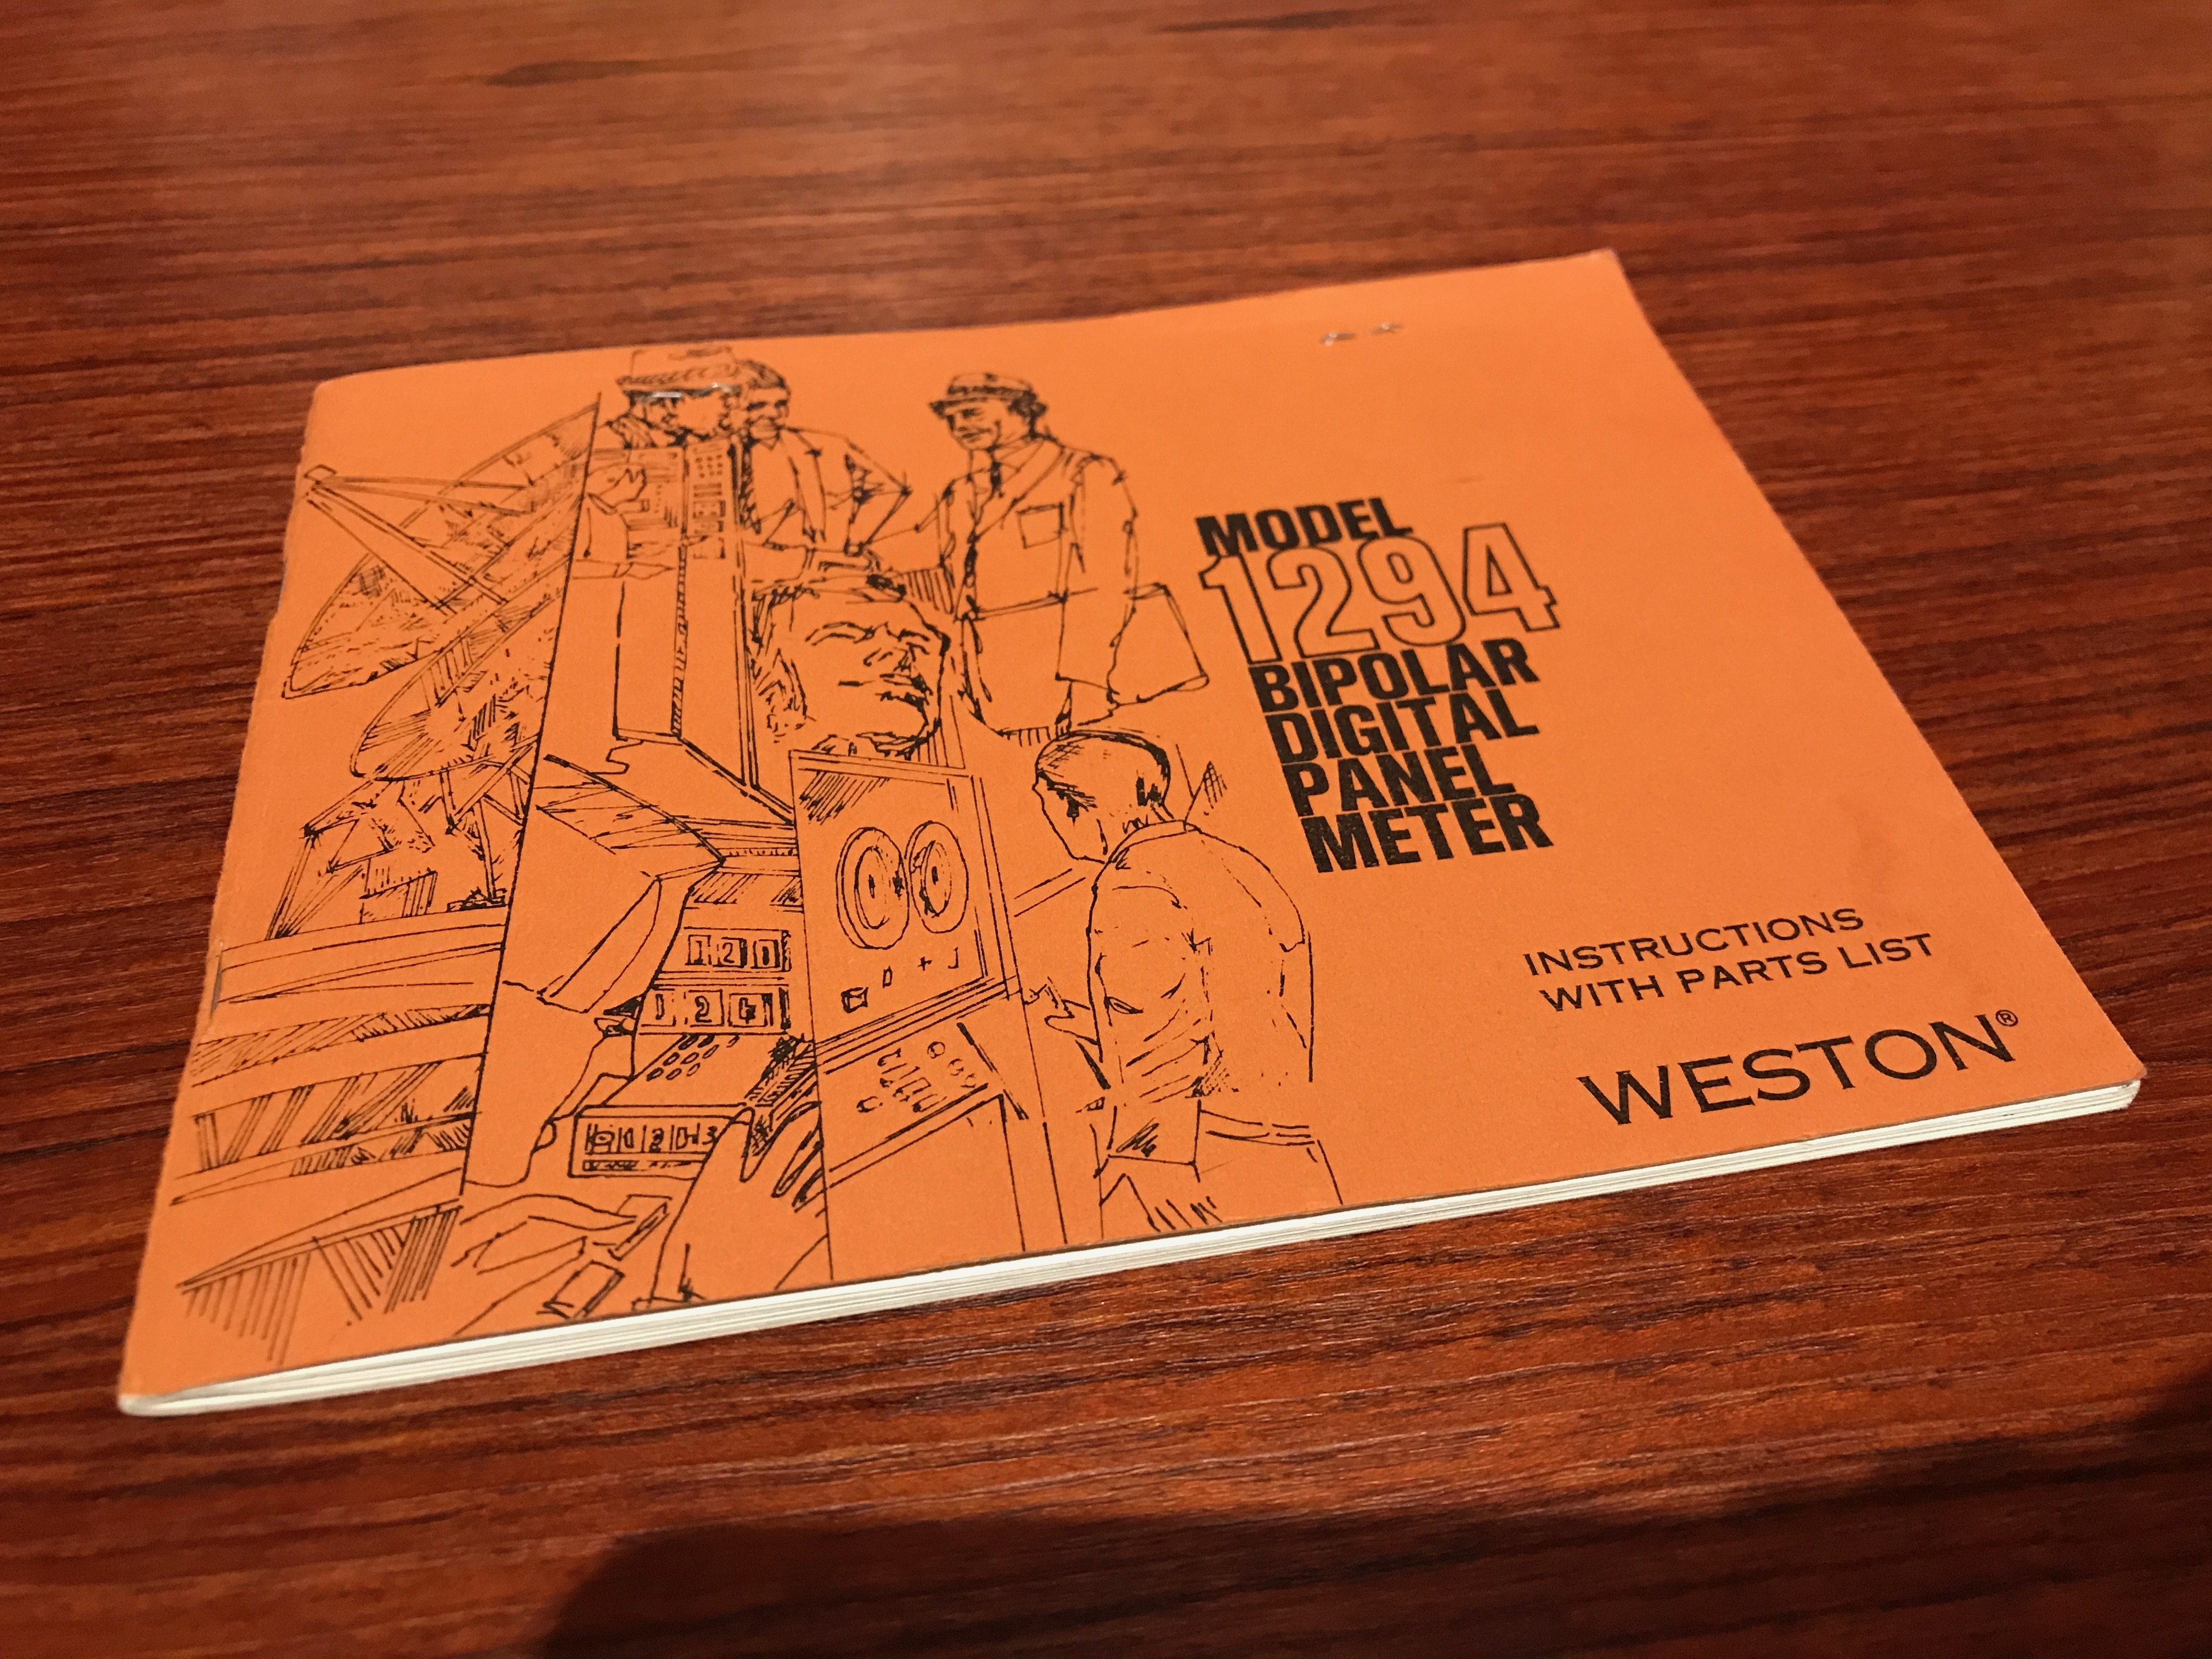
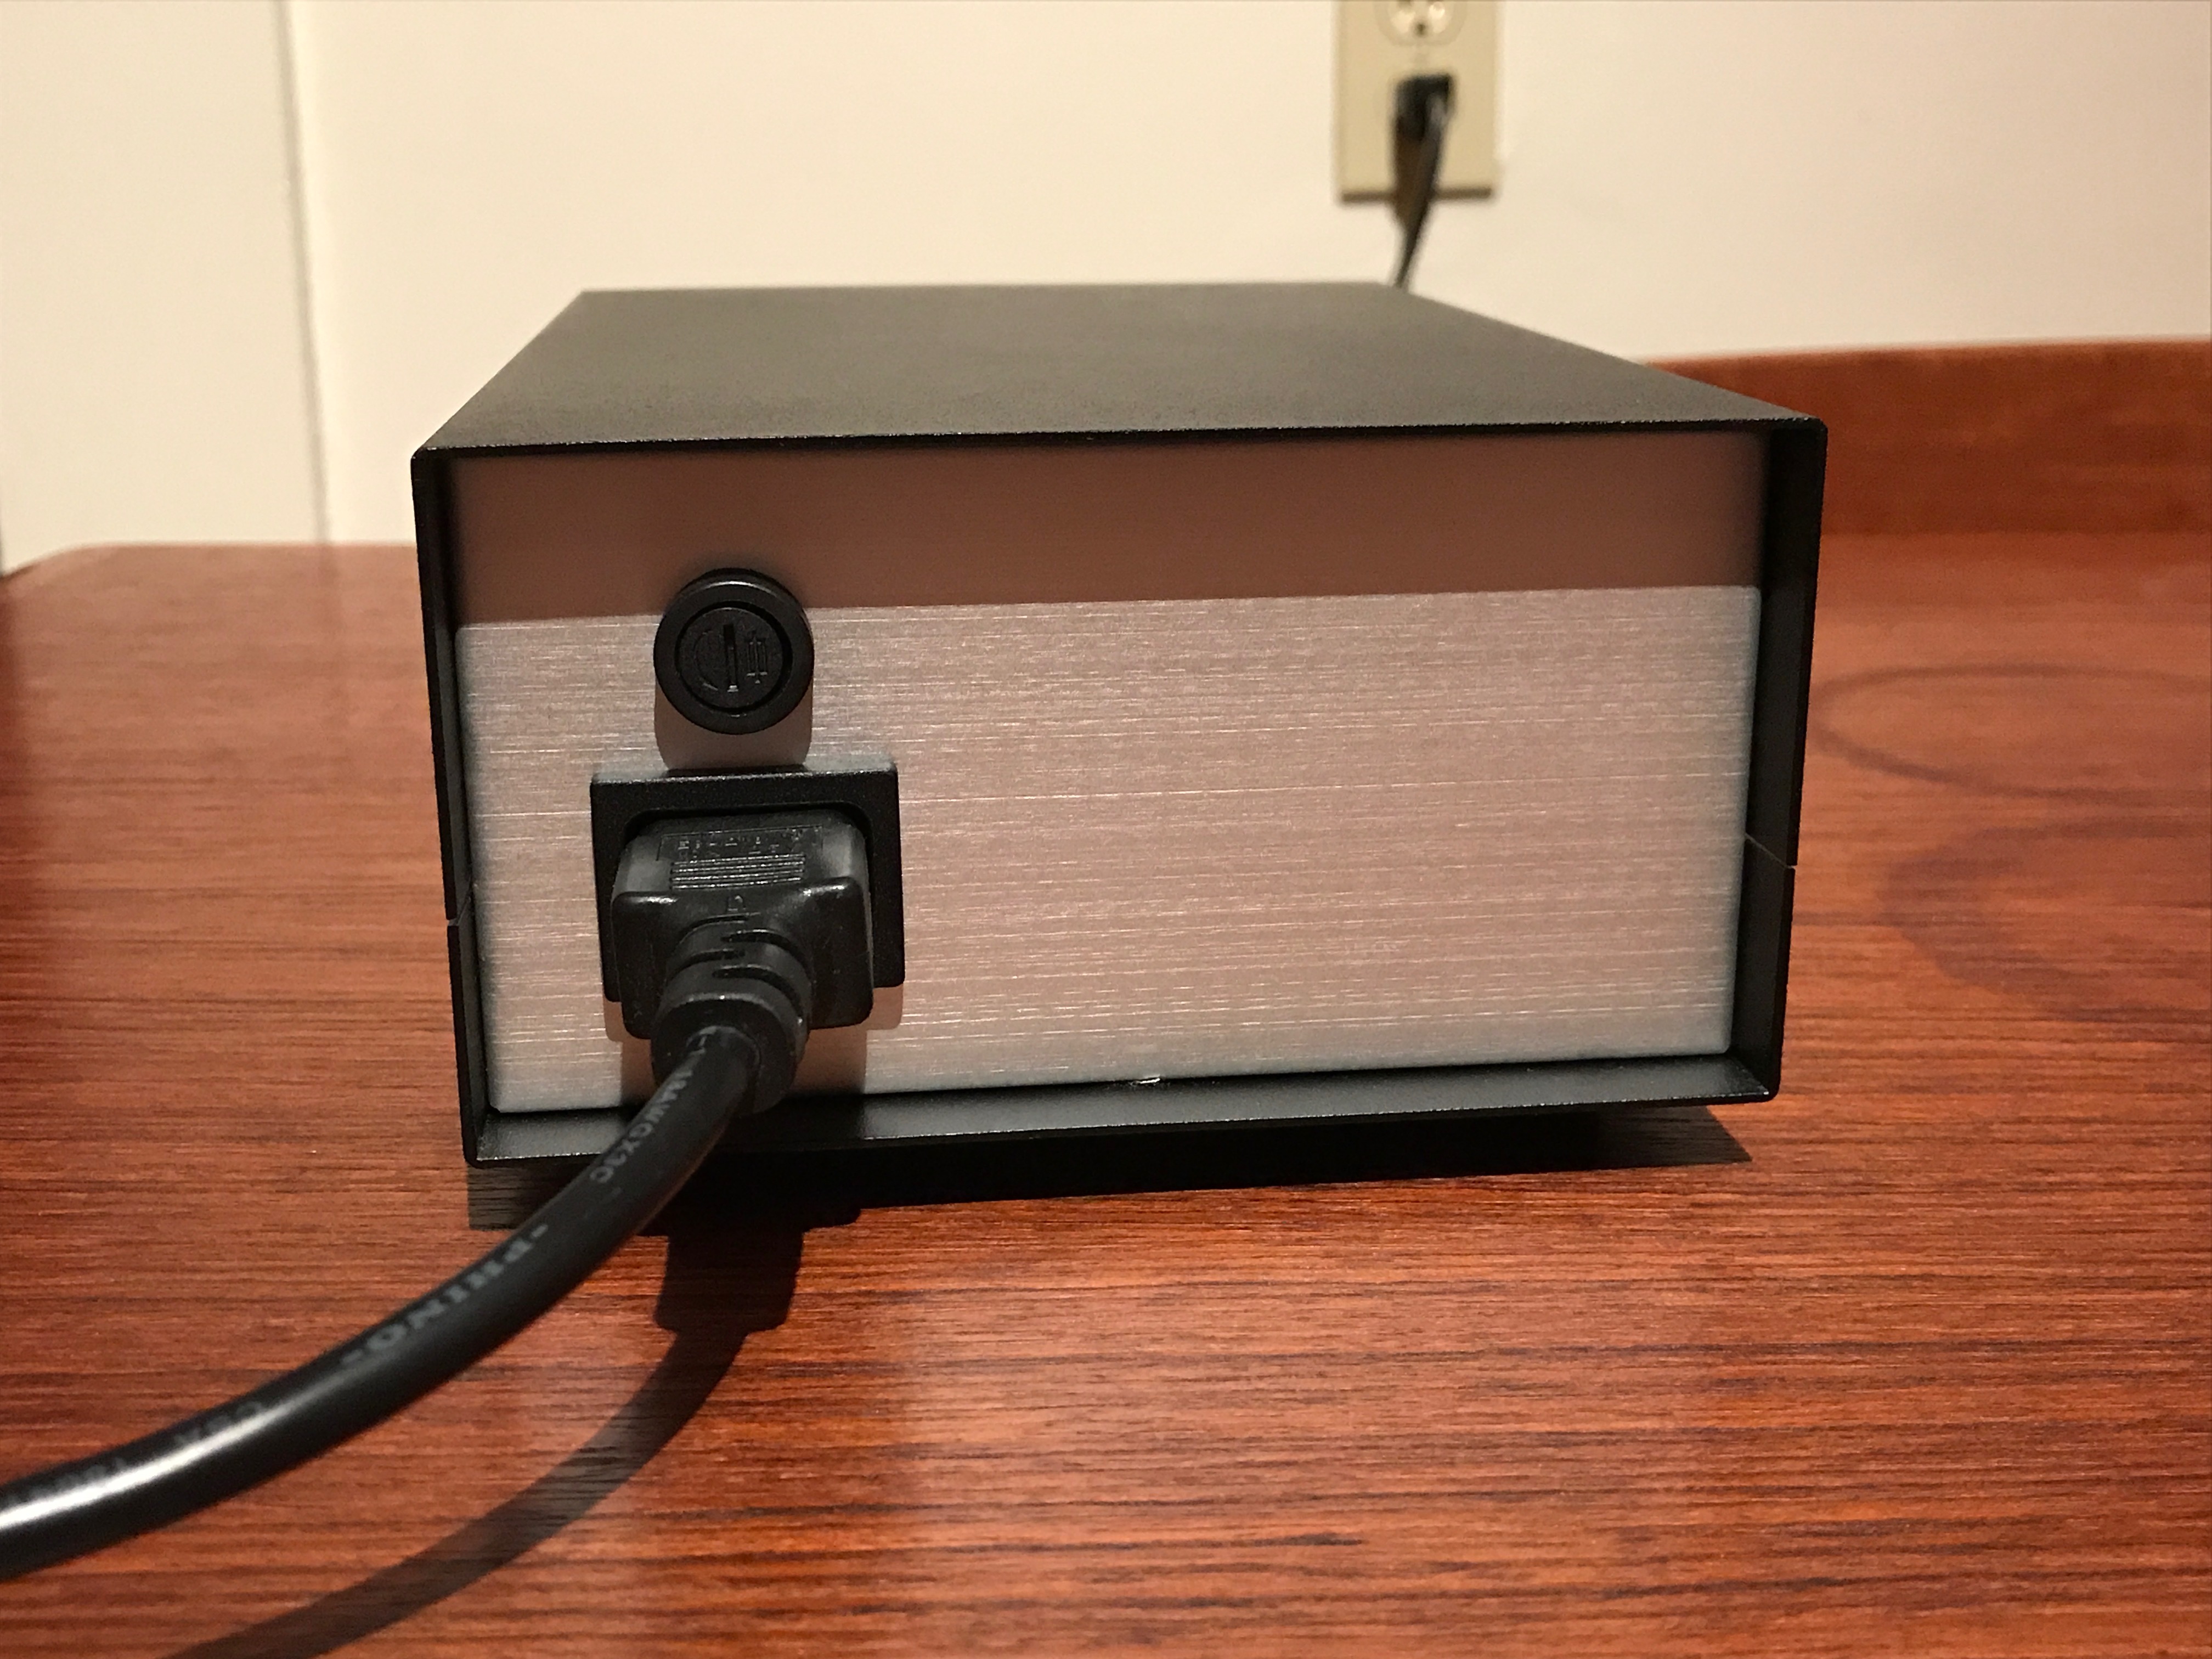
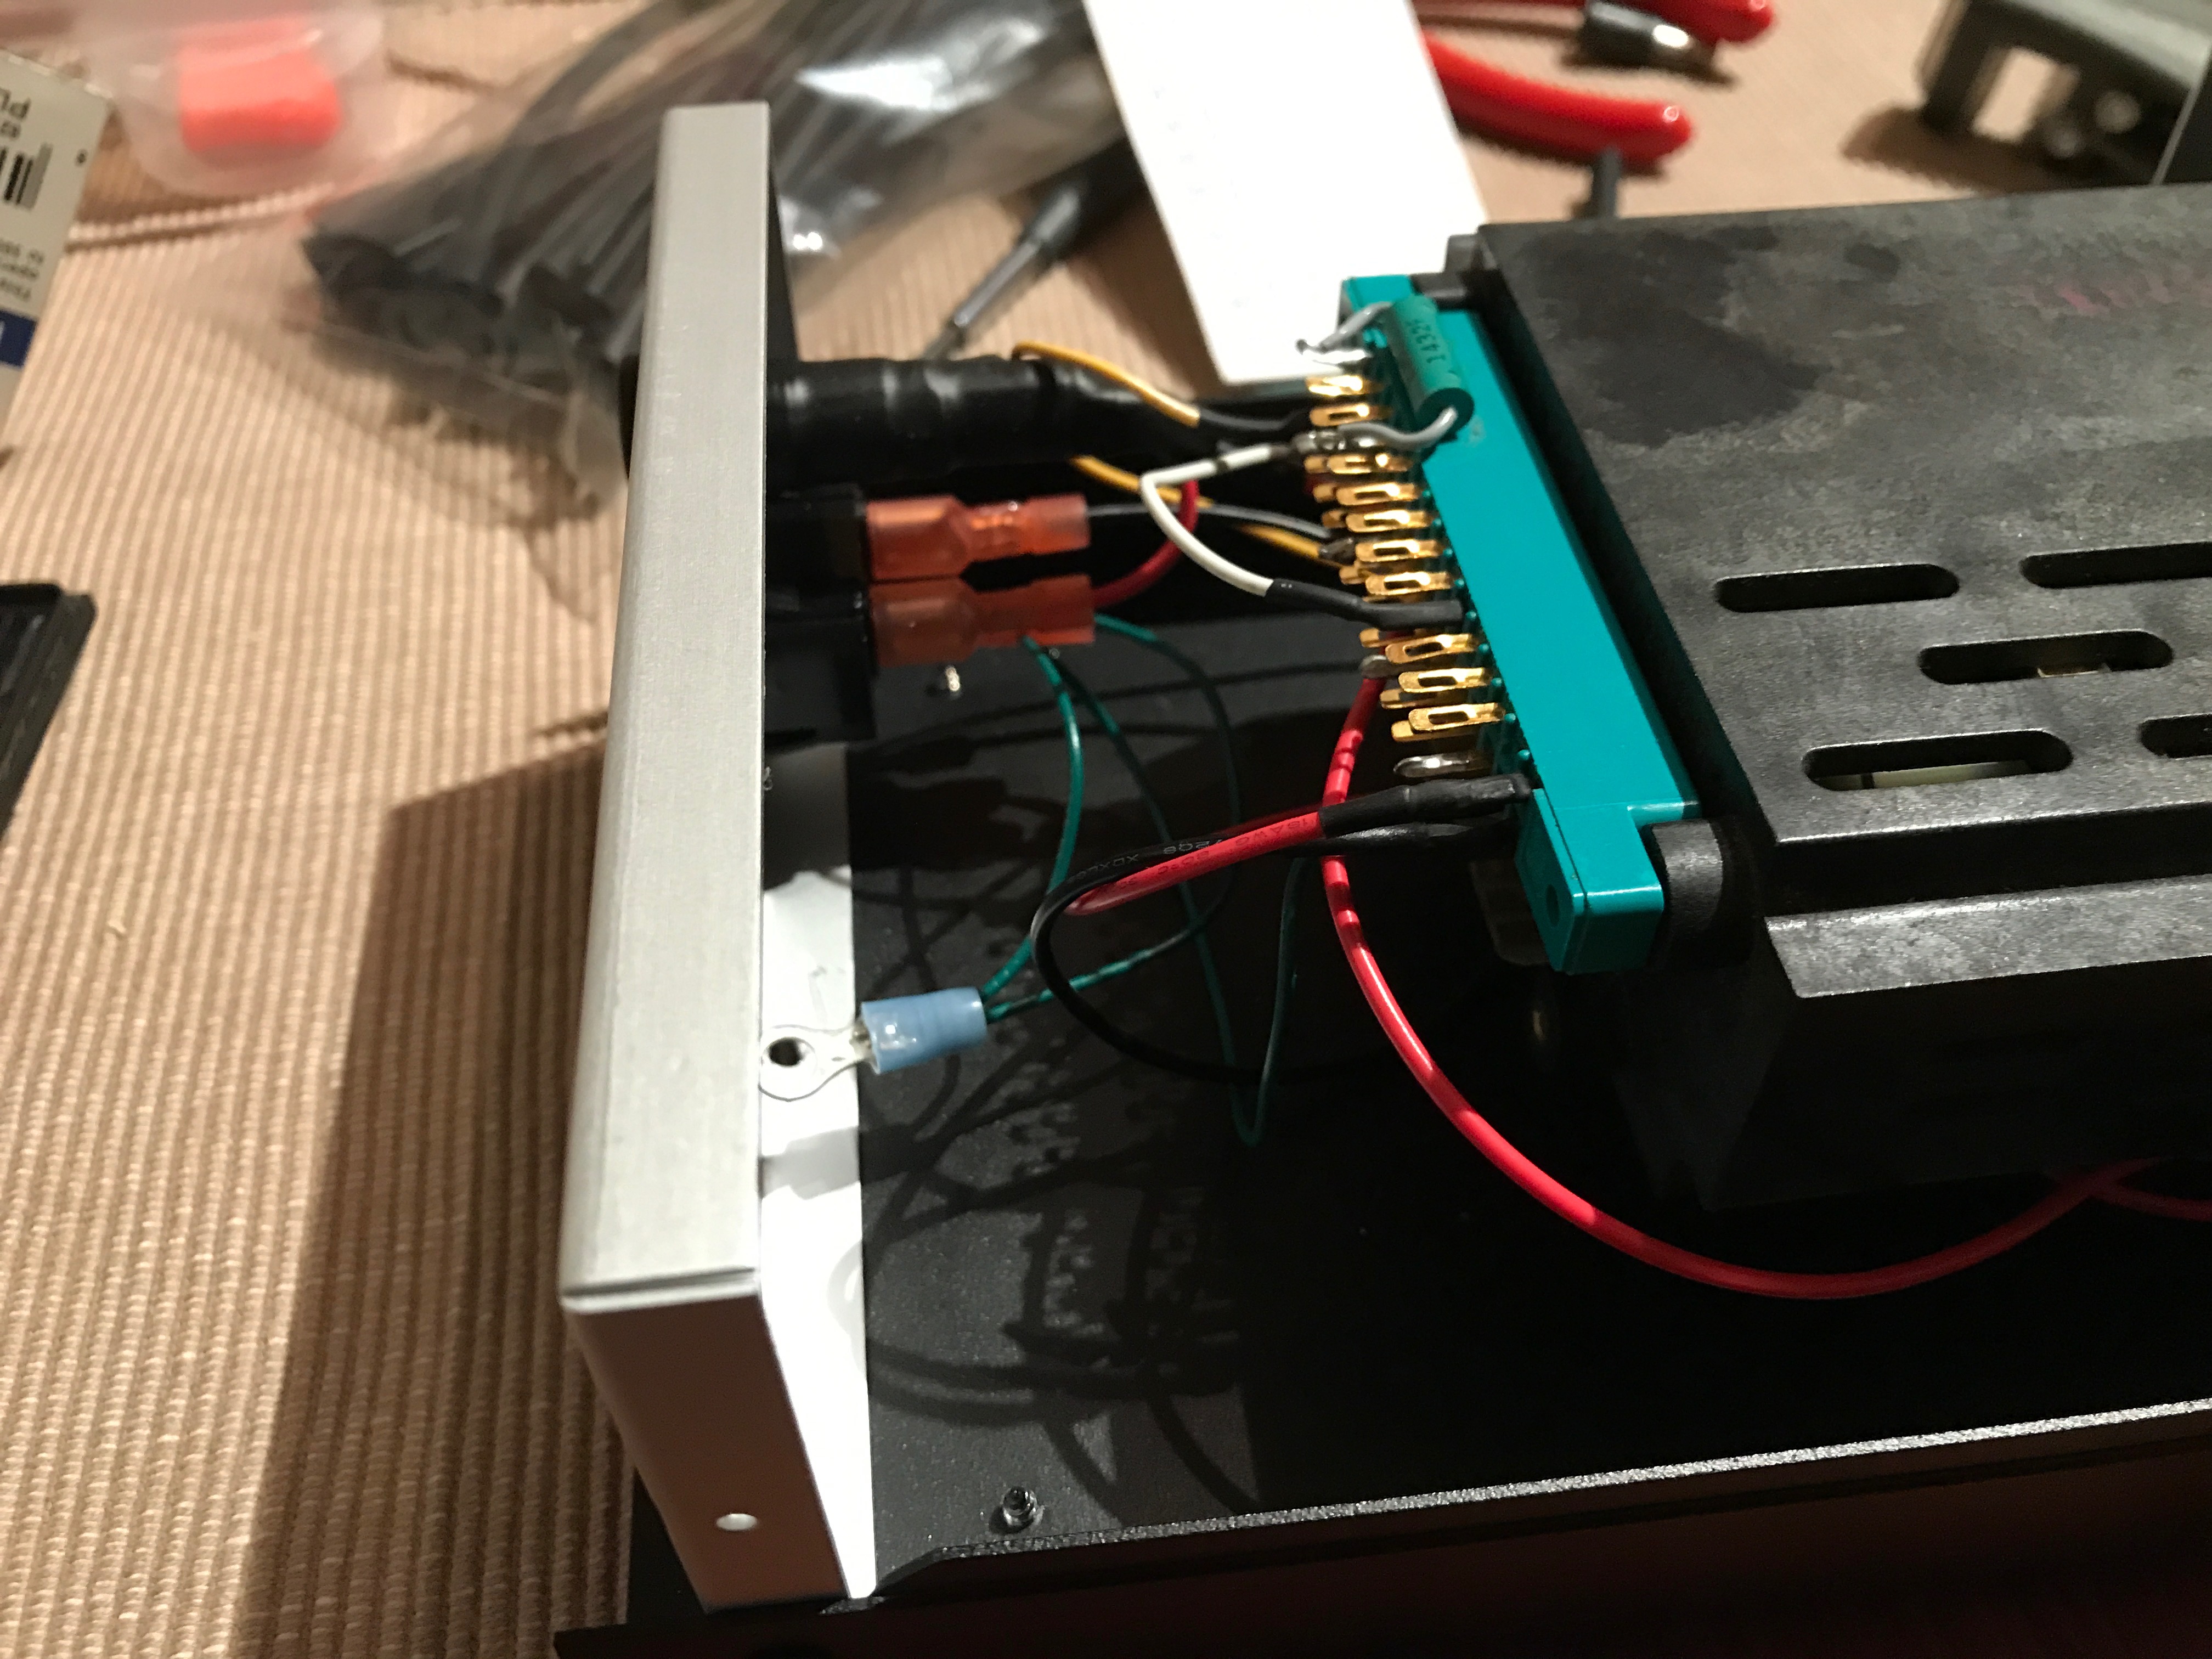
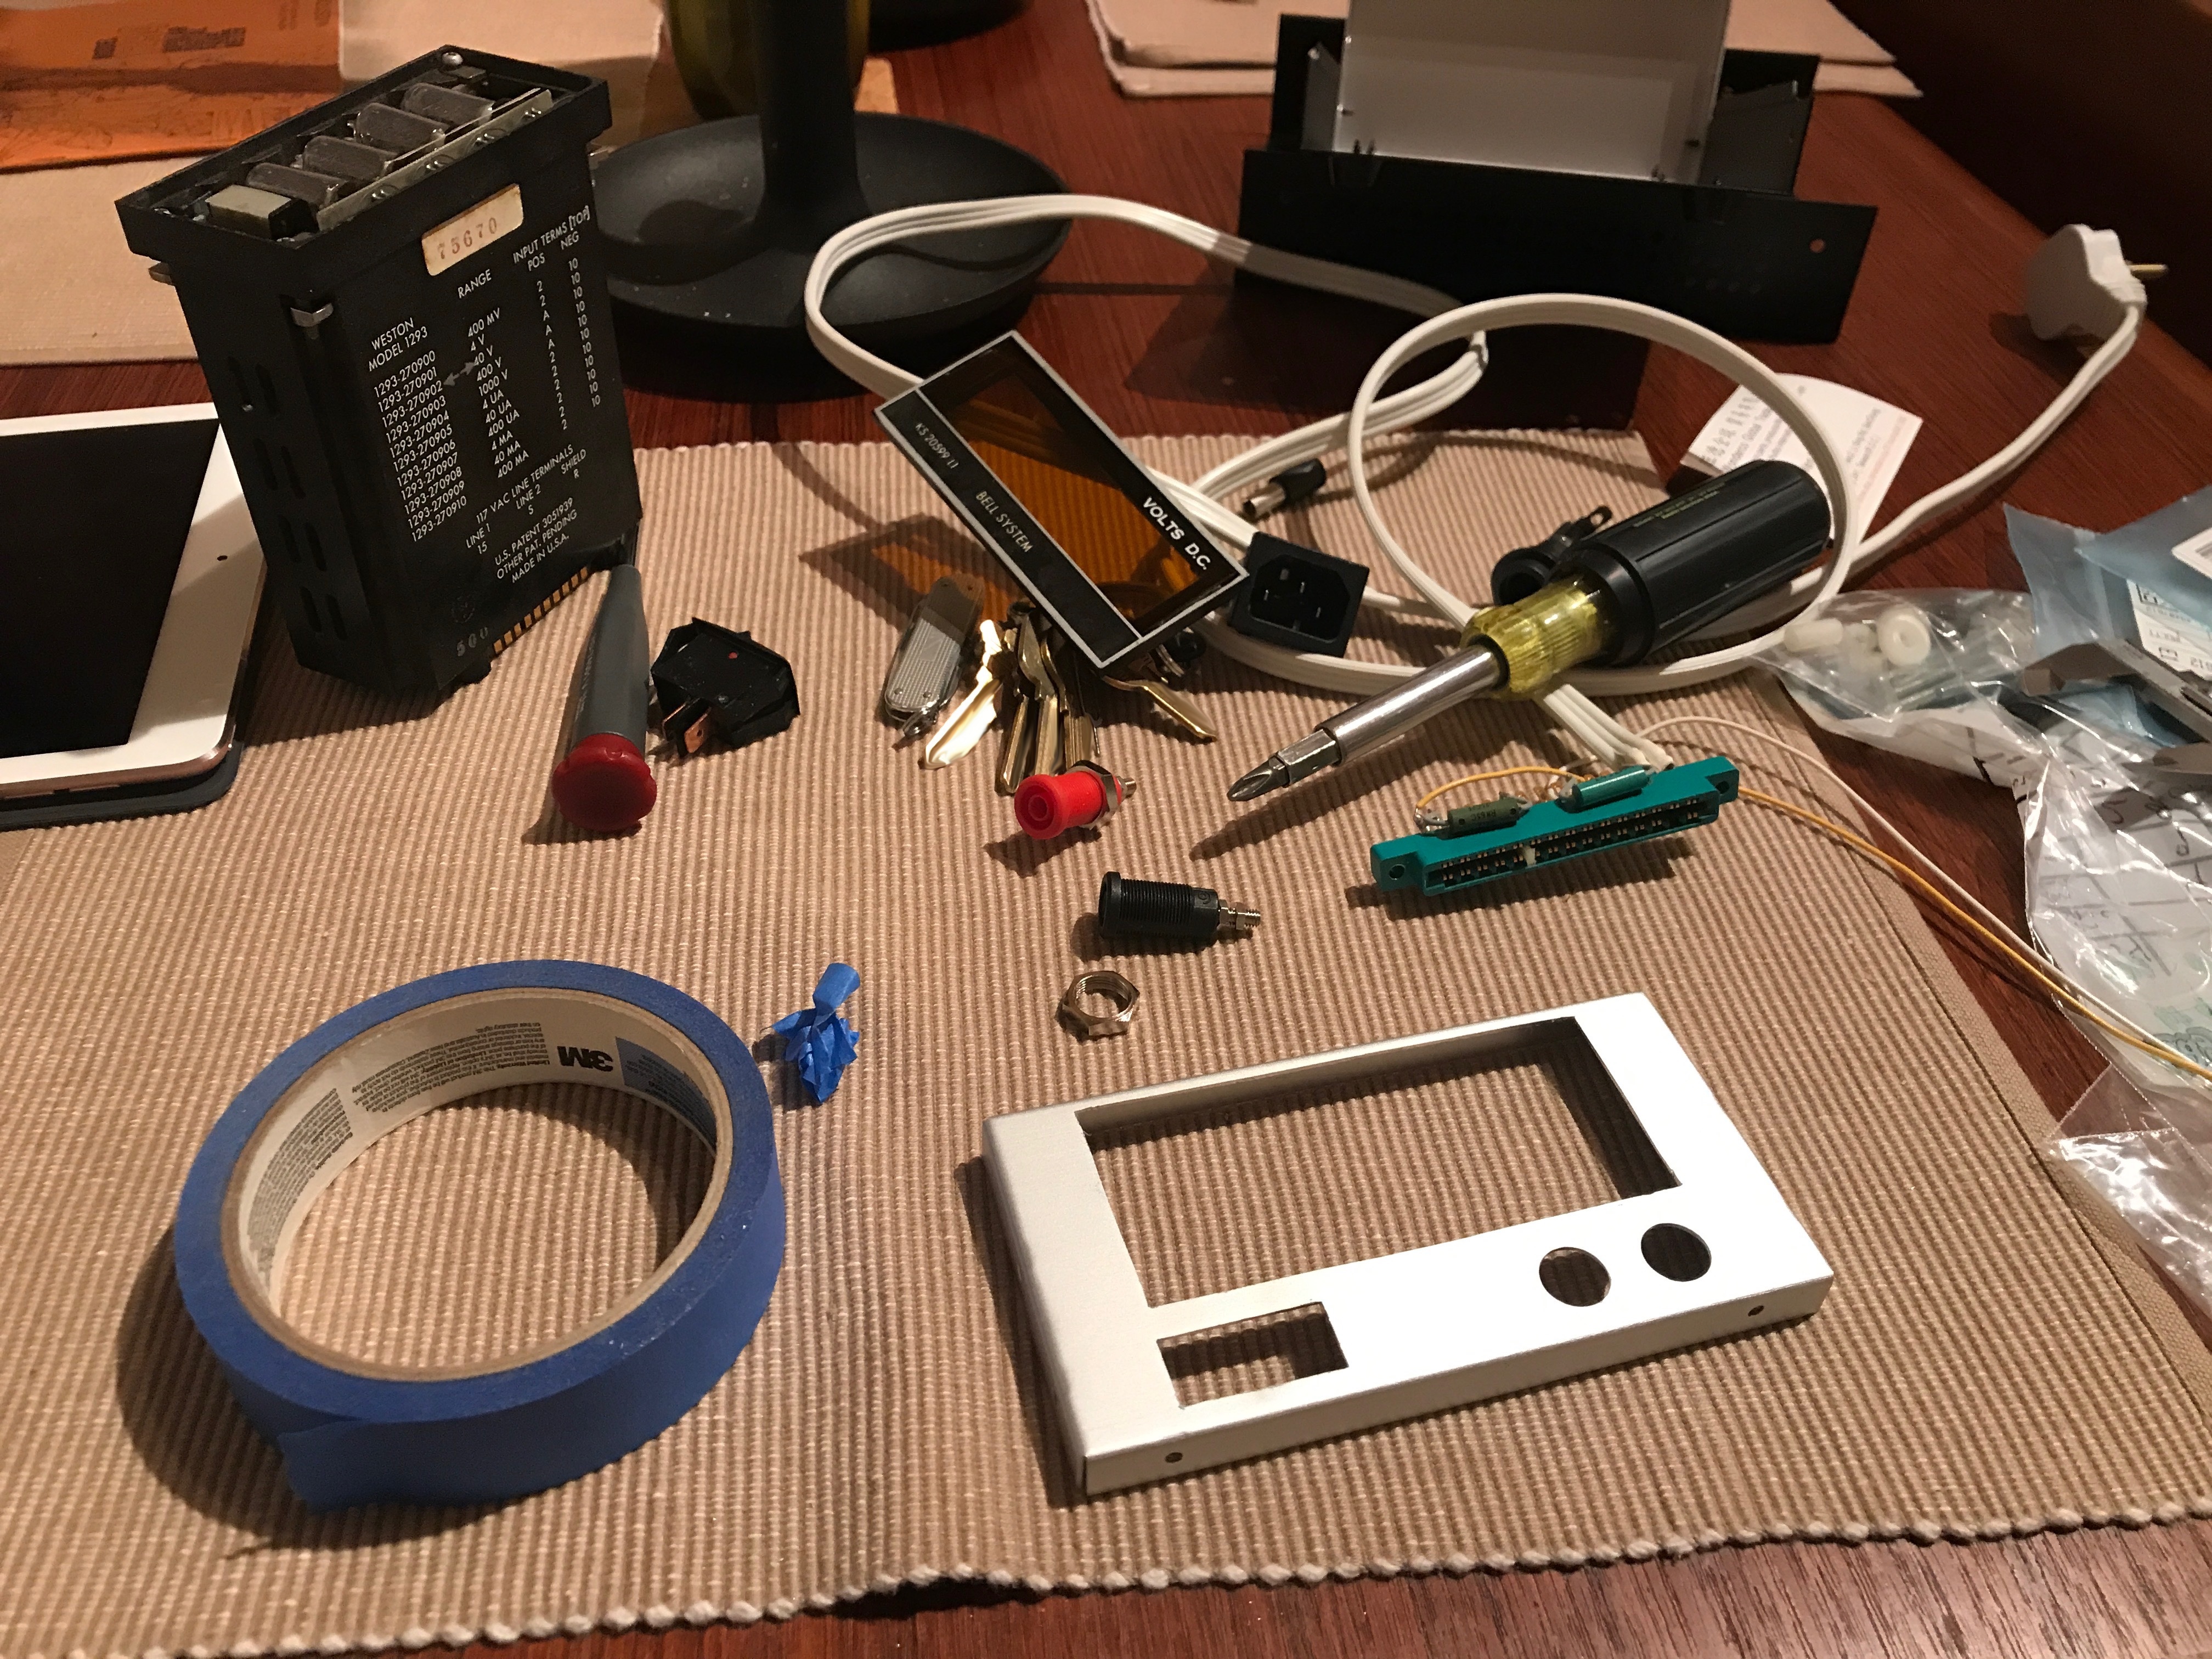
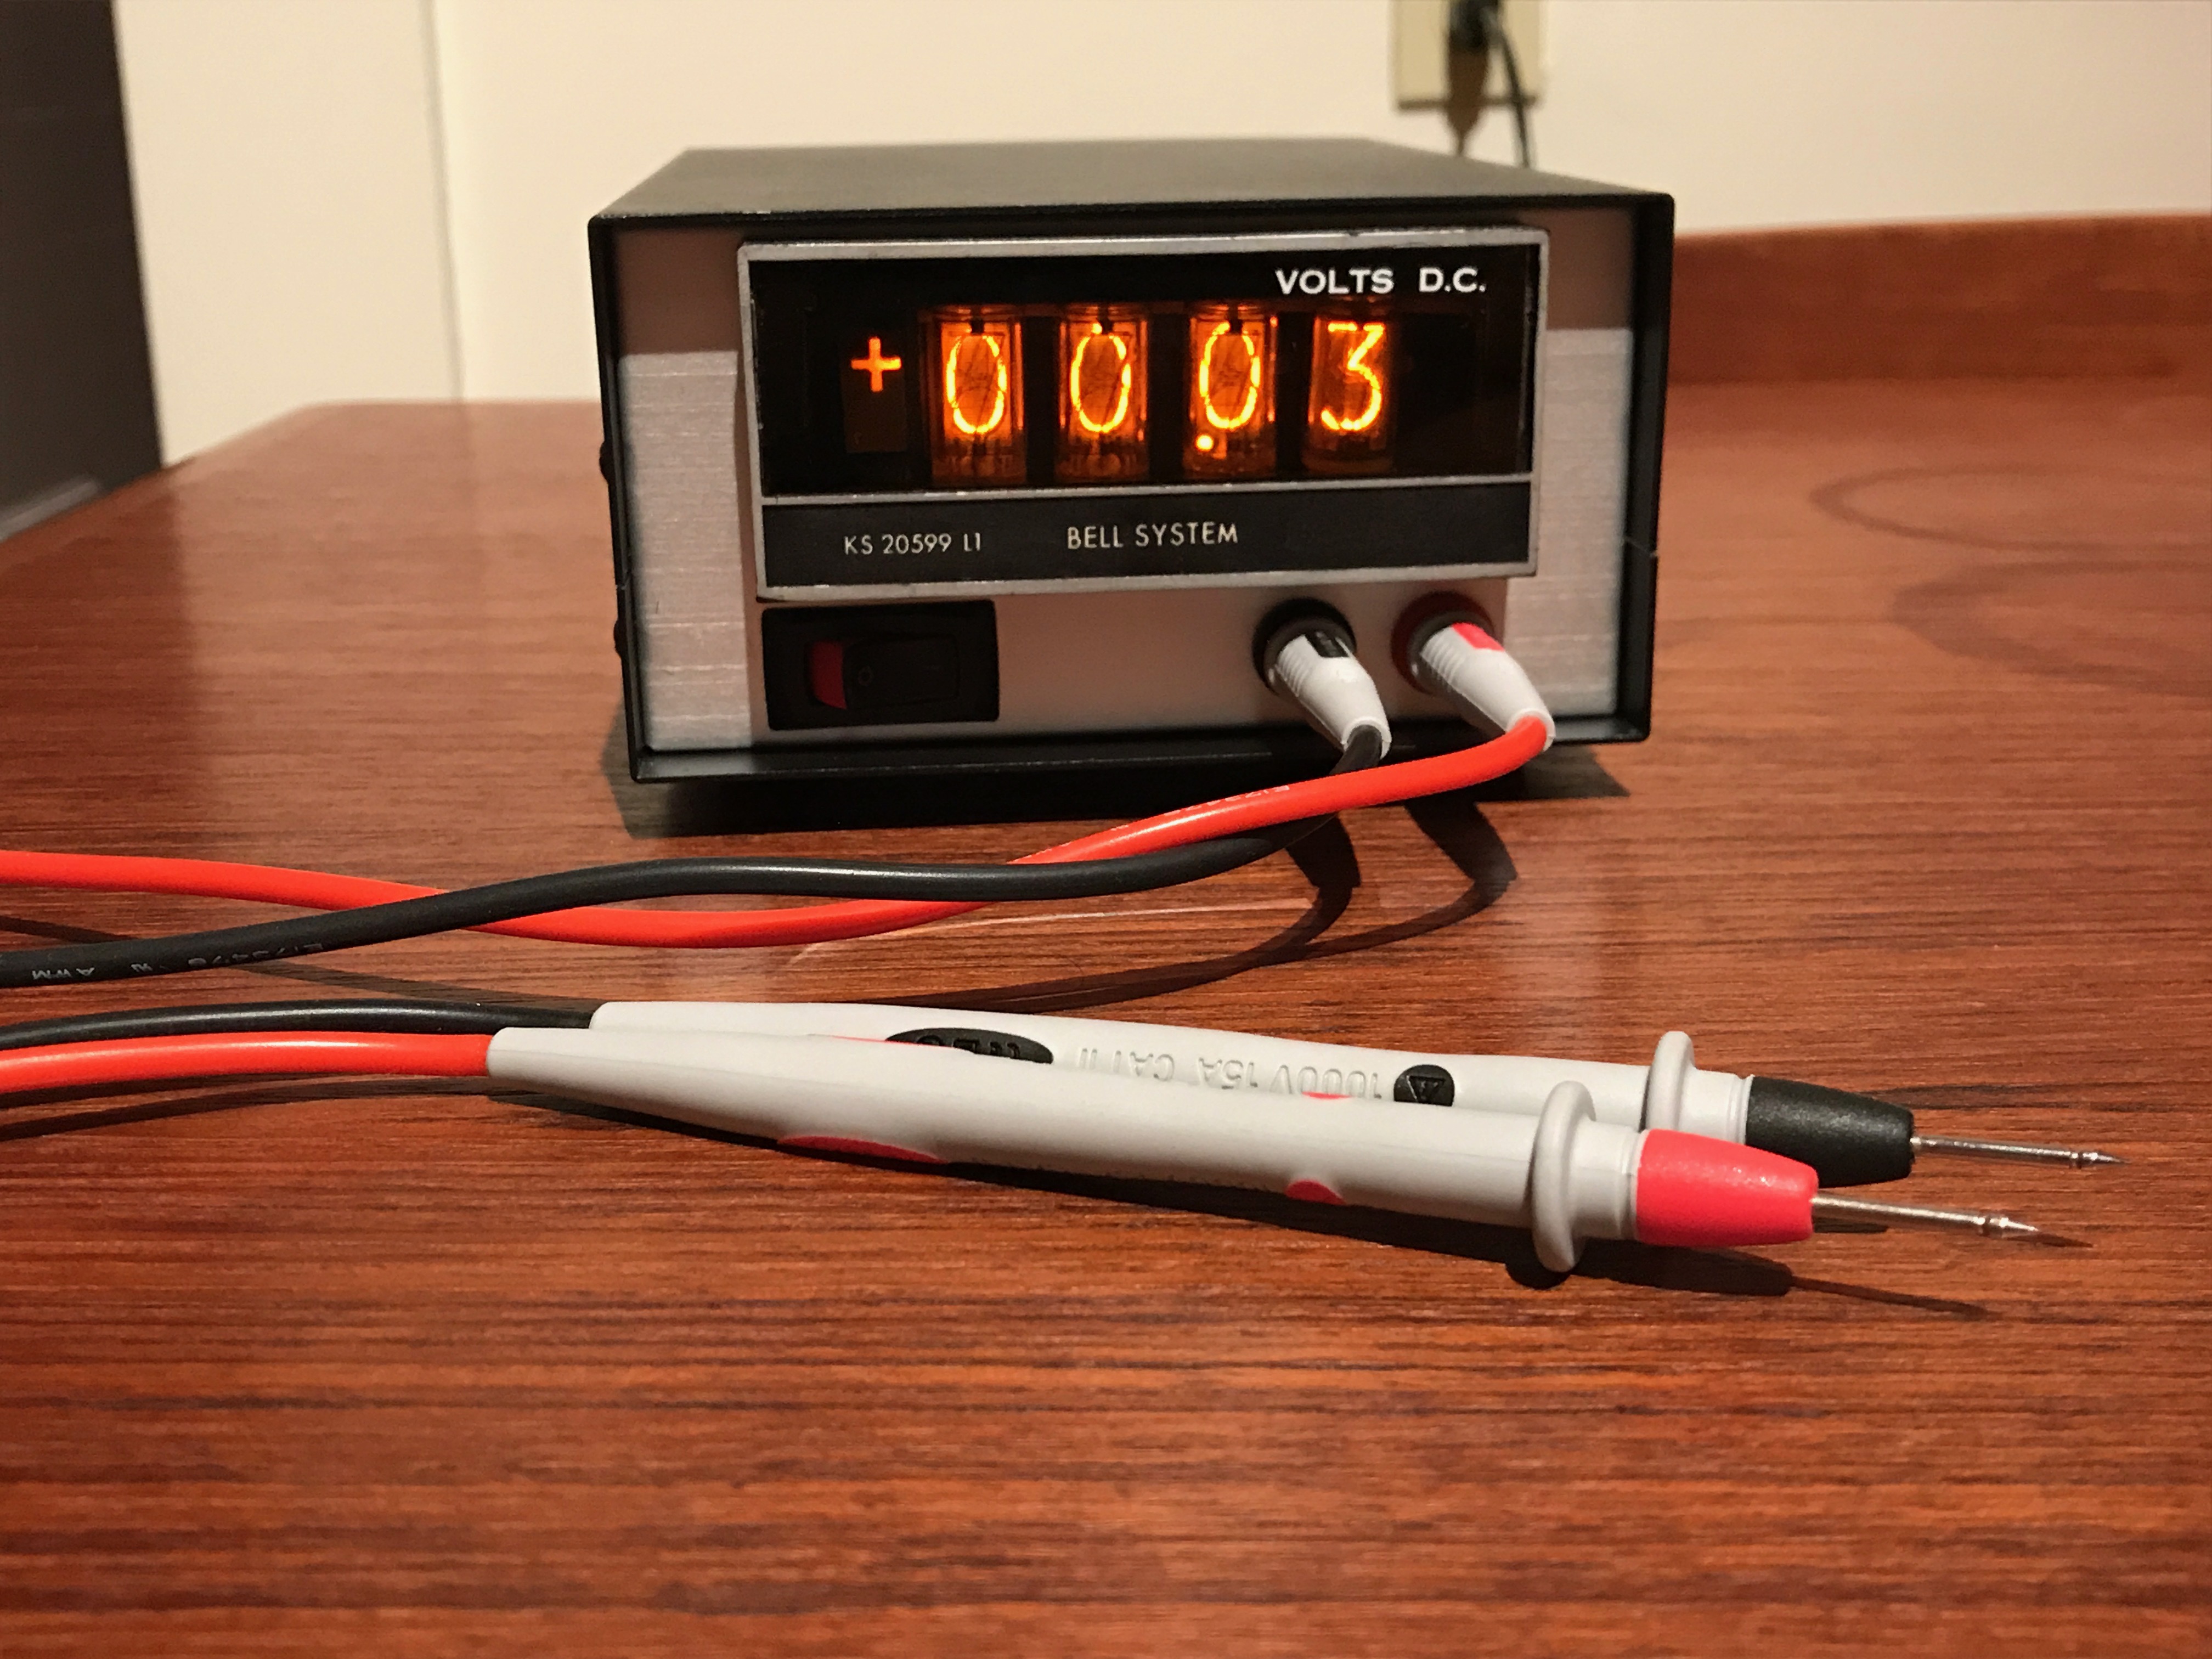
It had been sitting on my shelf without much use in the interim because it was hard to use with just bare wires soldered on a connector on the back, so finally I've gotten around to building an enclosure for it. I also found an original manual for the Weston 1294 on eBay, which provided more context, though there are numerous differences.

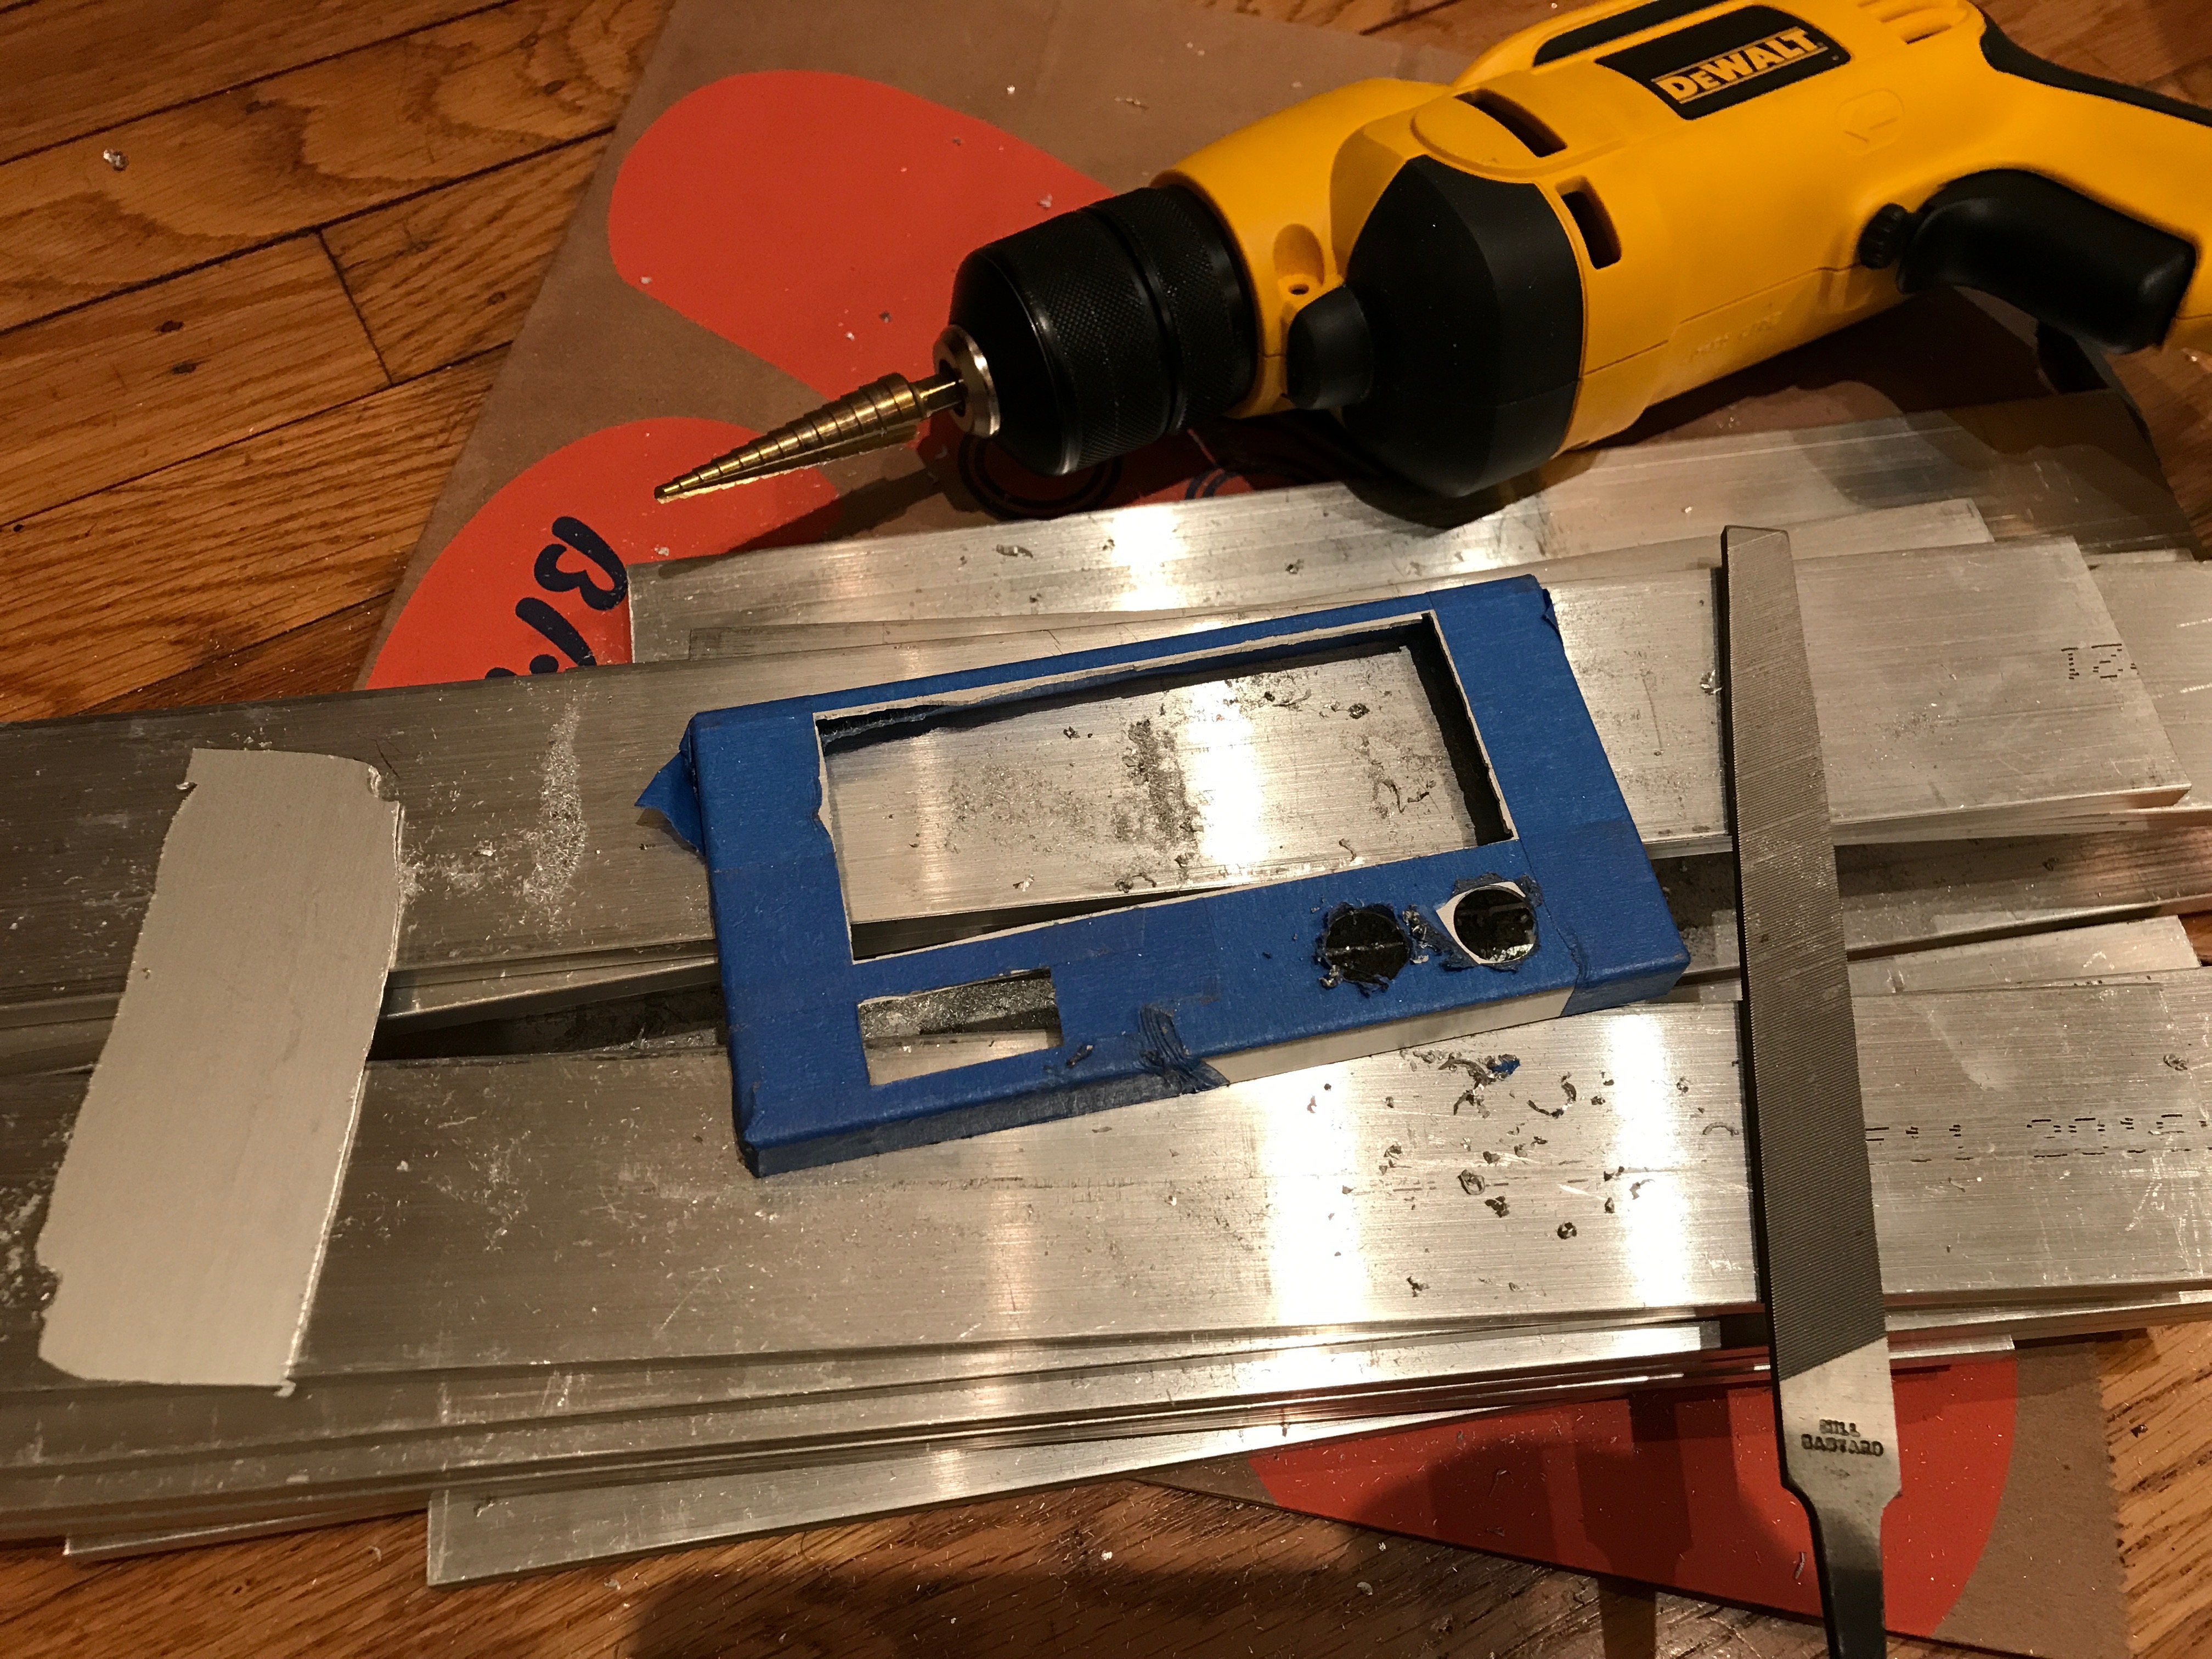
Construction was relatively straightforward, with internal wiring mostly implemented with crimped spade termination and plenty of heatshrink. The most interesting part of the construction was cutting out holes in the aluminum front and rear panels of the enclosure. First I marked the cutouts using blue masking tape. Then I roughed out the holes with a drill and a jigsaw, finally finishing it up using a file. I think this practice of roughing out a hole and filing it to the line must be a standard technique, but I didn't really know how to do this until I saw the amazing craftsmanship on the ClickSpring YouTube channel, where this technique is used a lot.

Omnichrome 643
Recently I purchased a Melles Griot Omnichrome 643 laser on eBay (as noted in my laser inventory). I was happy to find it arrived in great condition after making the long trip from Canada. I had long wanted an Argon-Krypton laser capable of producing a wider slice of the spectrum—"whitelight"—but they seem to be quite a bit more rare than plain old Argon-ion lasers, and usually more expensive. Got lucky with this one.
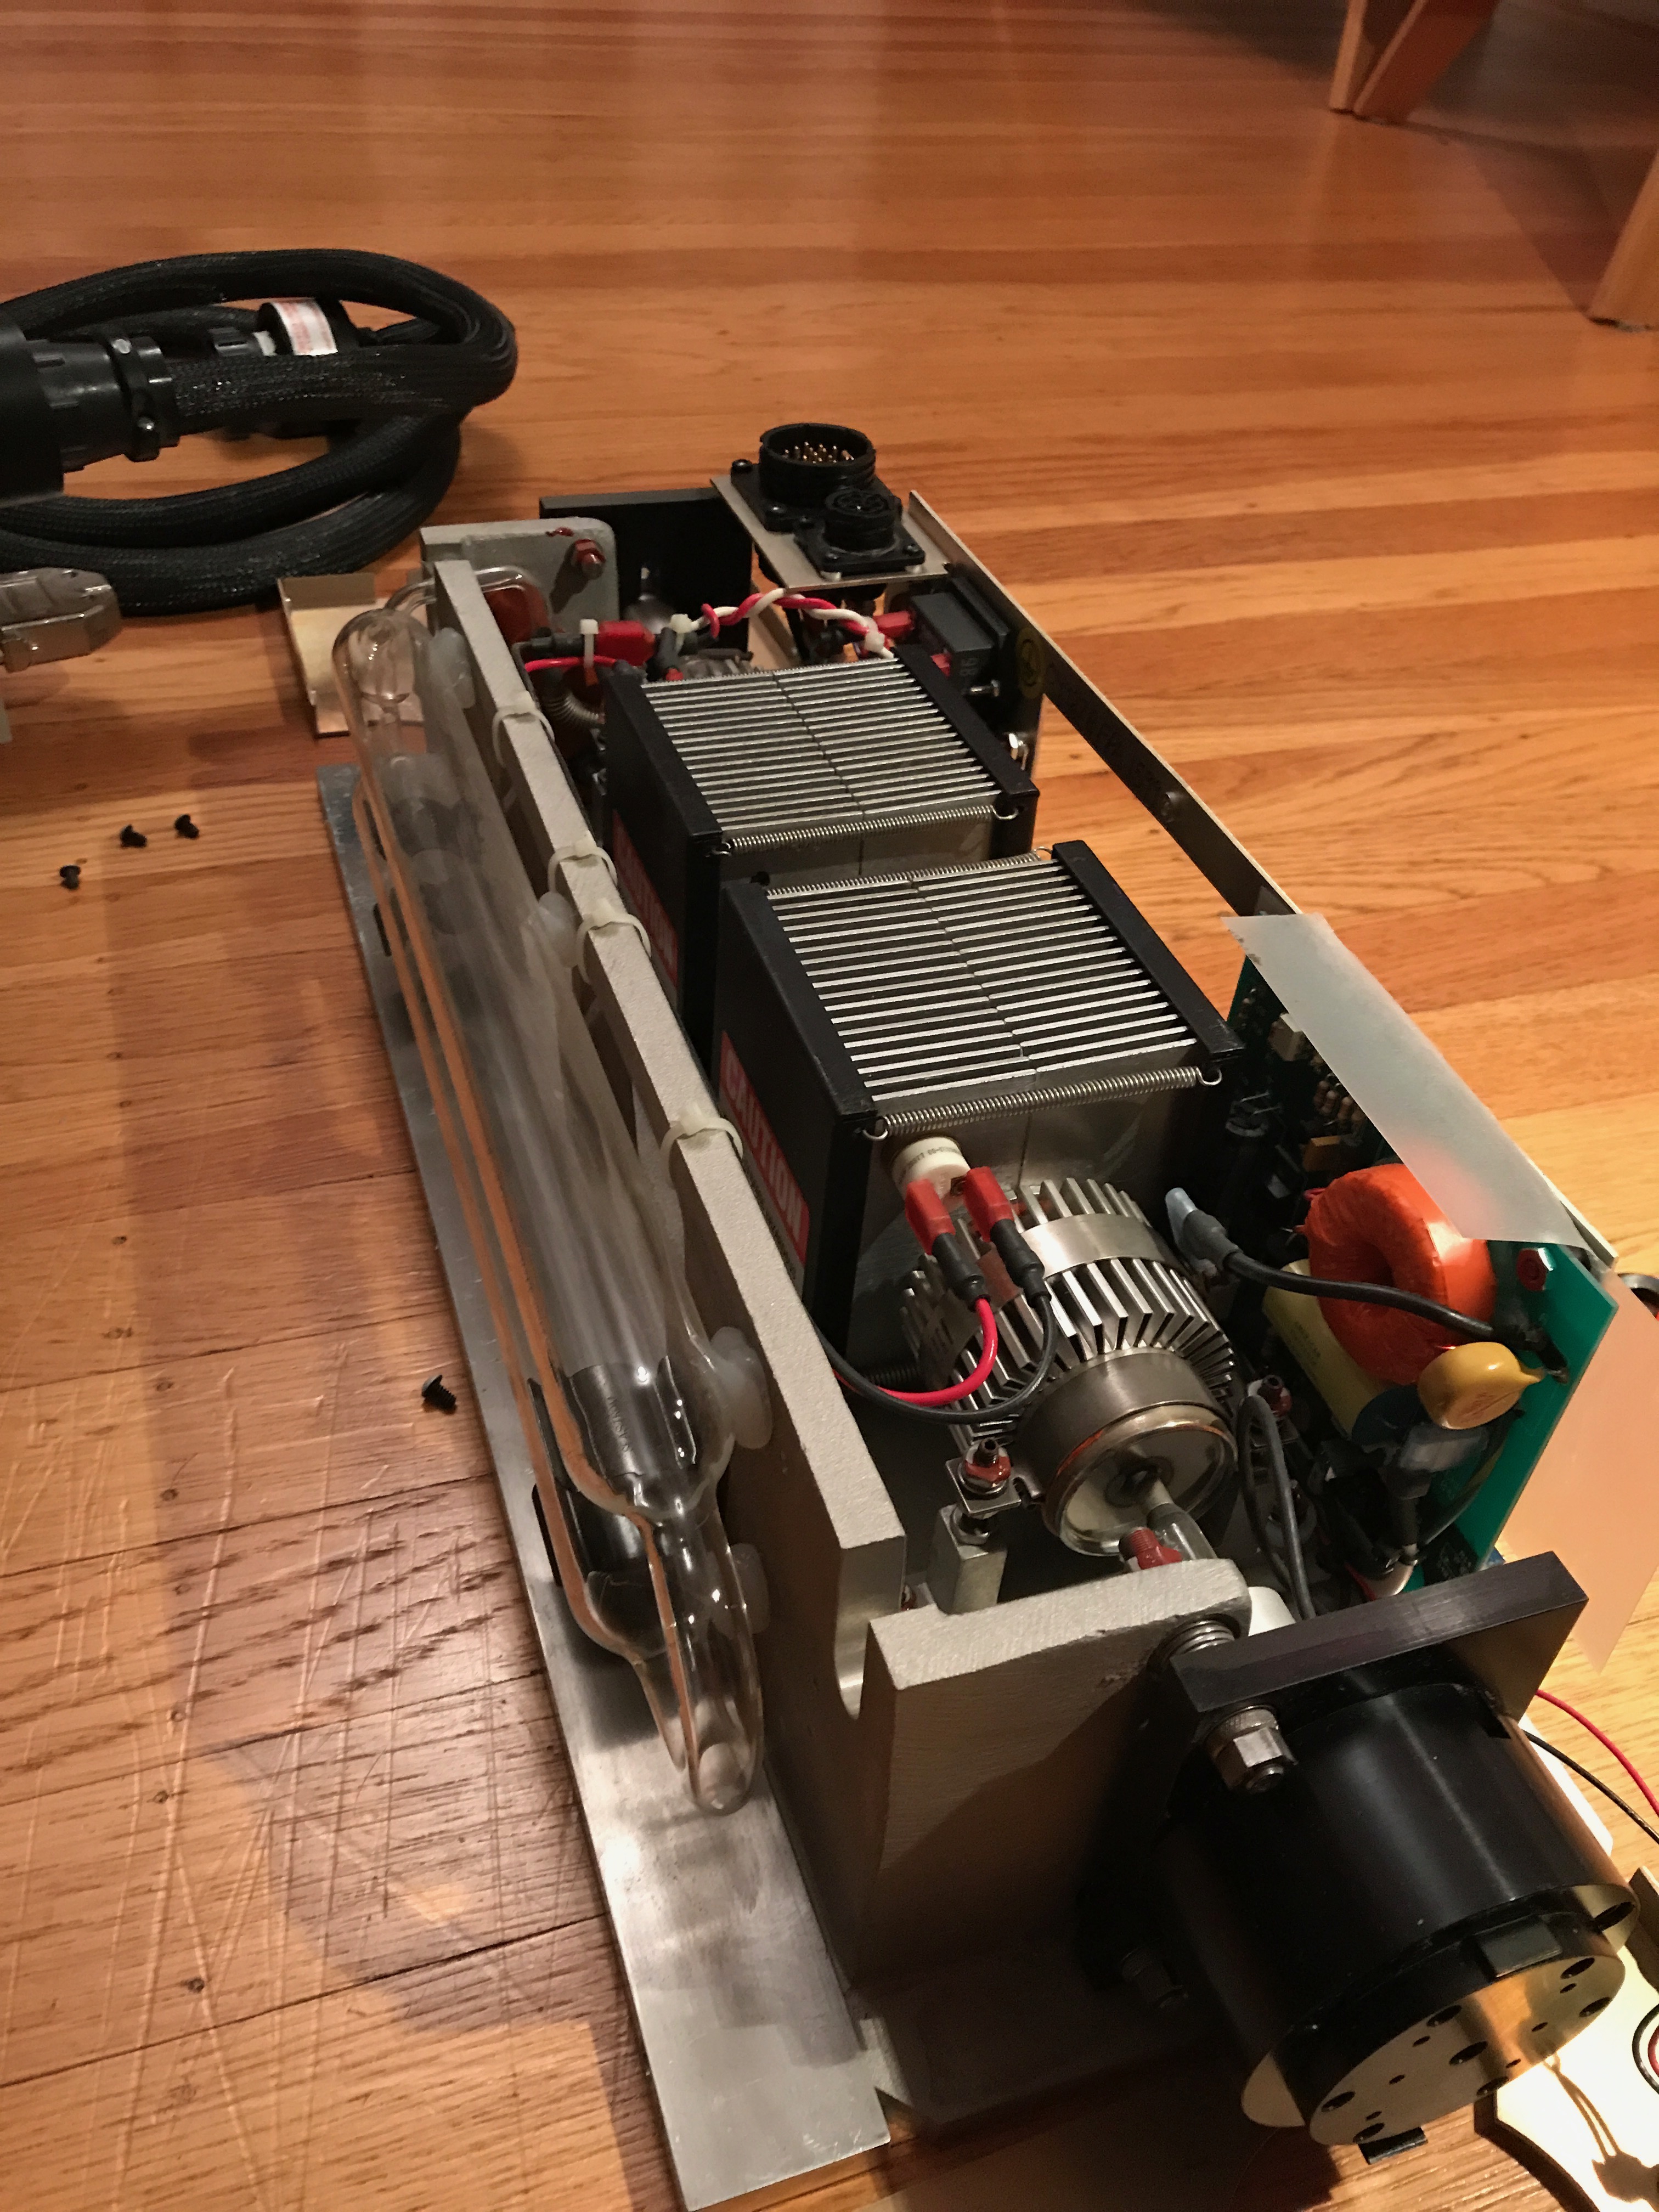
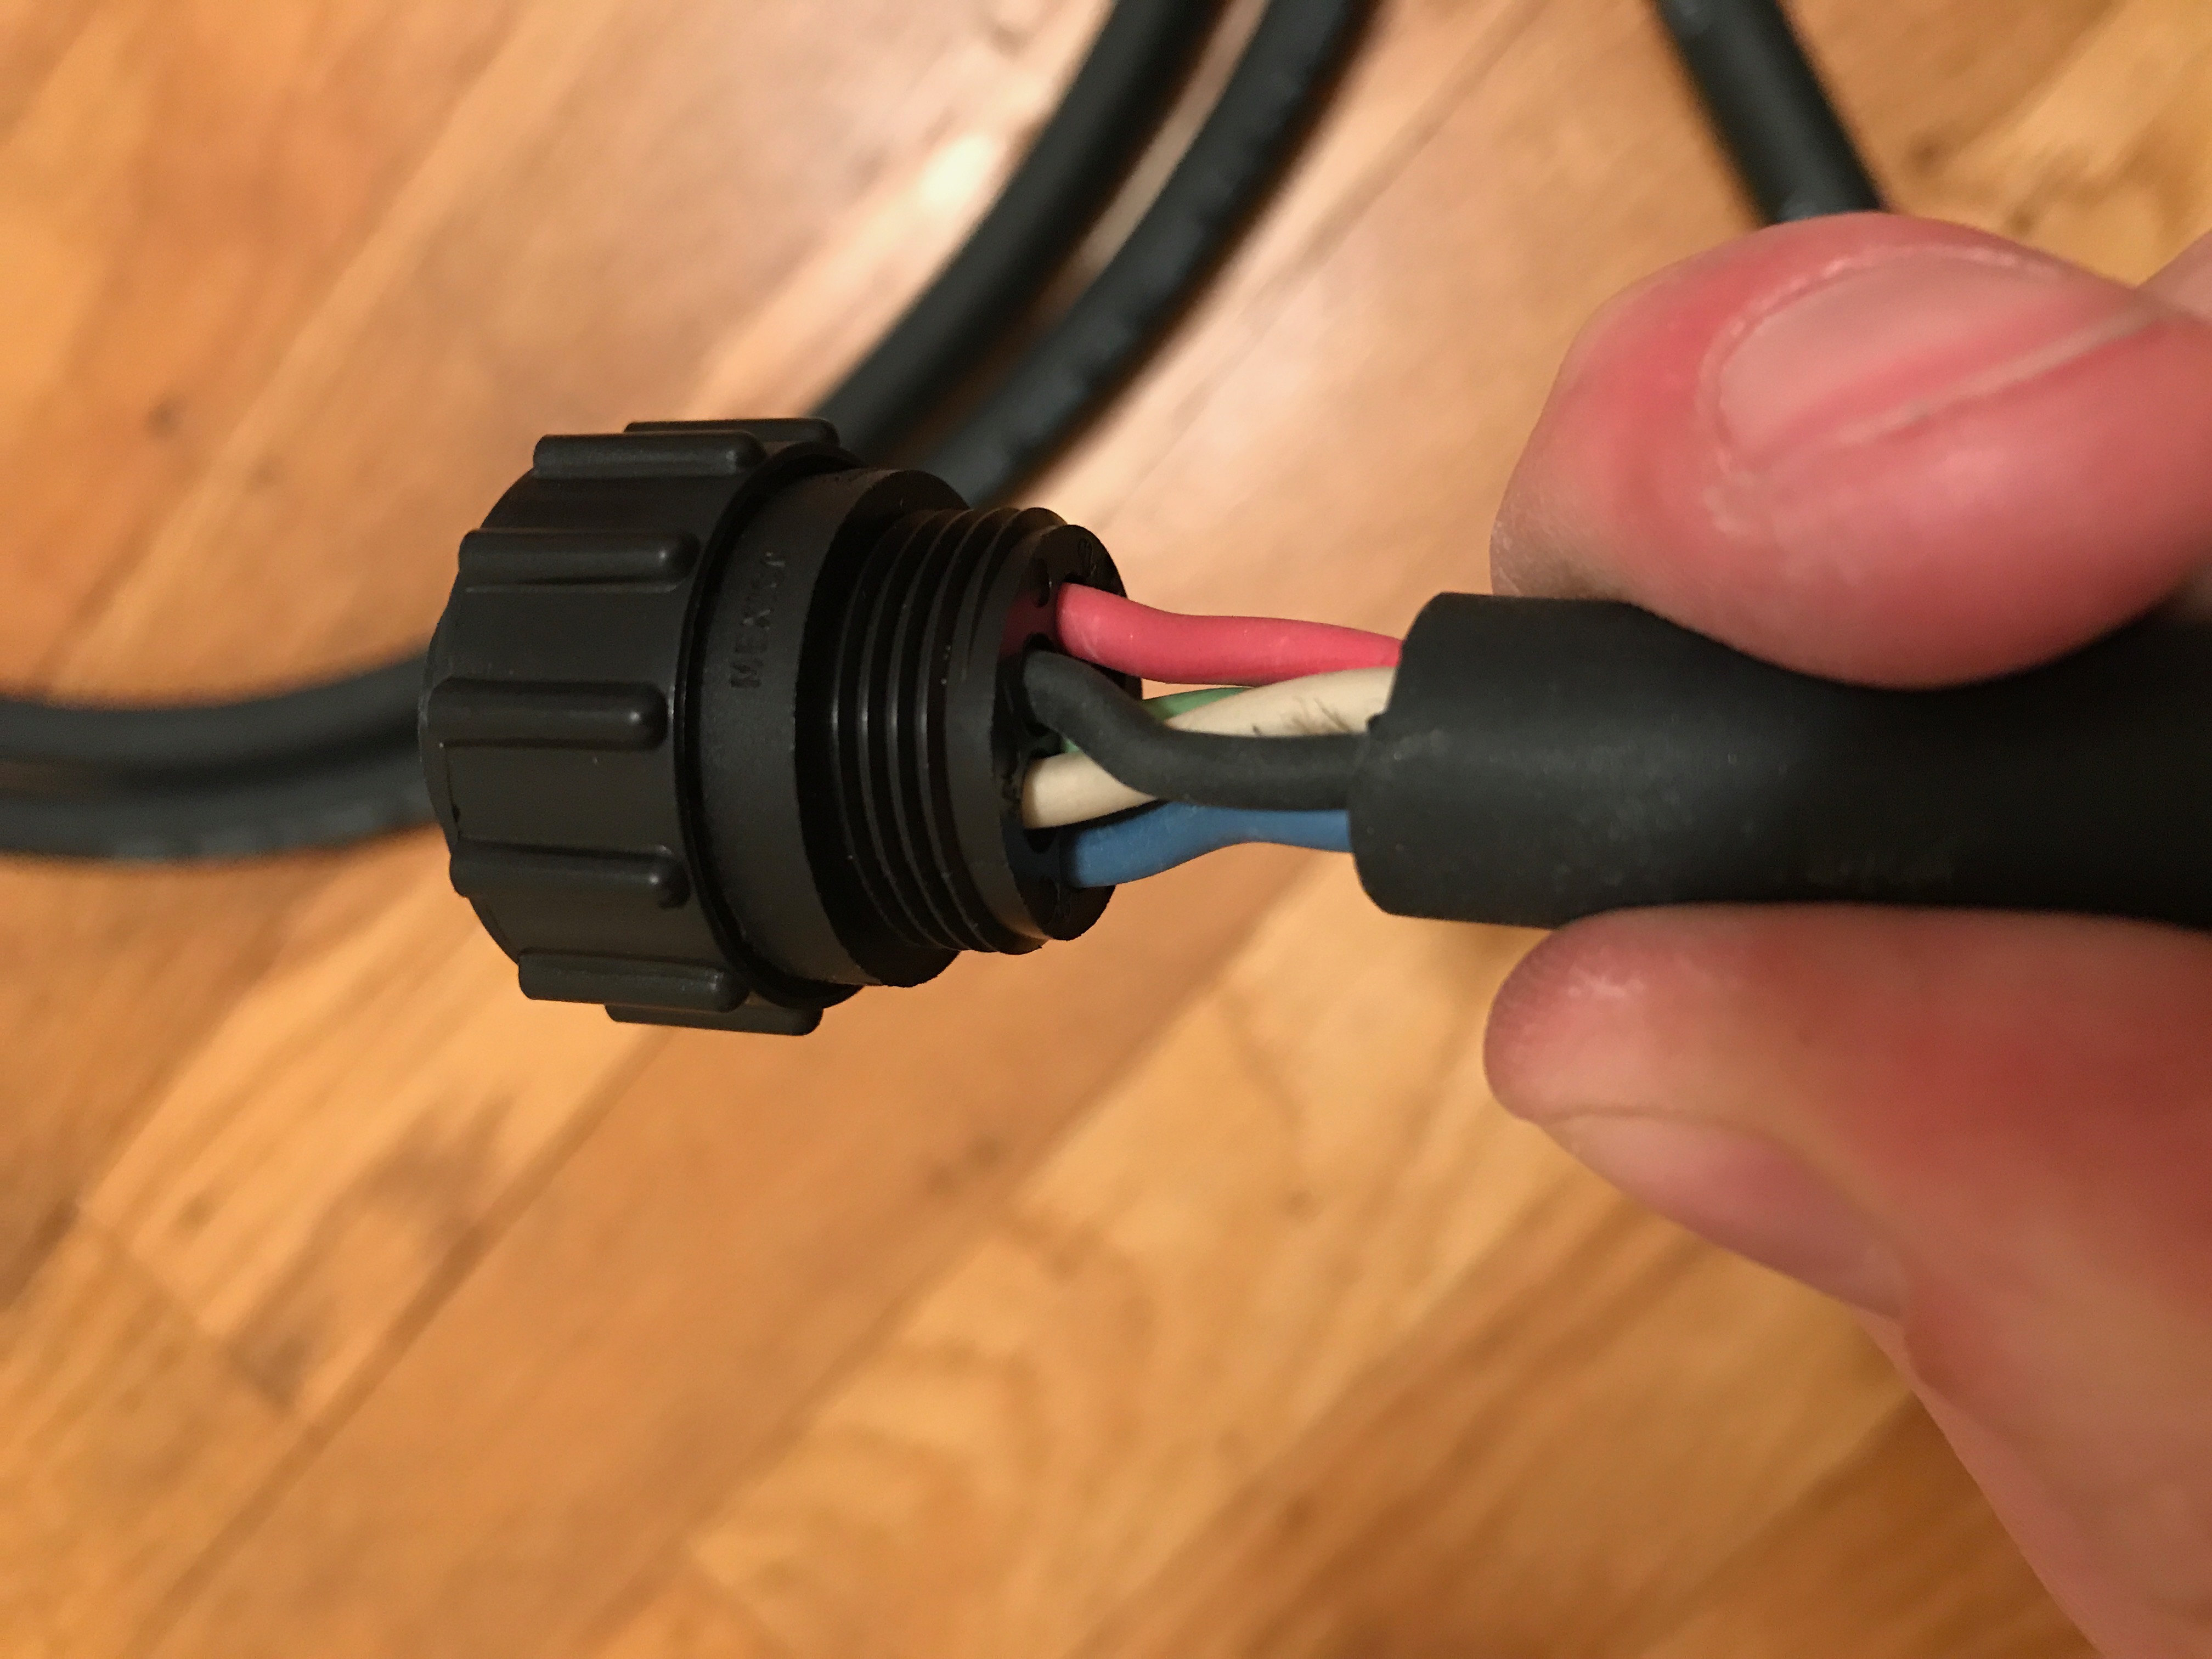
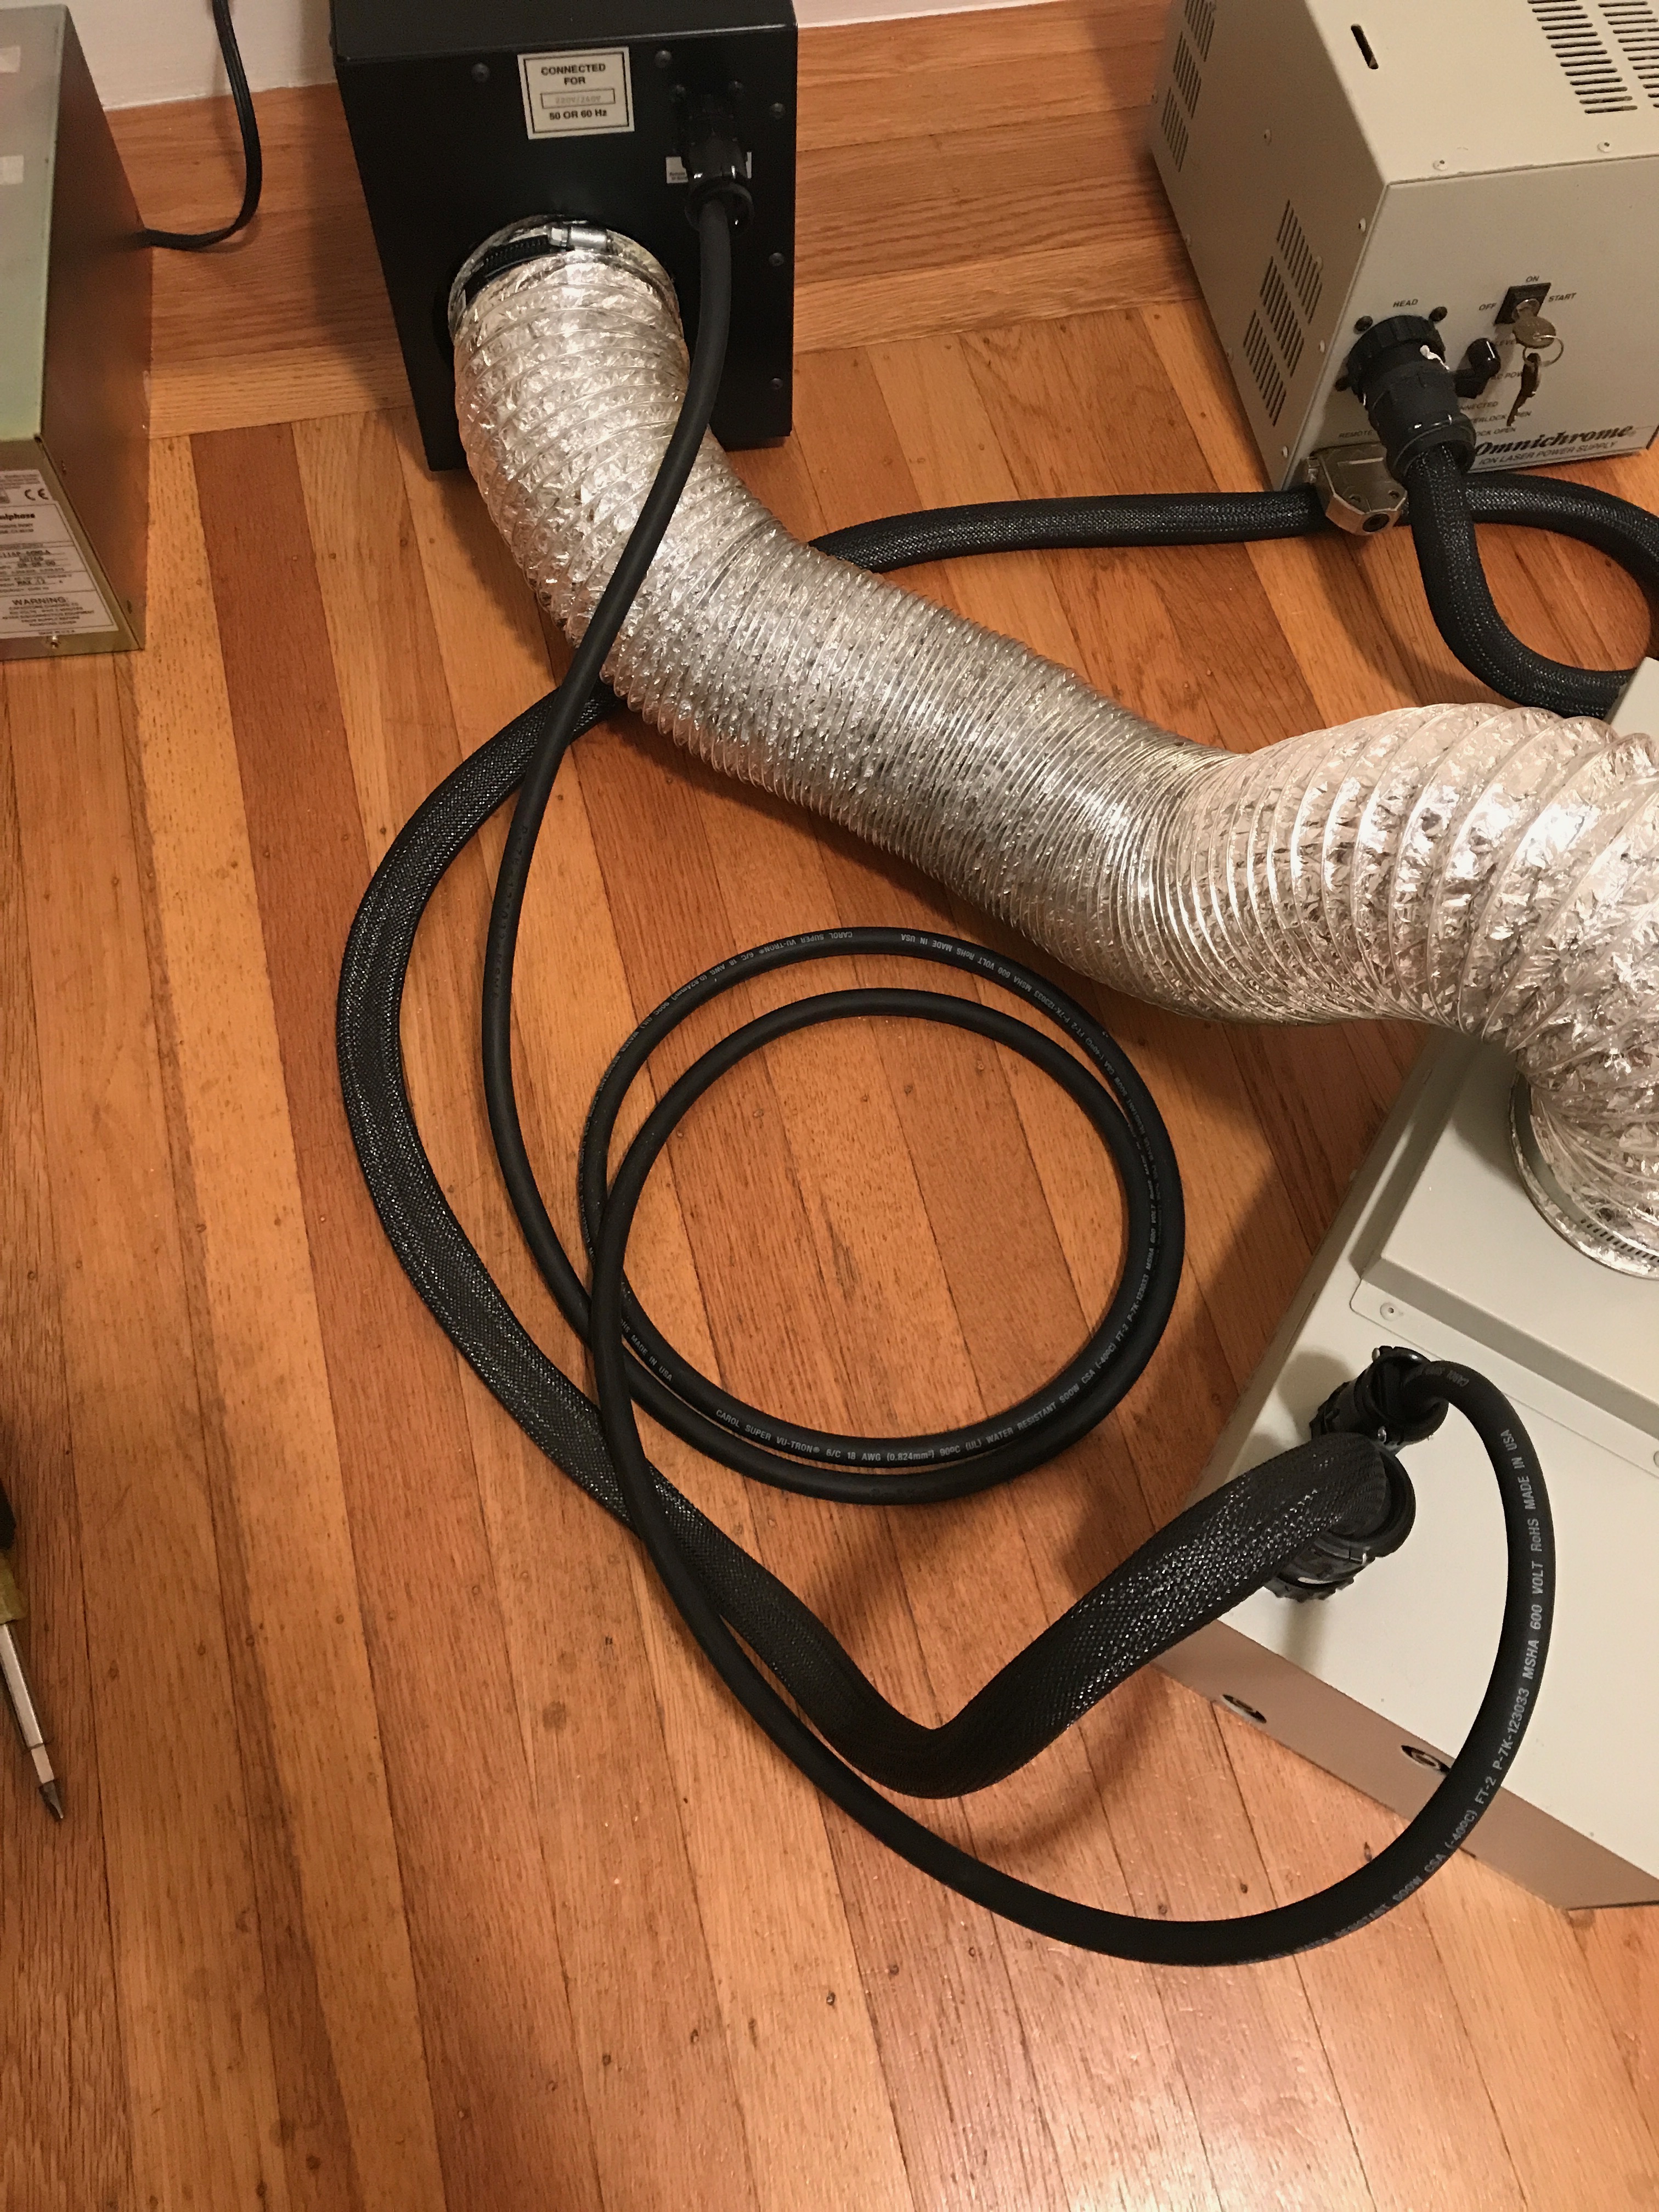
It came with almost everything including the laser itself, power supply, cooling fan unit, and even a printed manual. It was almost ready to run out of the box, but I needed a cable that connects the laser head to the cooling unit, an air duct, and also a way to plug it in; it draws 20A @ 240V.
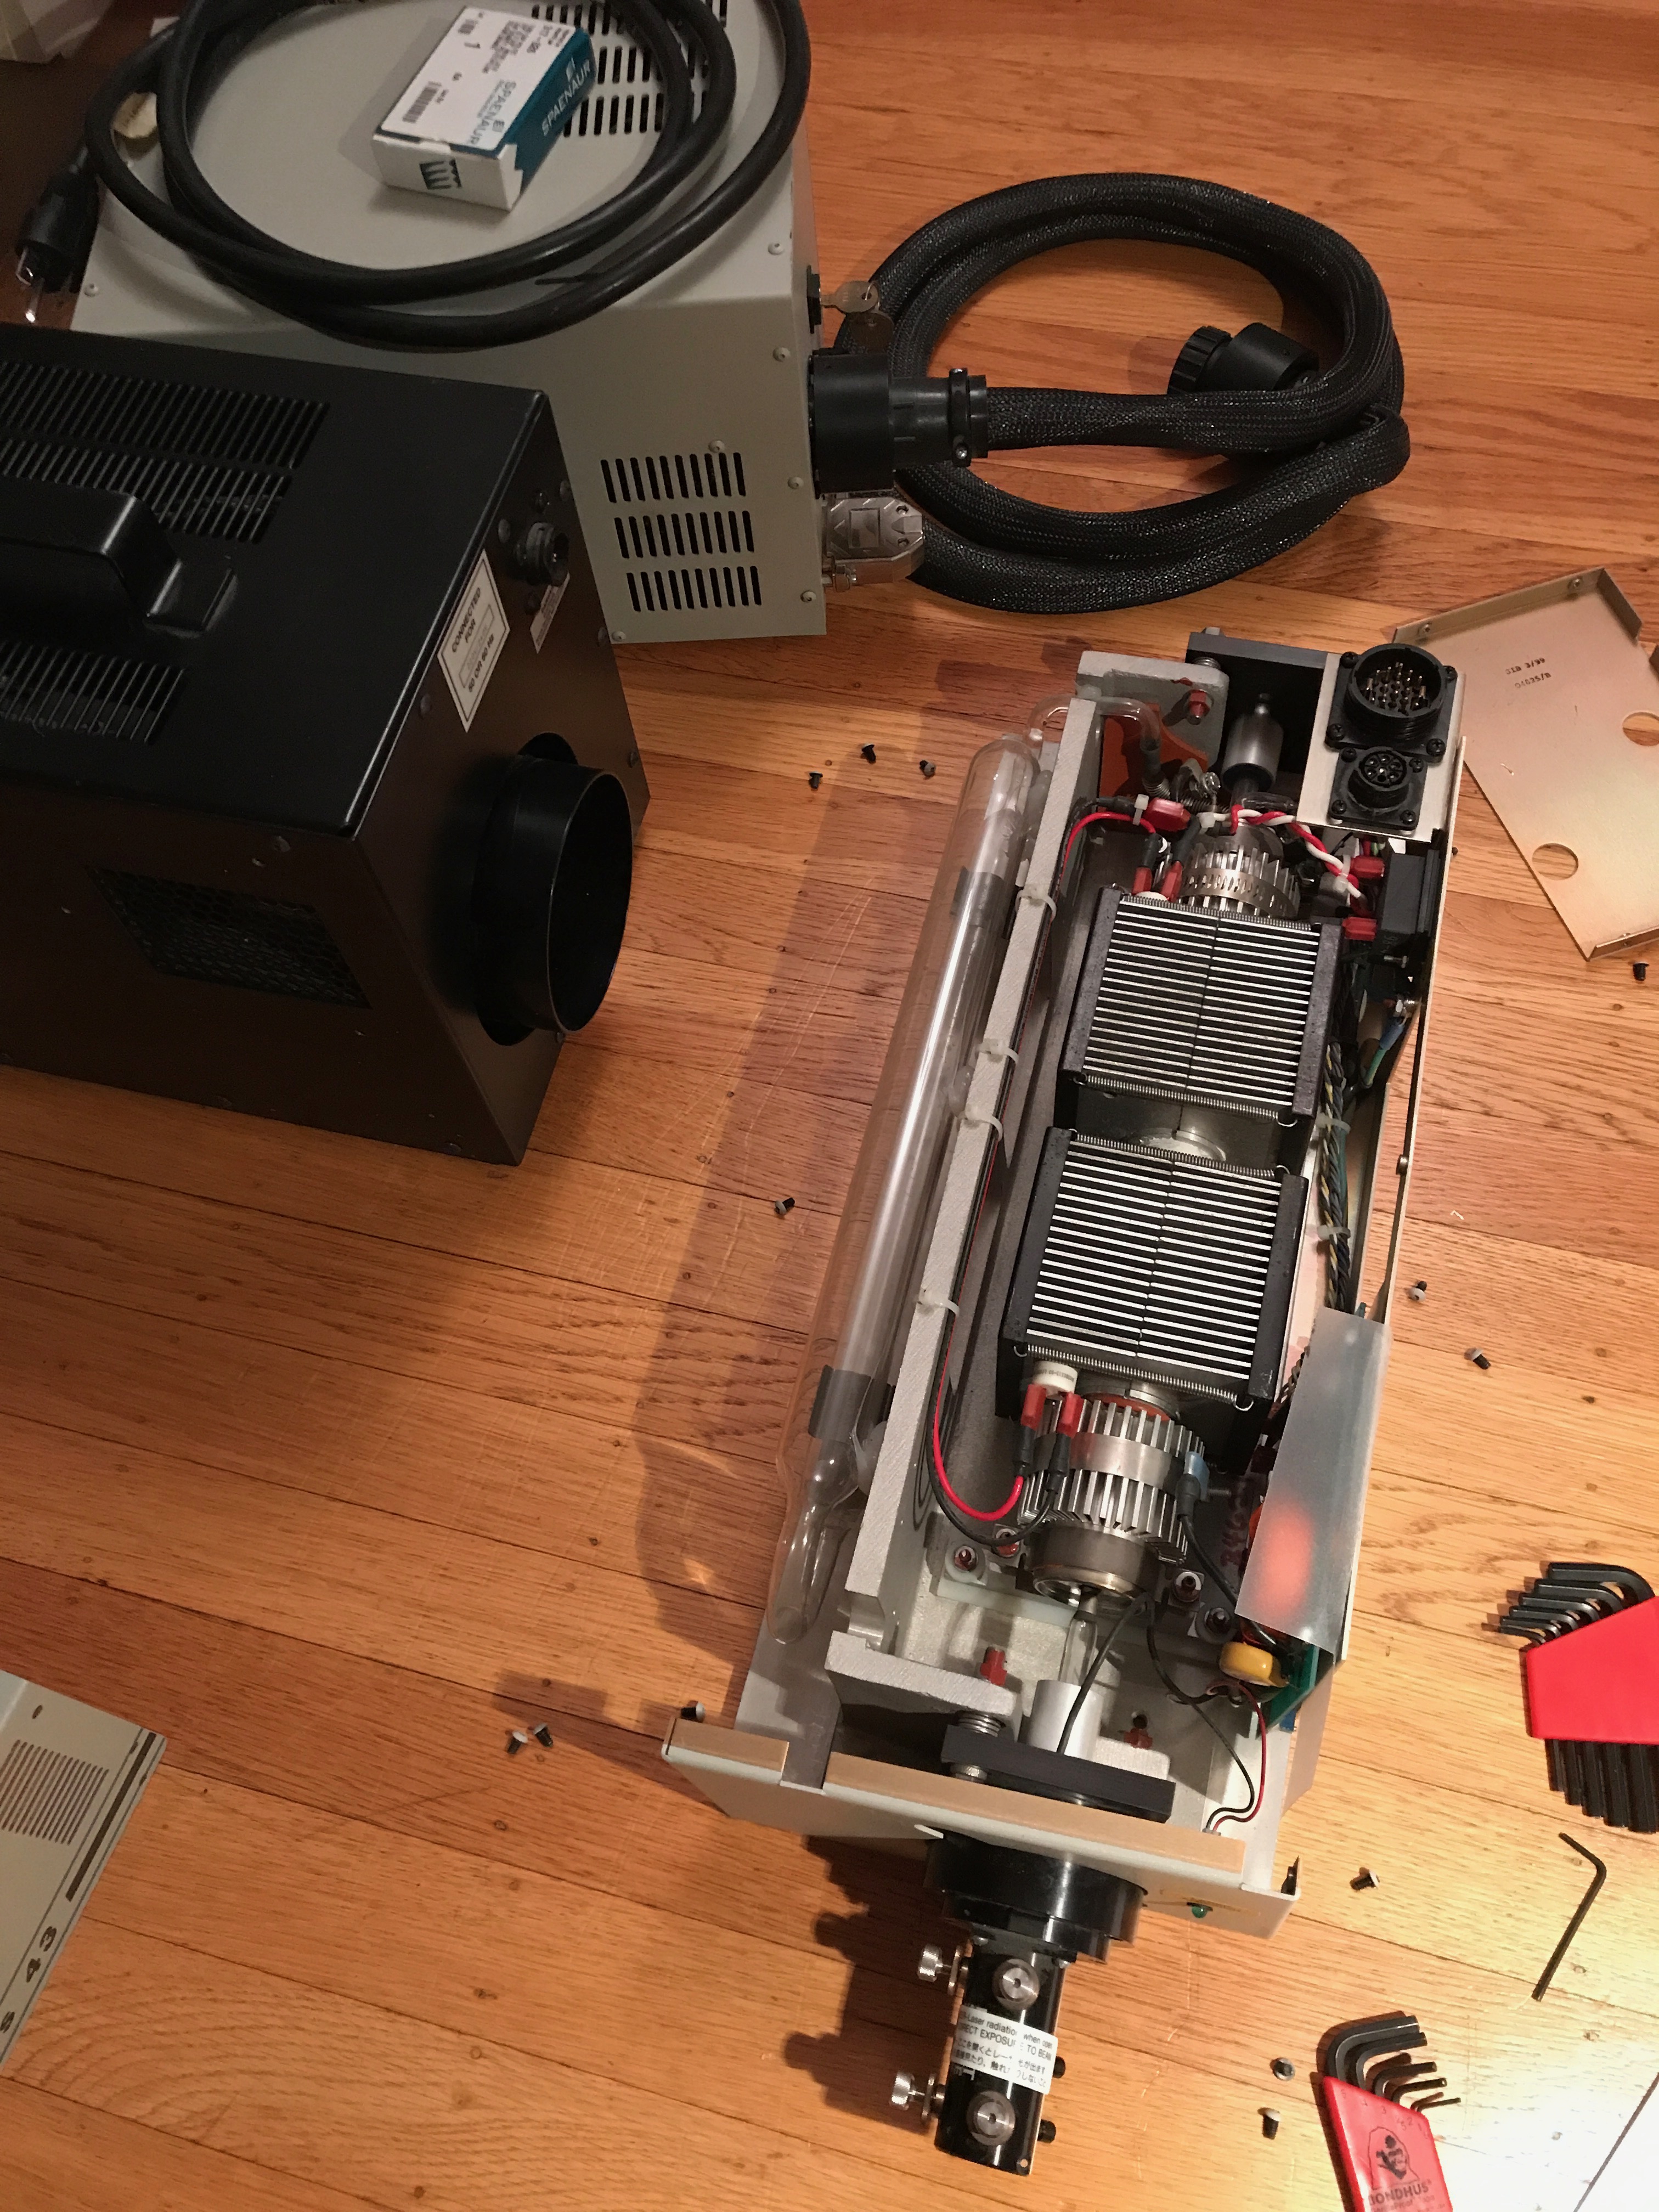
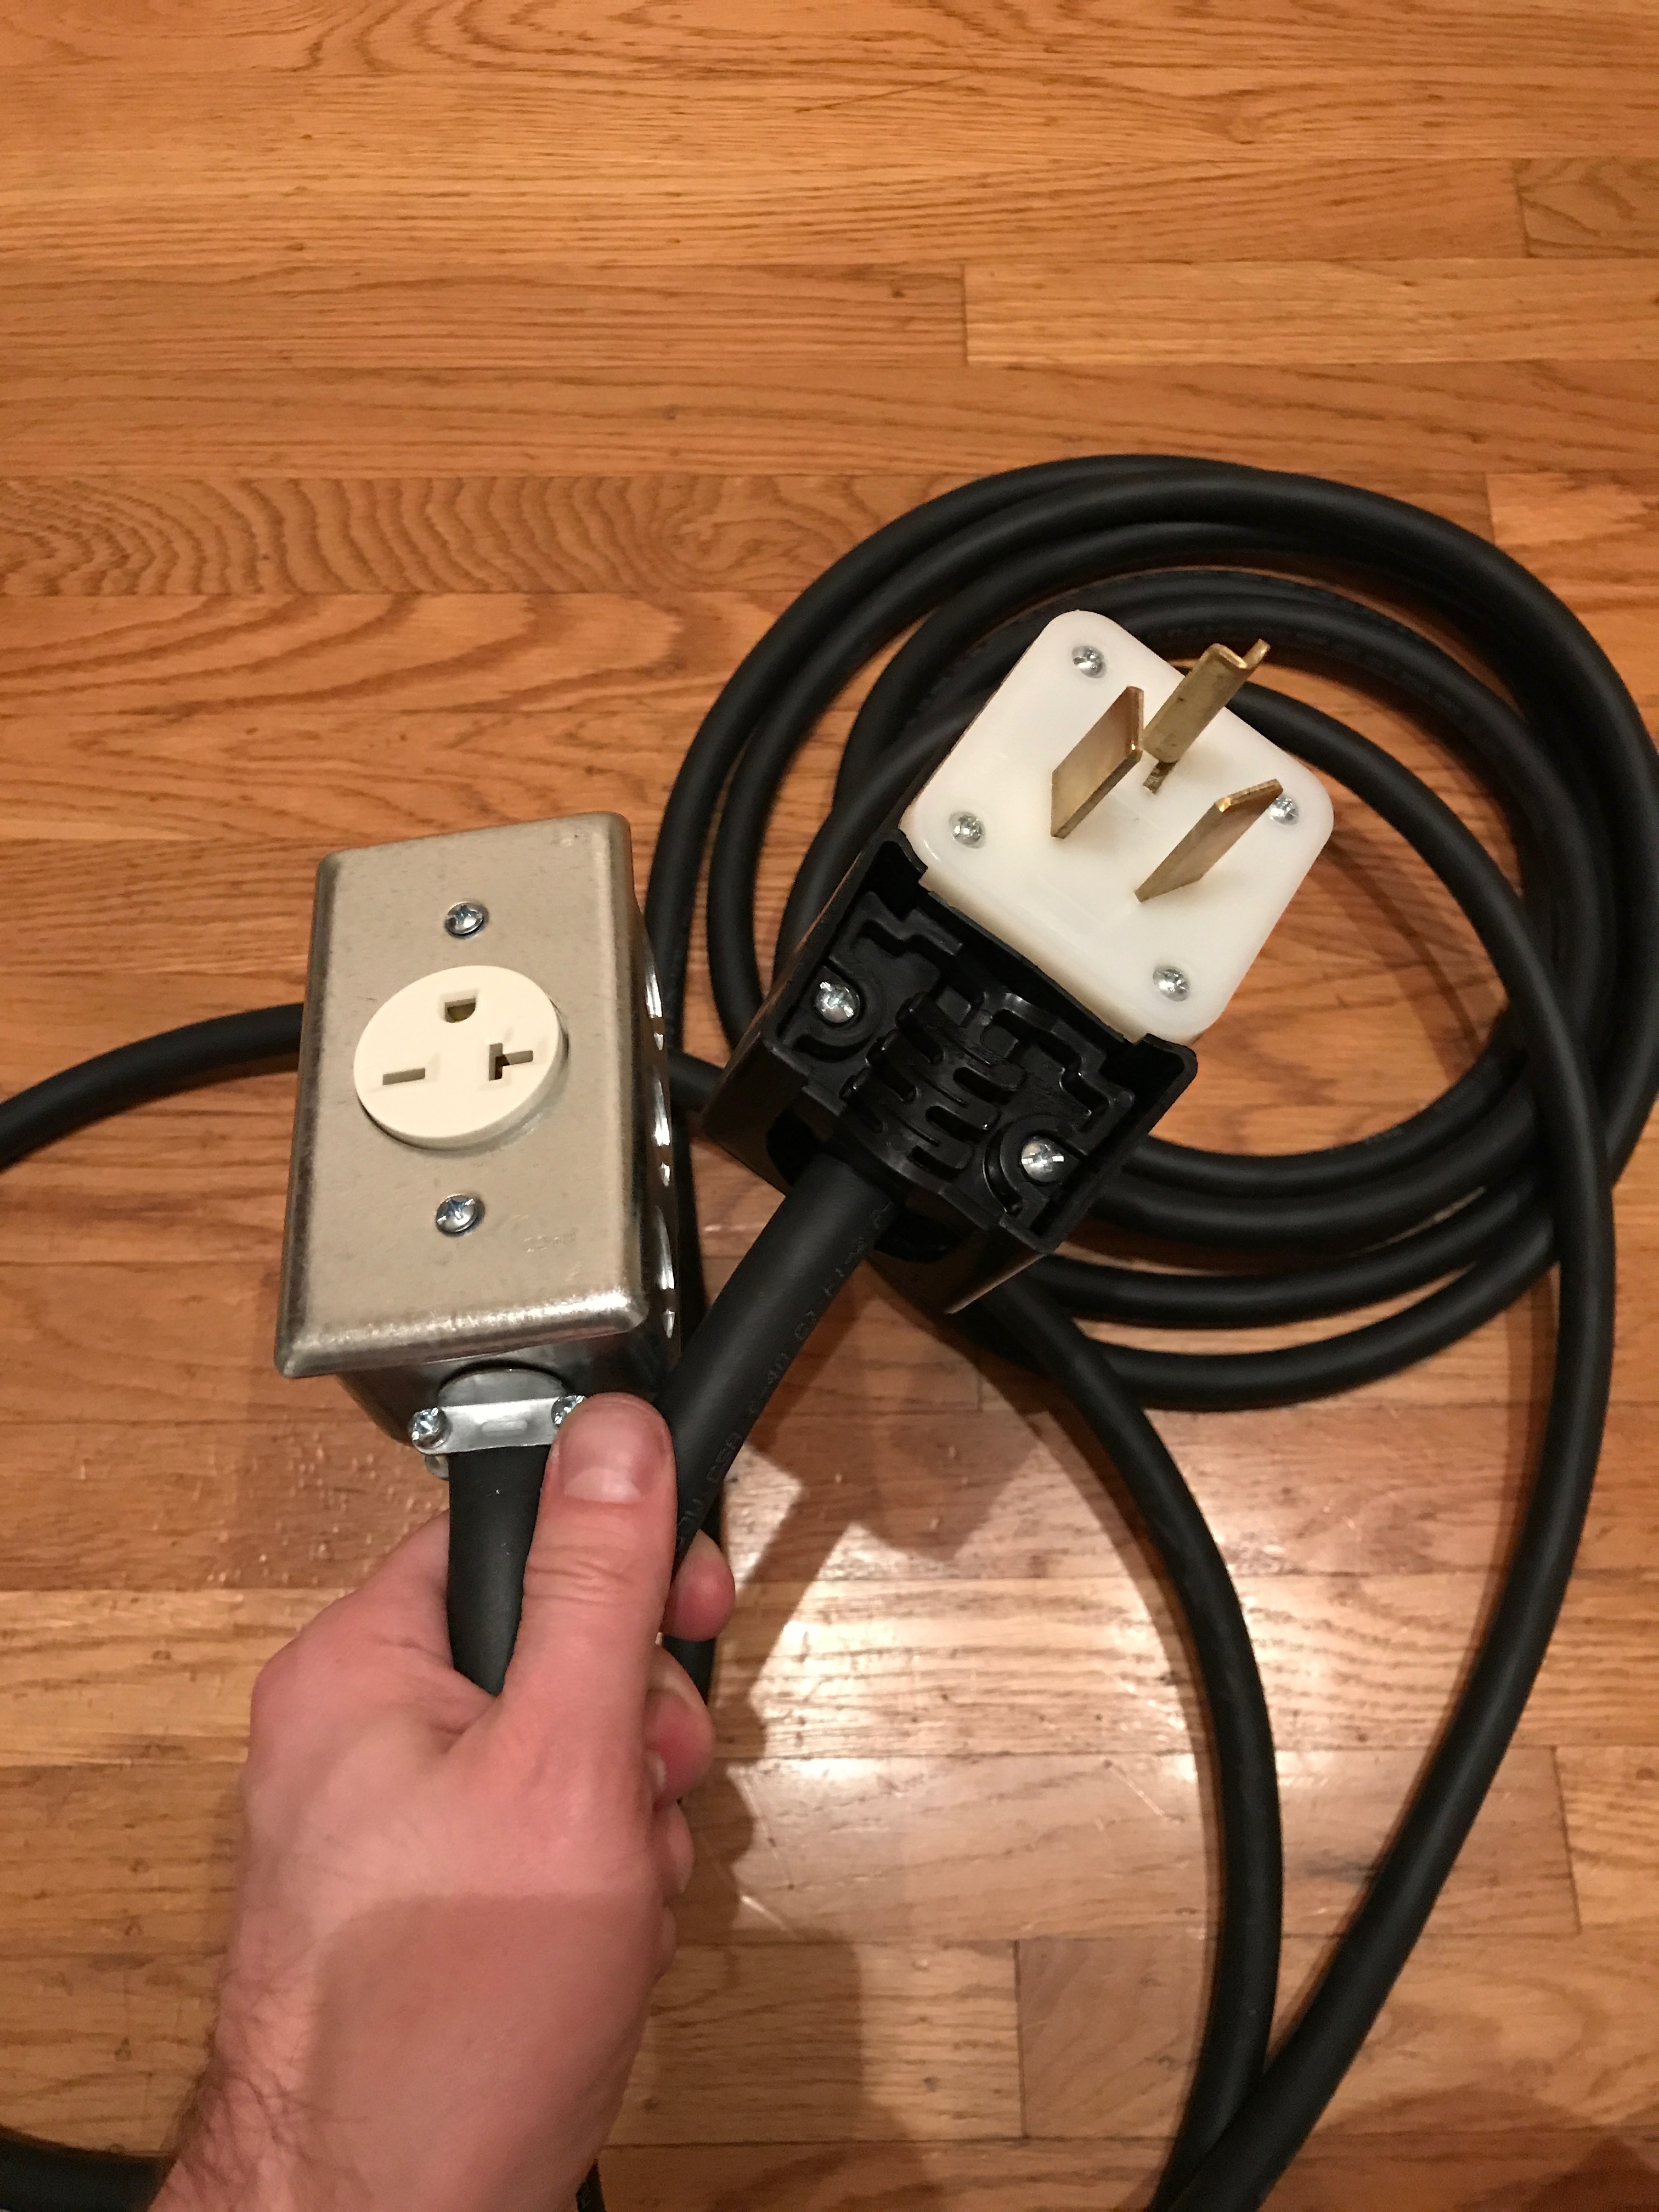
First I wired up a 10 gauge extension from my electric clothes dryer outlet with a NEMA 10-30 plug to a NEMA 6-20R receptical. I ordered 25ft of 10/3 SOOW cable and the plug from Amazon and picked up a "handy box" and the receptical at Lowes. Working with these heavy, flexible SOOW cables reminds me of my days in highschool technical theater…

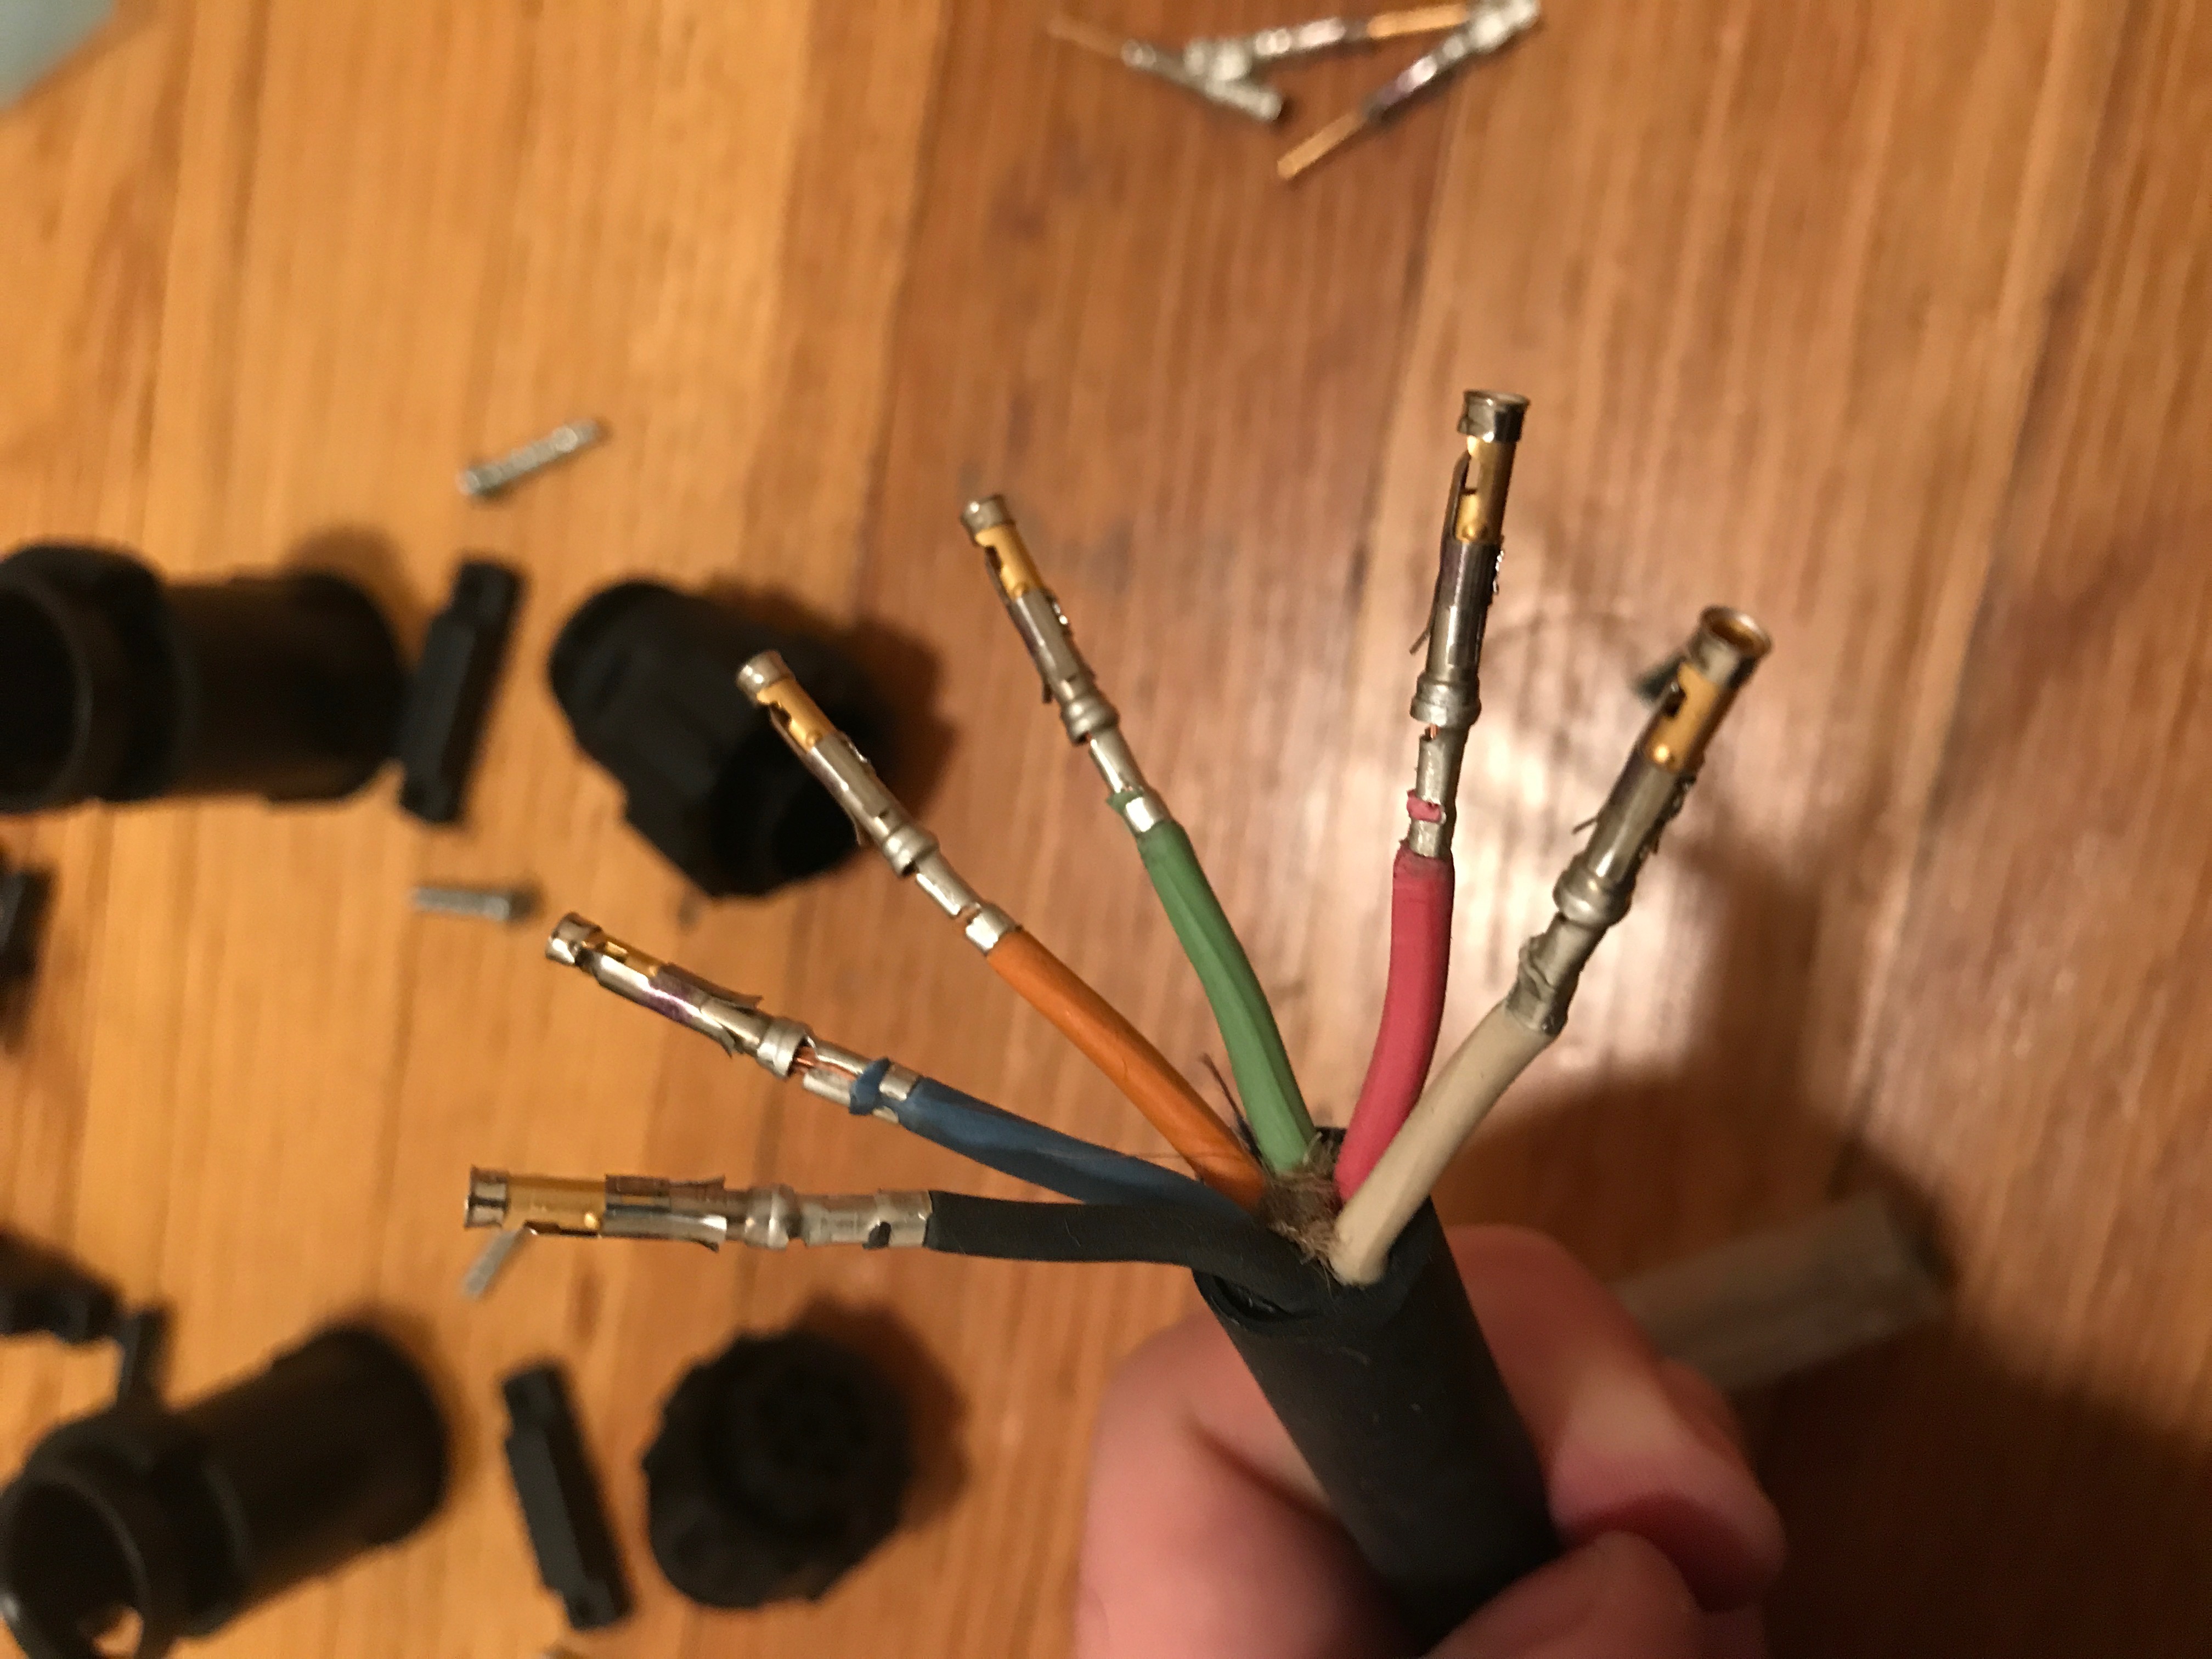
I couldn't find one on eBay, so parts for the other cable required a new crimper (Engineer PAD-01), a Digi-Key order, and tracking down some 18/6 SOOW at a good price. Fortunately it was easy to defeat the fan interlock with a jumper and use another blower I had for my other Argon laser in the mean time.

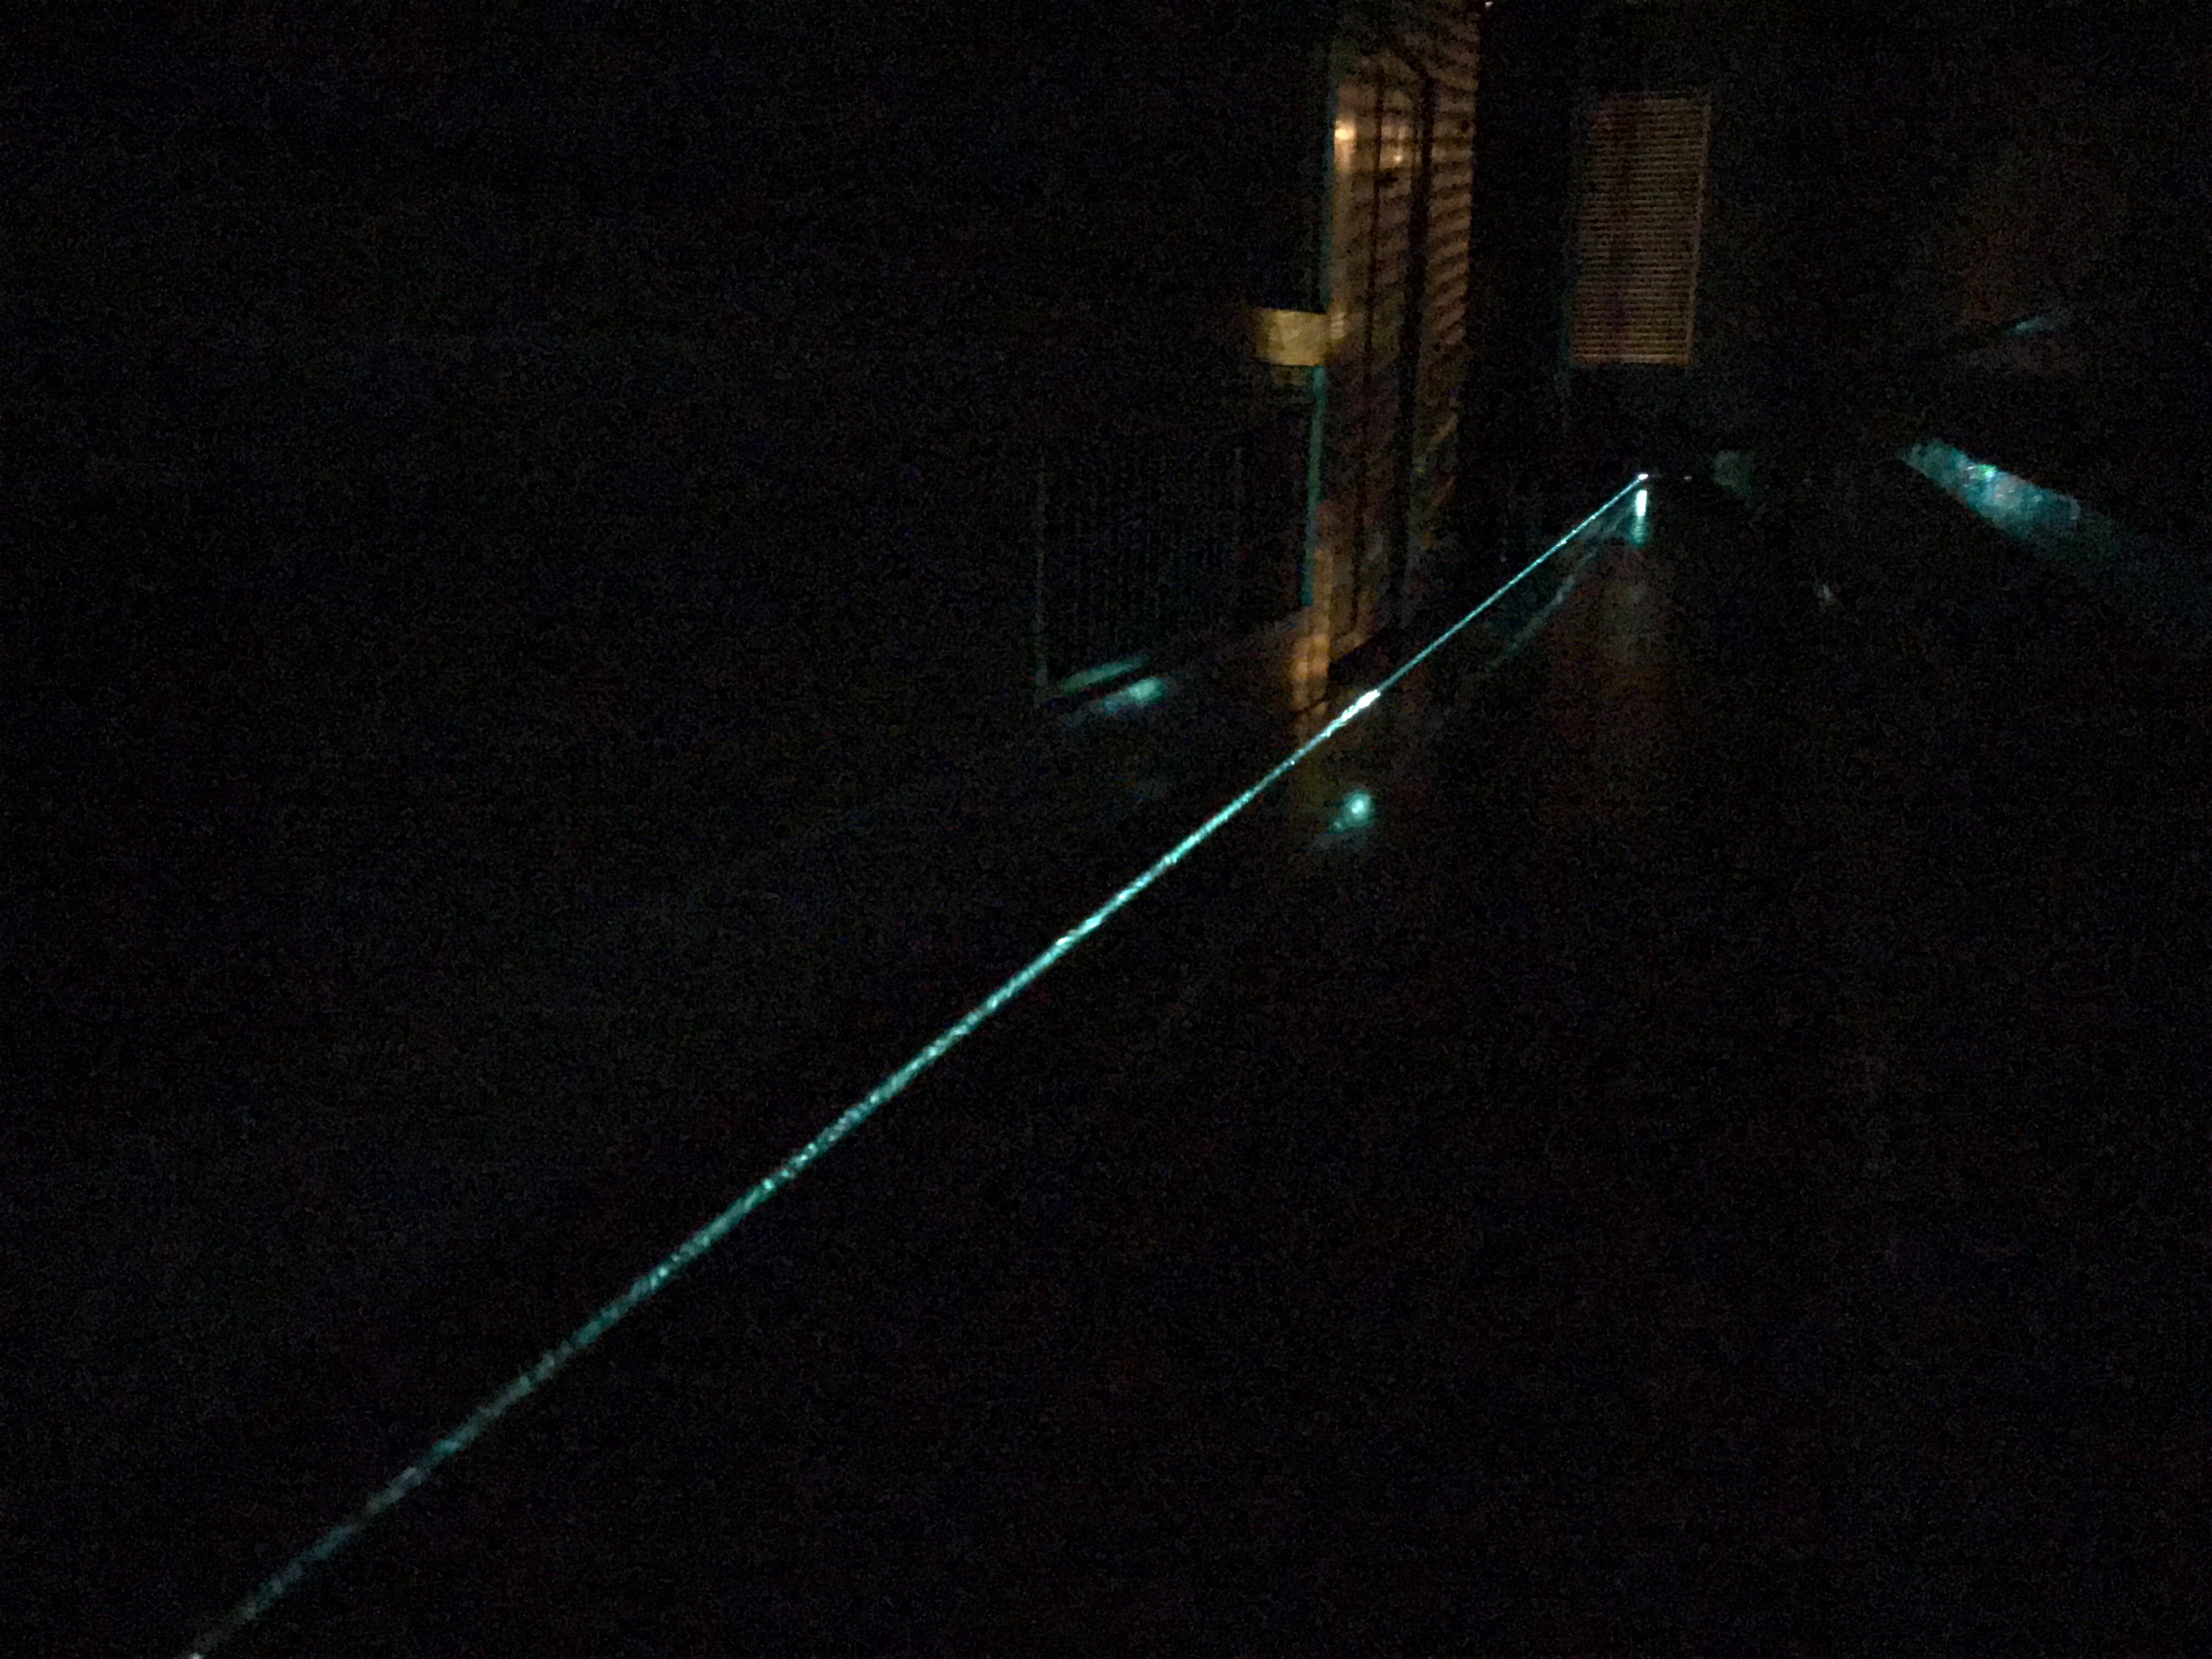
So after just a bit of wiring and basic external cleaning I was able to get it running in top shape. I made a new jumper remote plug to run it in constant-current mode and walked the mirrors to get the peak output up to about 83mW at max current. I figure the cross-continent shipping probably wasn't great for mirror alignment, but no worries now. The specific model number is 643-OLYM-AO3, which I suspect means it came from an Olympus confocal scanning microscope, but have no explicit specifications for the unit. I received the tube with about 570 hours on the run time meter, so it is far from new but still has great light output. Anyway, on to the pictures!
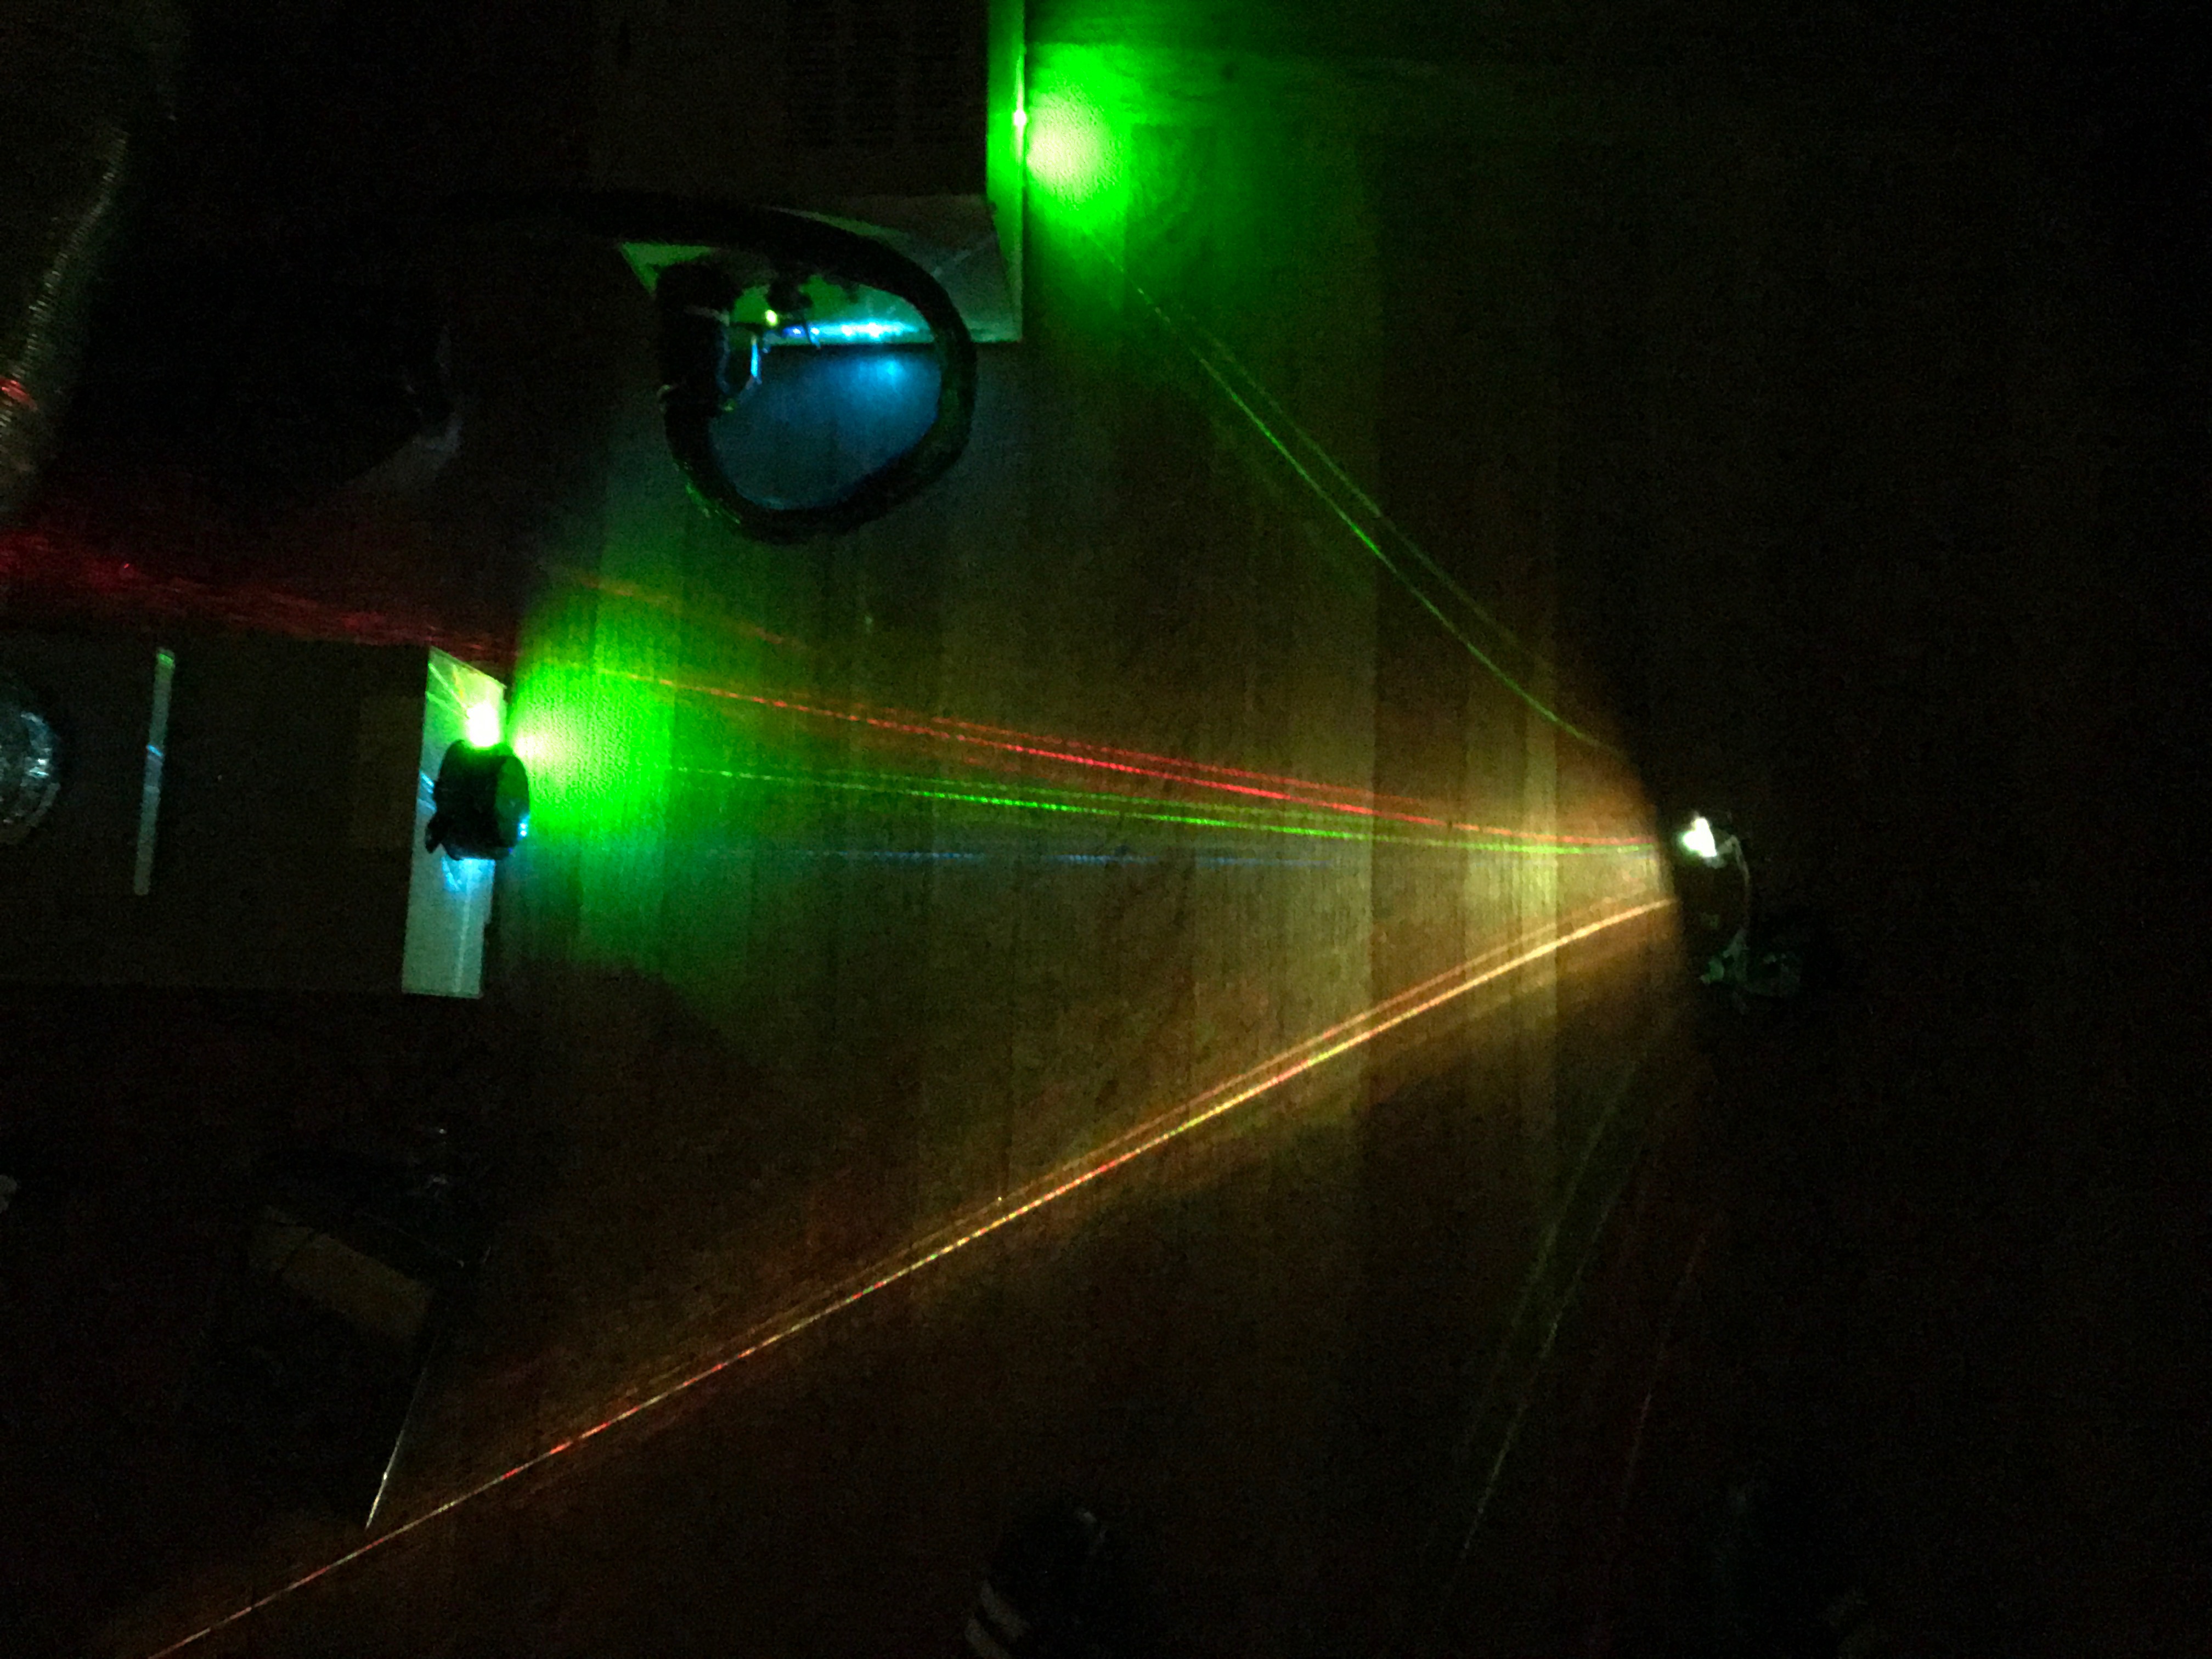


One day I think I might be interested in getting RGB optics instead of the RYB this unit comes with so that it'd be more appropriate for laser display purposes. Some folks suggest that it is best to appreciate the yellow-green line for what it is and avoid the trouble. Guess we'll see if I come across the right kind of output-coupler optic. Next project is to build a small digitally-controlled remote for the 171-B power supply.
I'm back!
After a hiatus of more than 5 years, I’ve resurrected my website! I’m hoping to share some project stories, add back some archival content from the old site, and have a place to share things I learn.
Years ago I took down my website because my VPS had been exploited, I think due to an outdated version of Wordpress. This new one should be more reliable; I’m using Jekyll hosted on Amazon AWS using S3 and CloudFront, which made it easy to adopt SSL and HTTP/2. I wrote a custom Jekyll plugin to handle automatic thumbnail generation for images and Lightbox stuff. Fun new project!
I’m slowly bringing back some old content on the blog, such as my post about building a Blu-Ray Laser Pointer, and have refreshed some of the content in the Lasers and Panoramas sections.
subscribe via RSS