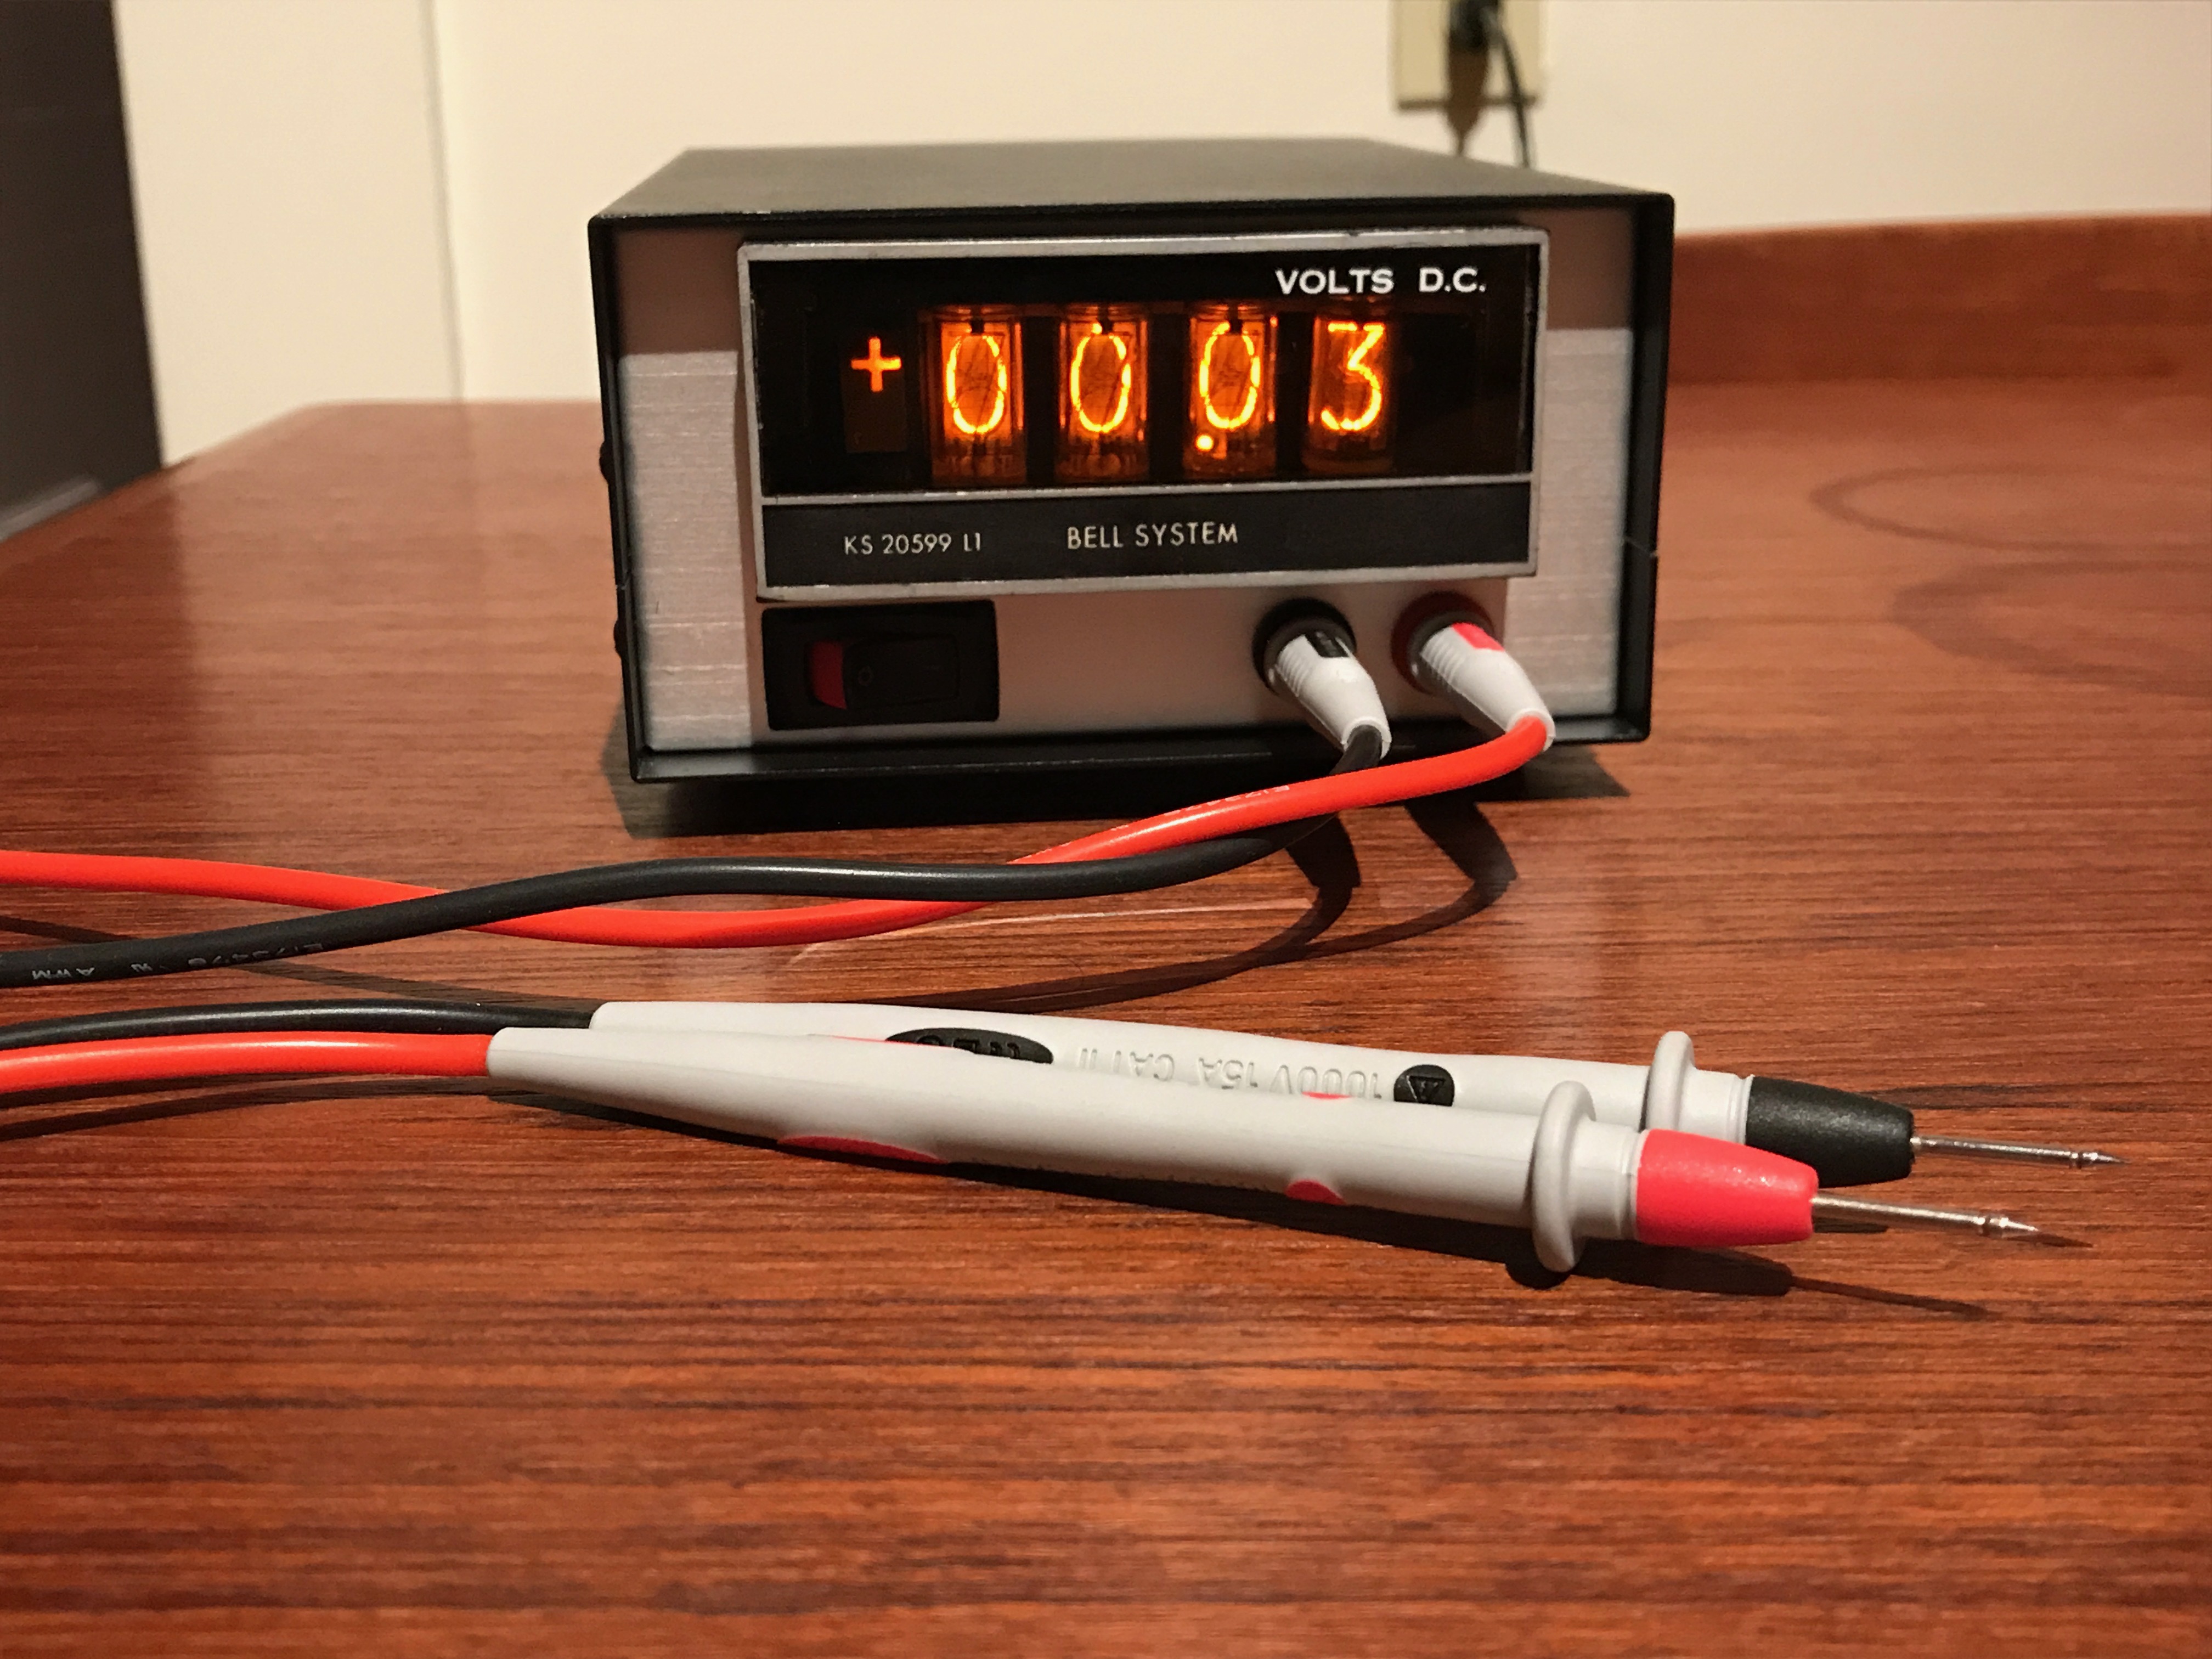
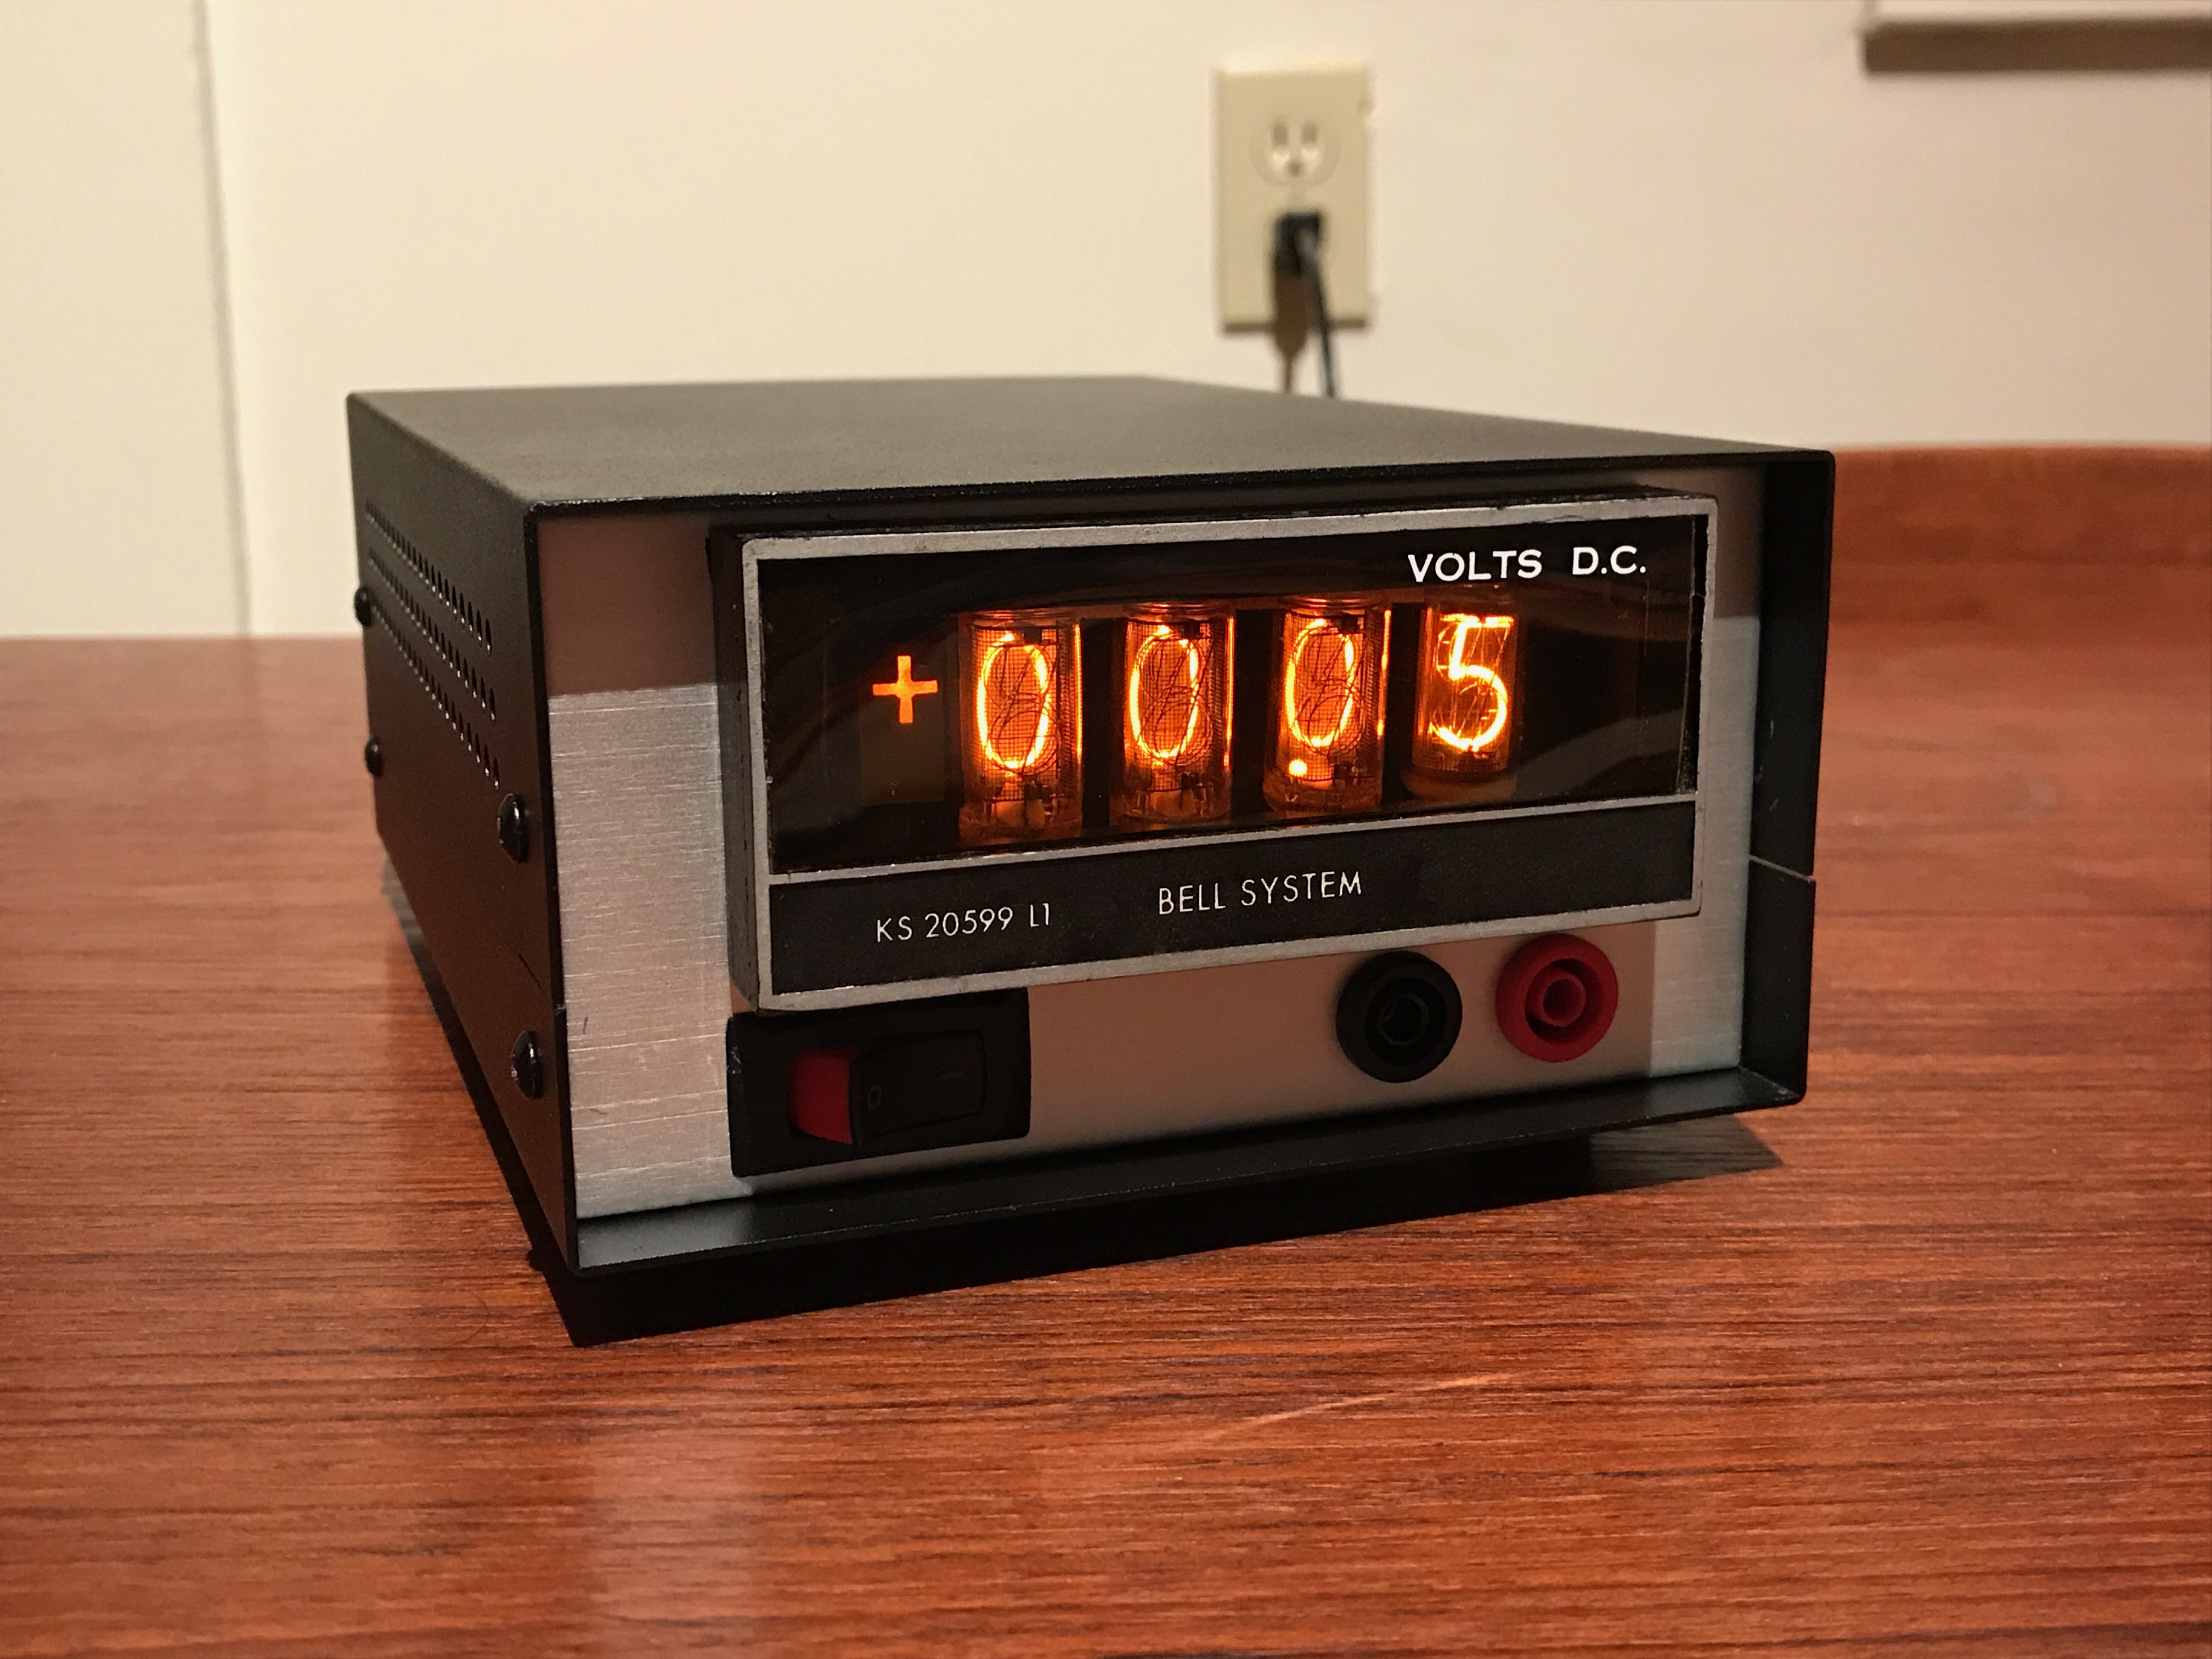
Weston 1293 Nixie Tube DVM
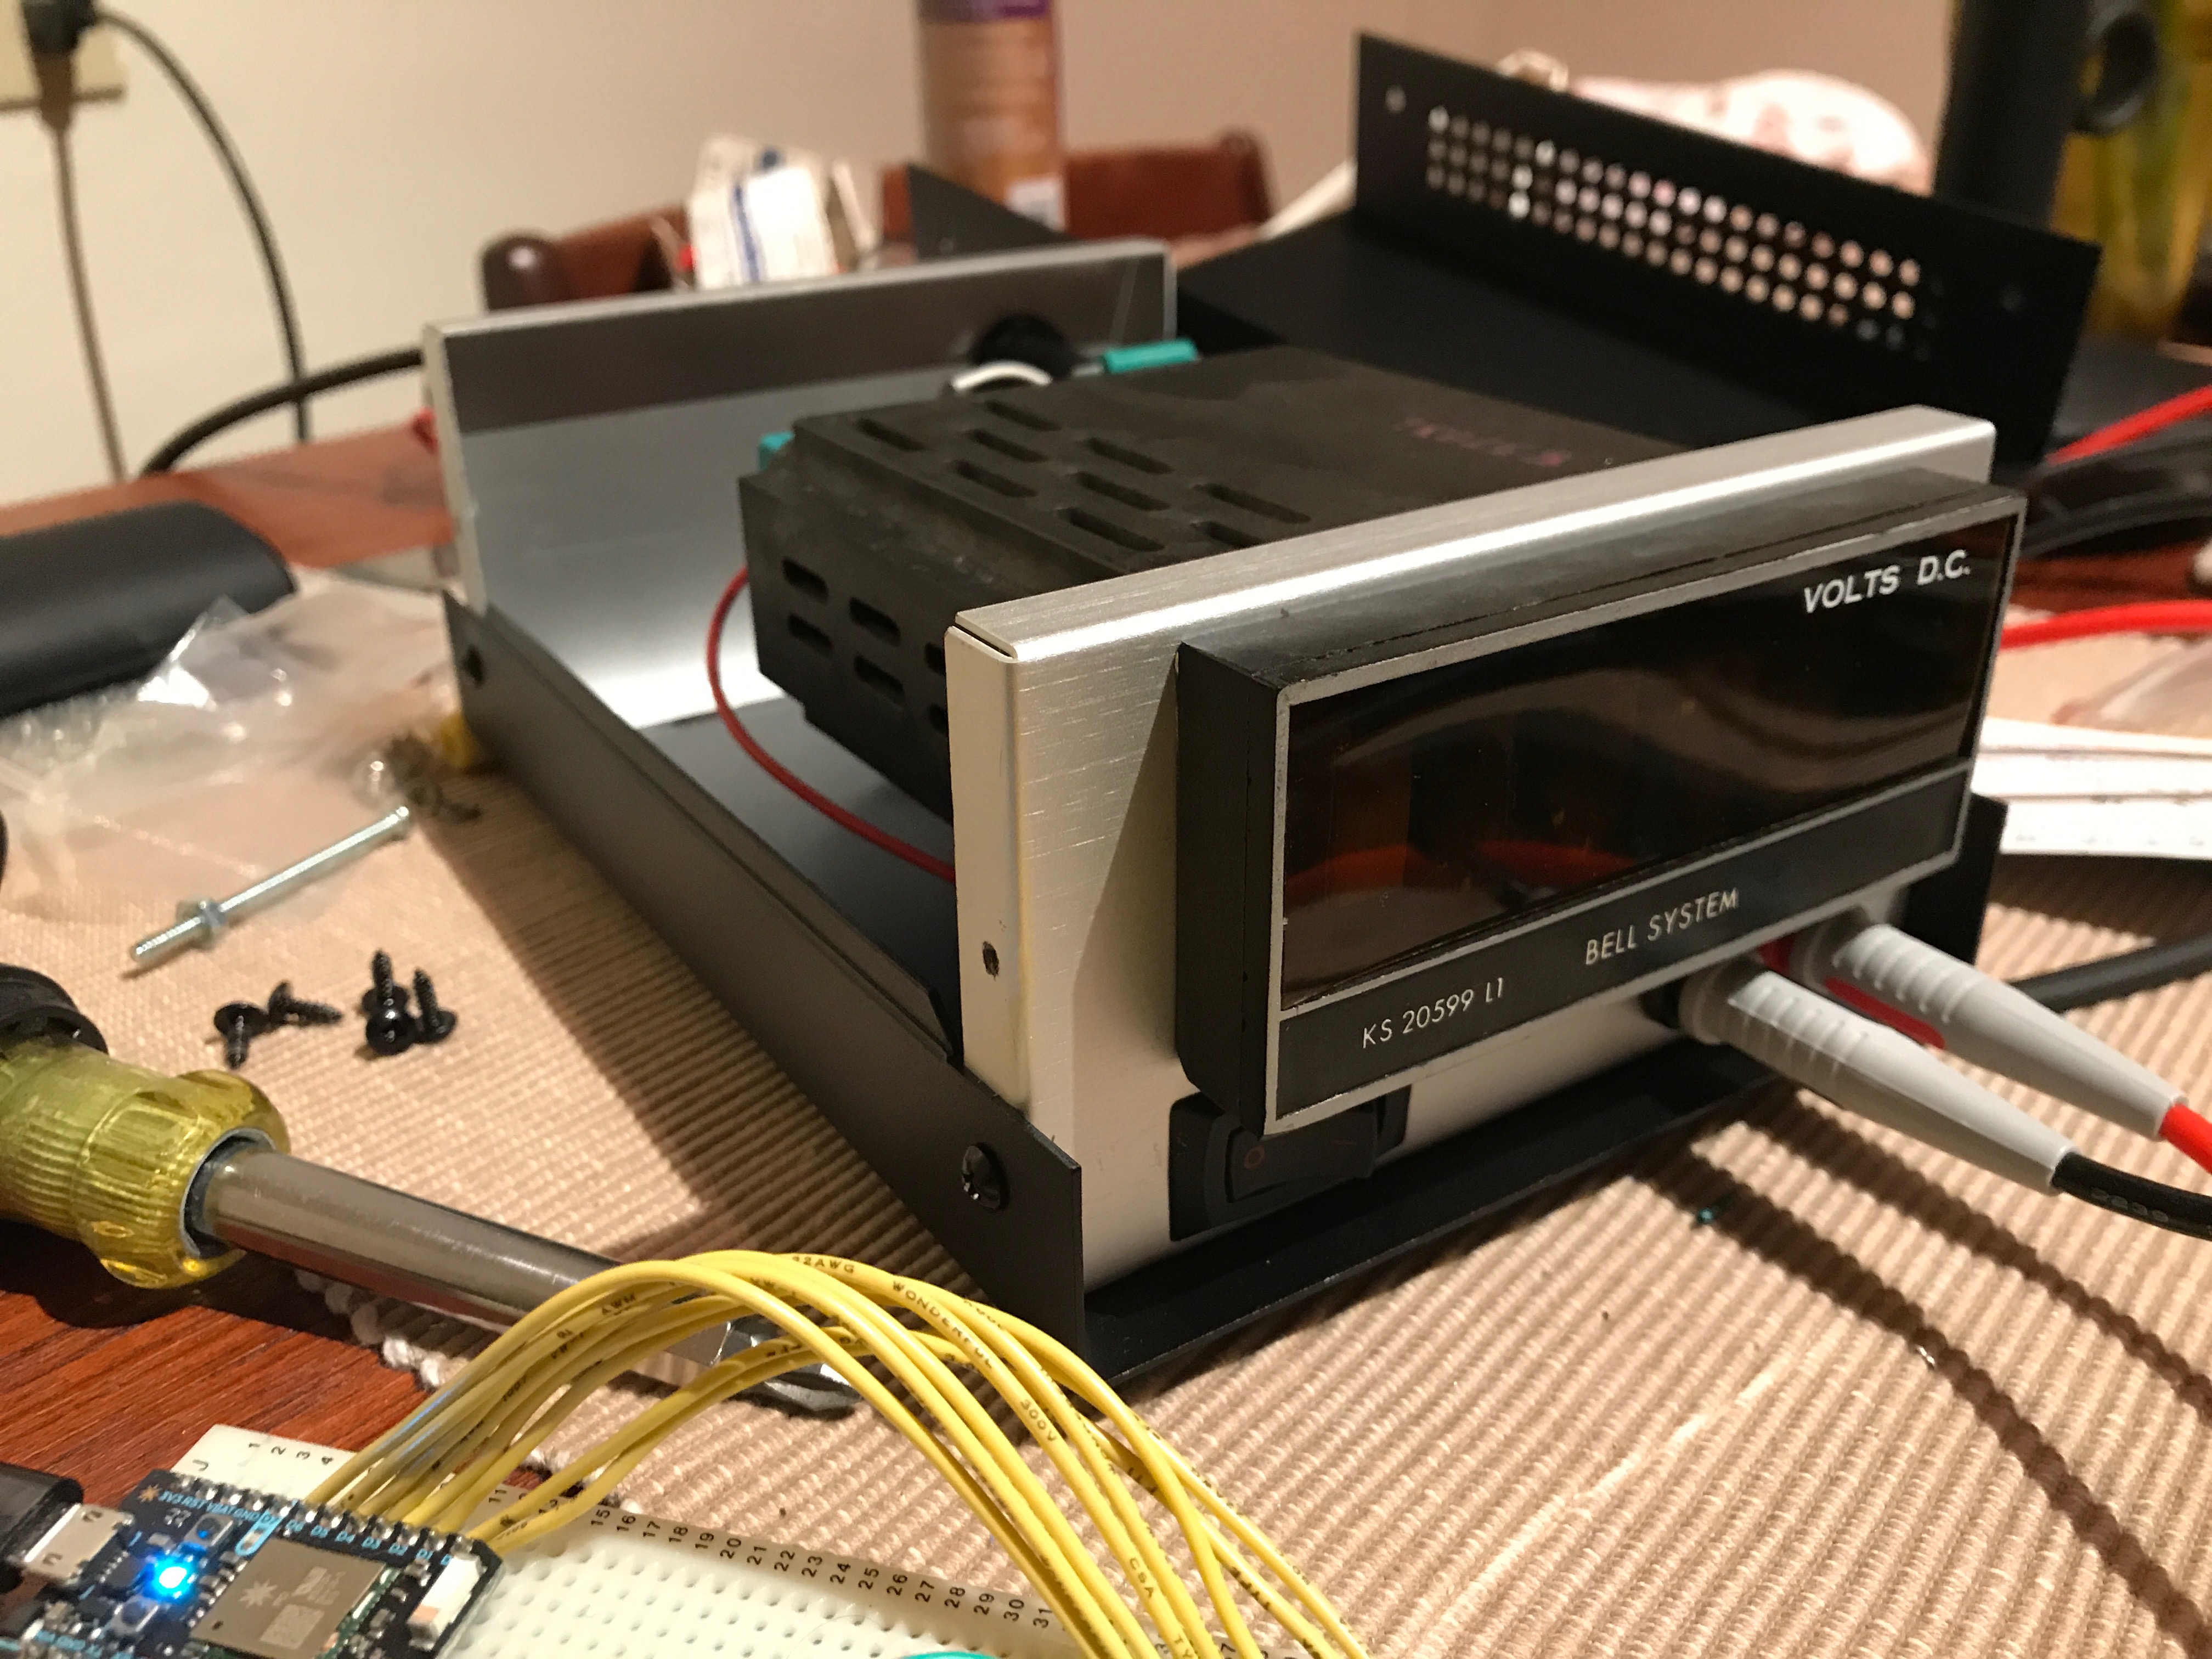
A couple of years ago I was at an estate sale with my mom and picked up this interesting Weston 1293 Digital Volt Meter. Could not resist nixie tube test equipment for $15.

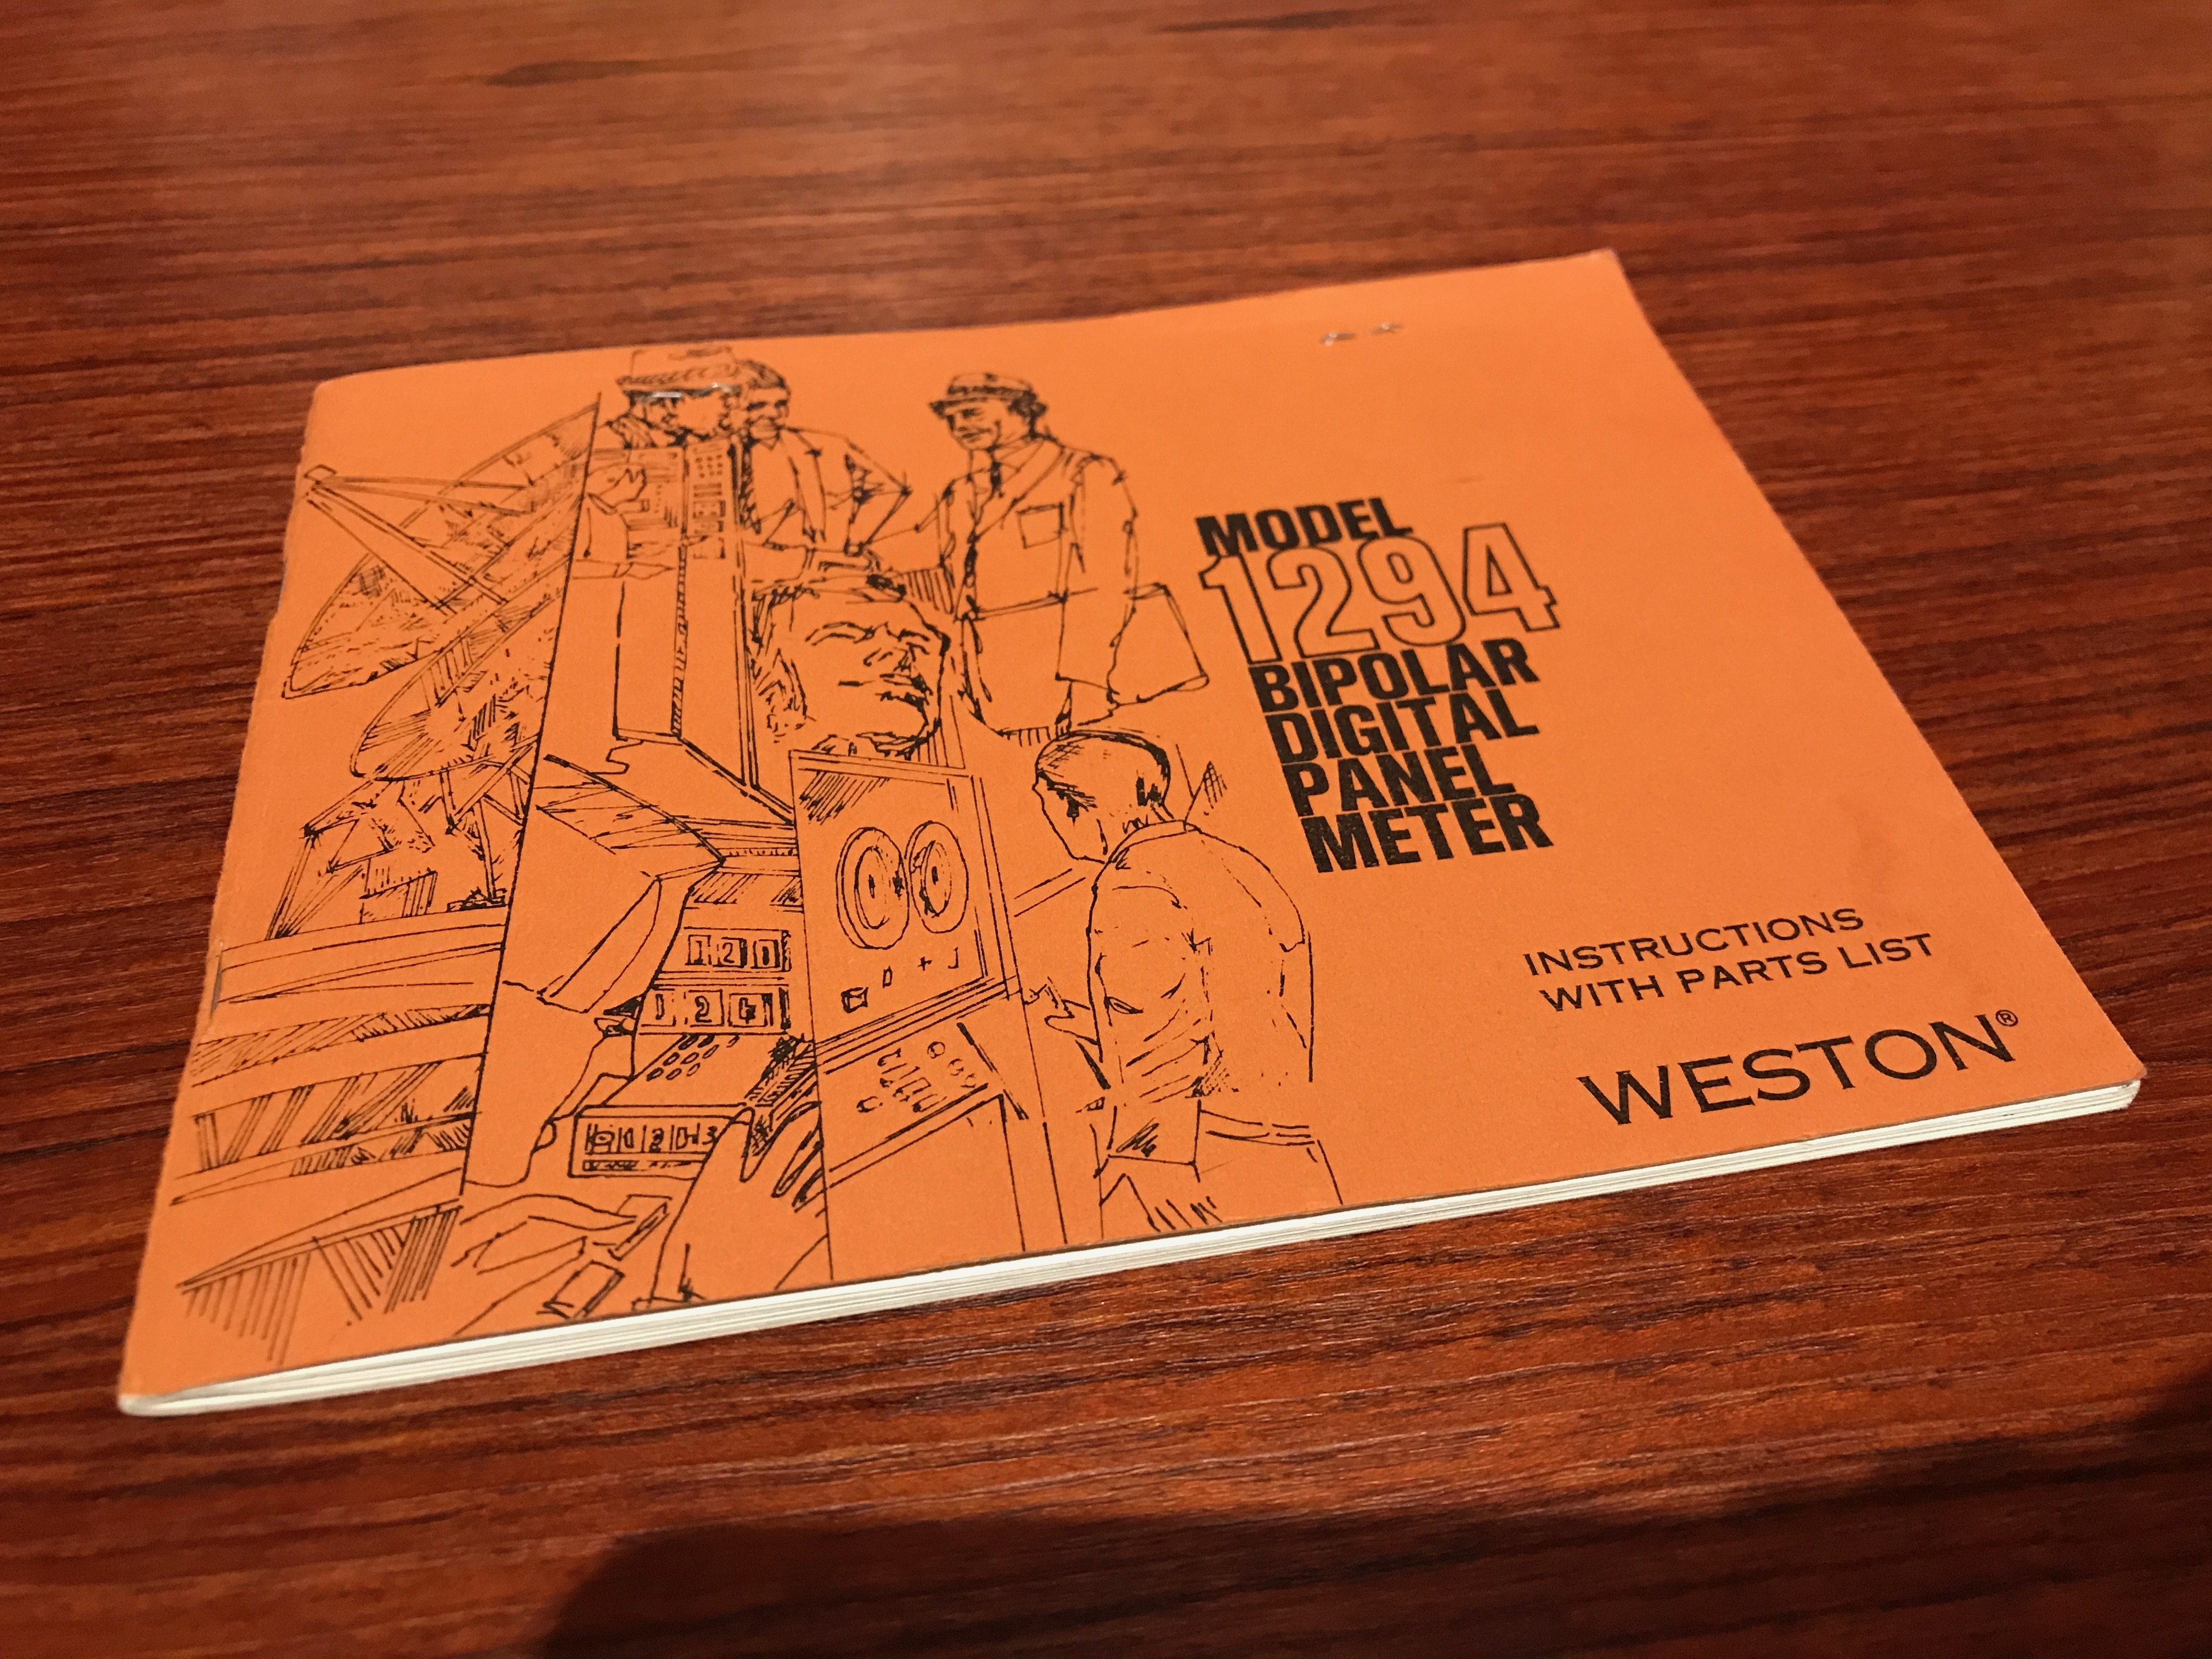
I'd learned a lot about how it worked from a web page describing the Weston 1294, though that web page appears to be completely gone from the internet without a trace—not even a page is cached in the Internet Archive. I hope that site has a shorter hiatus than mine did…
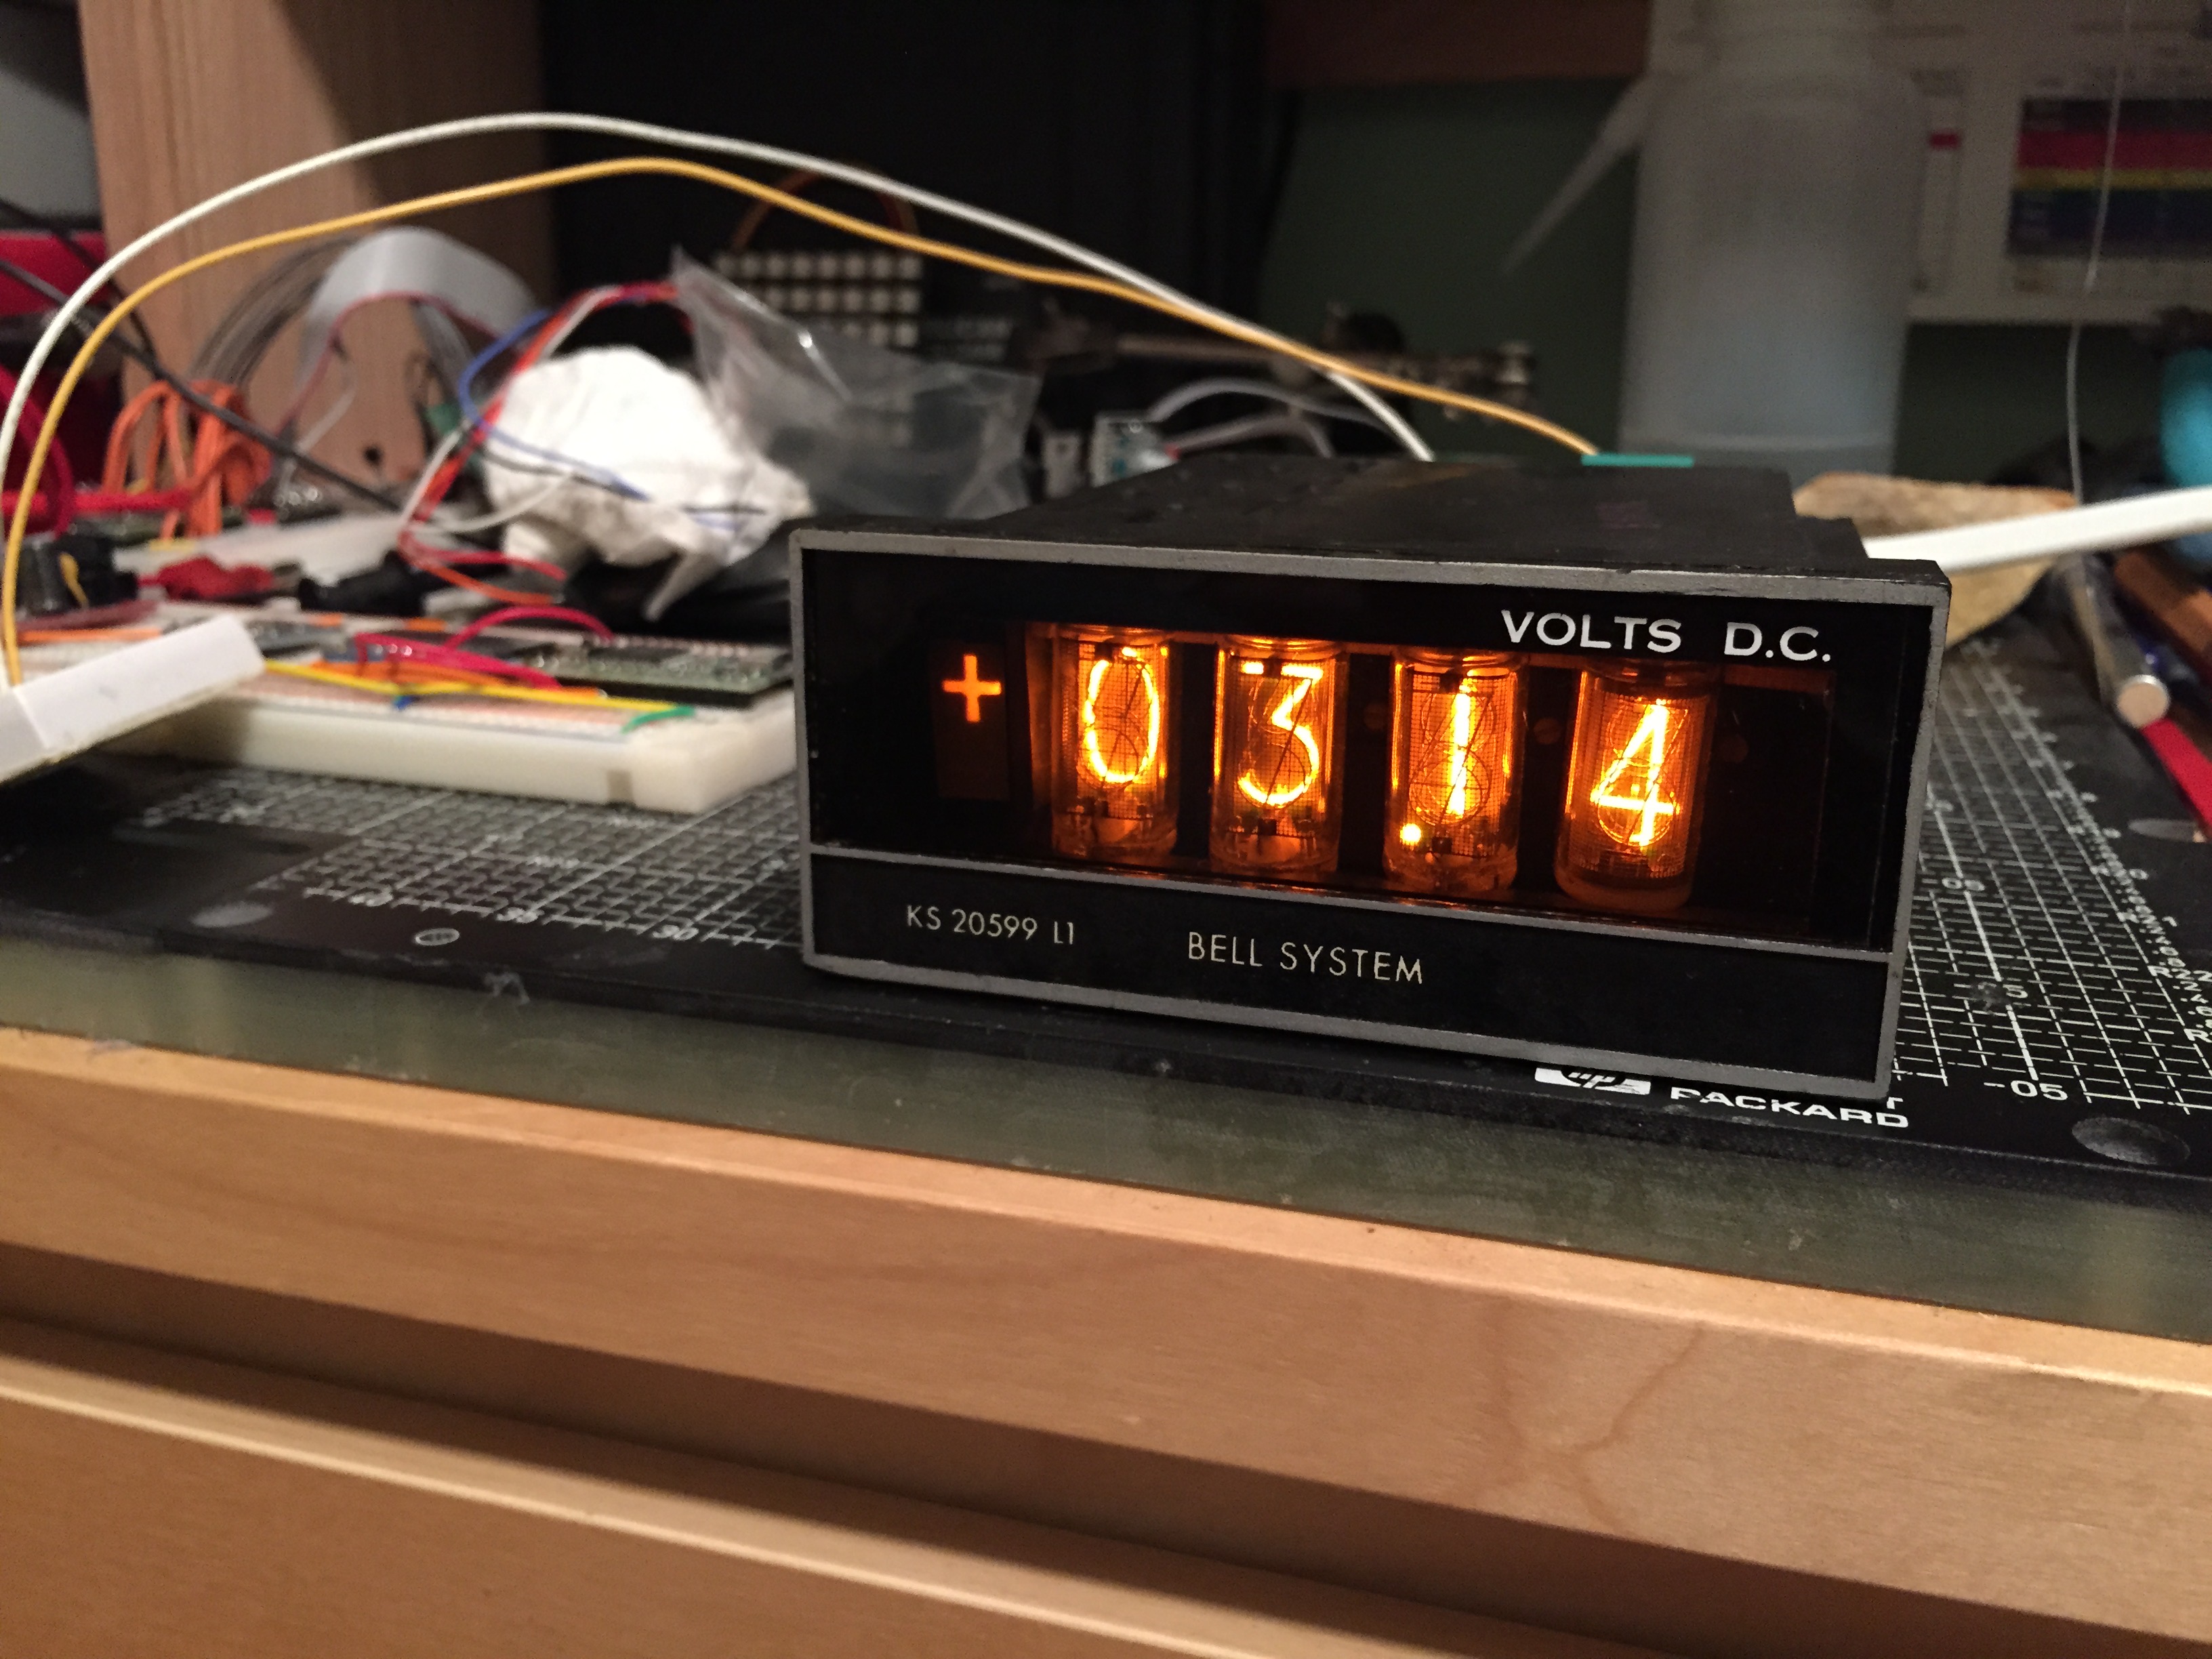
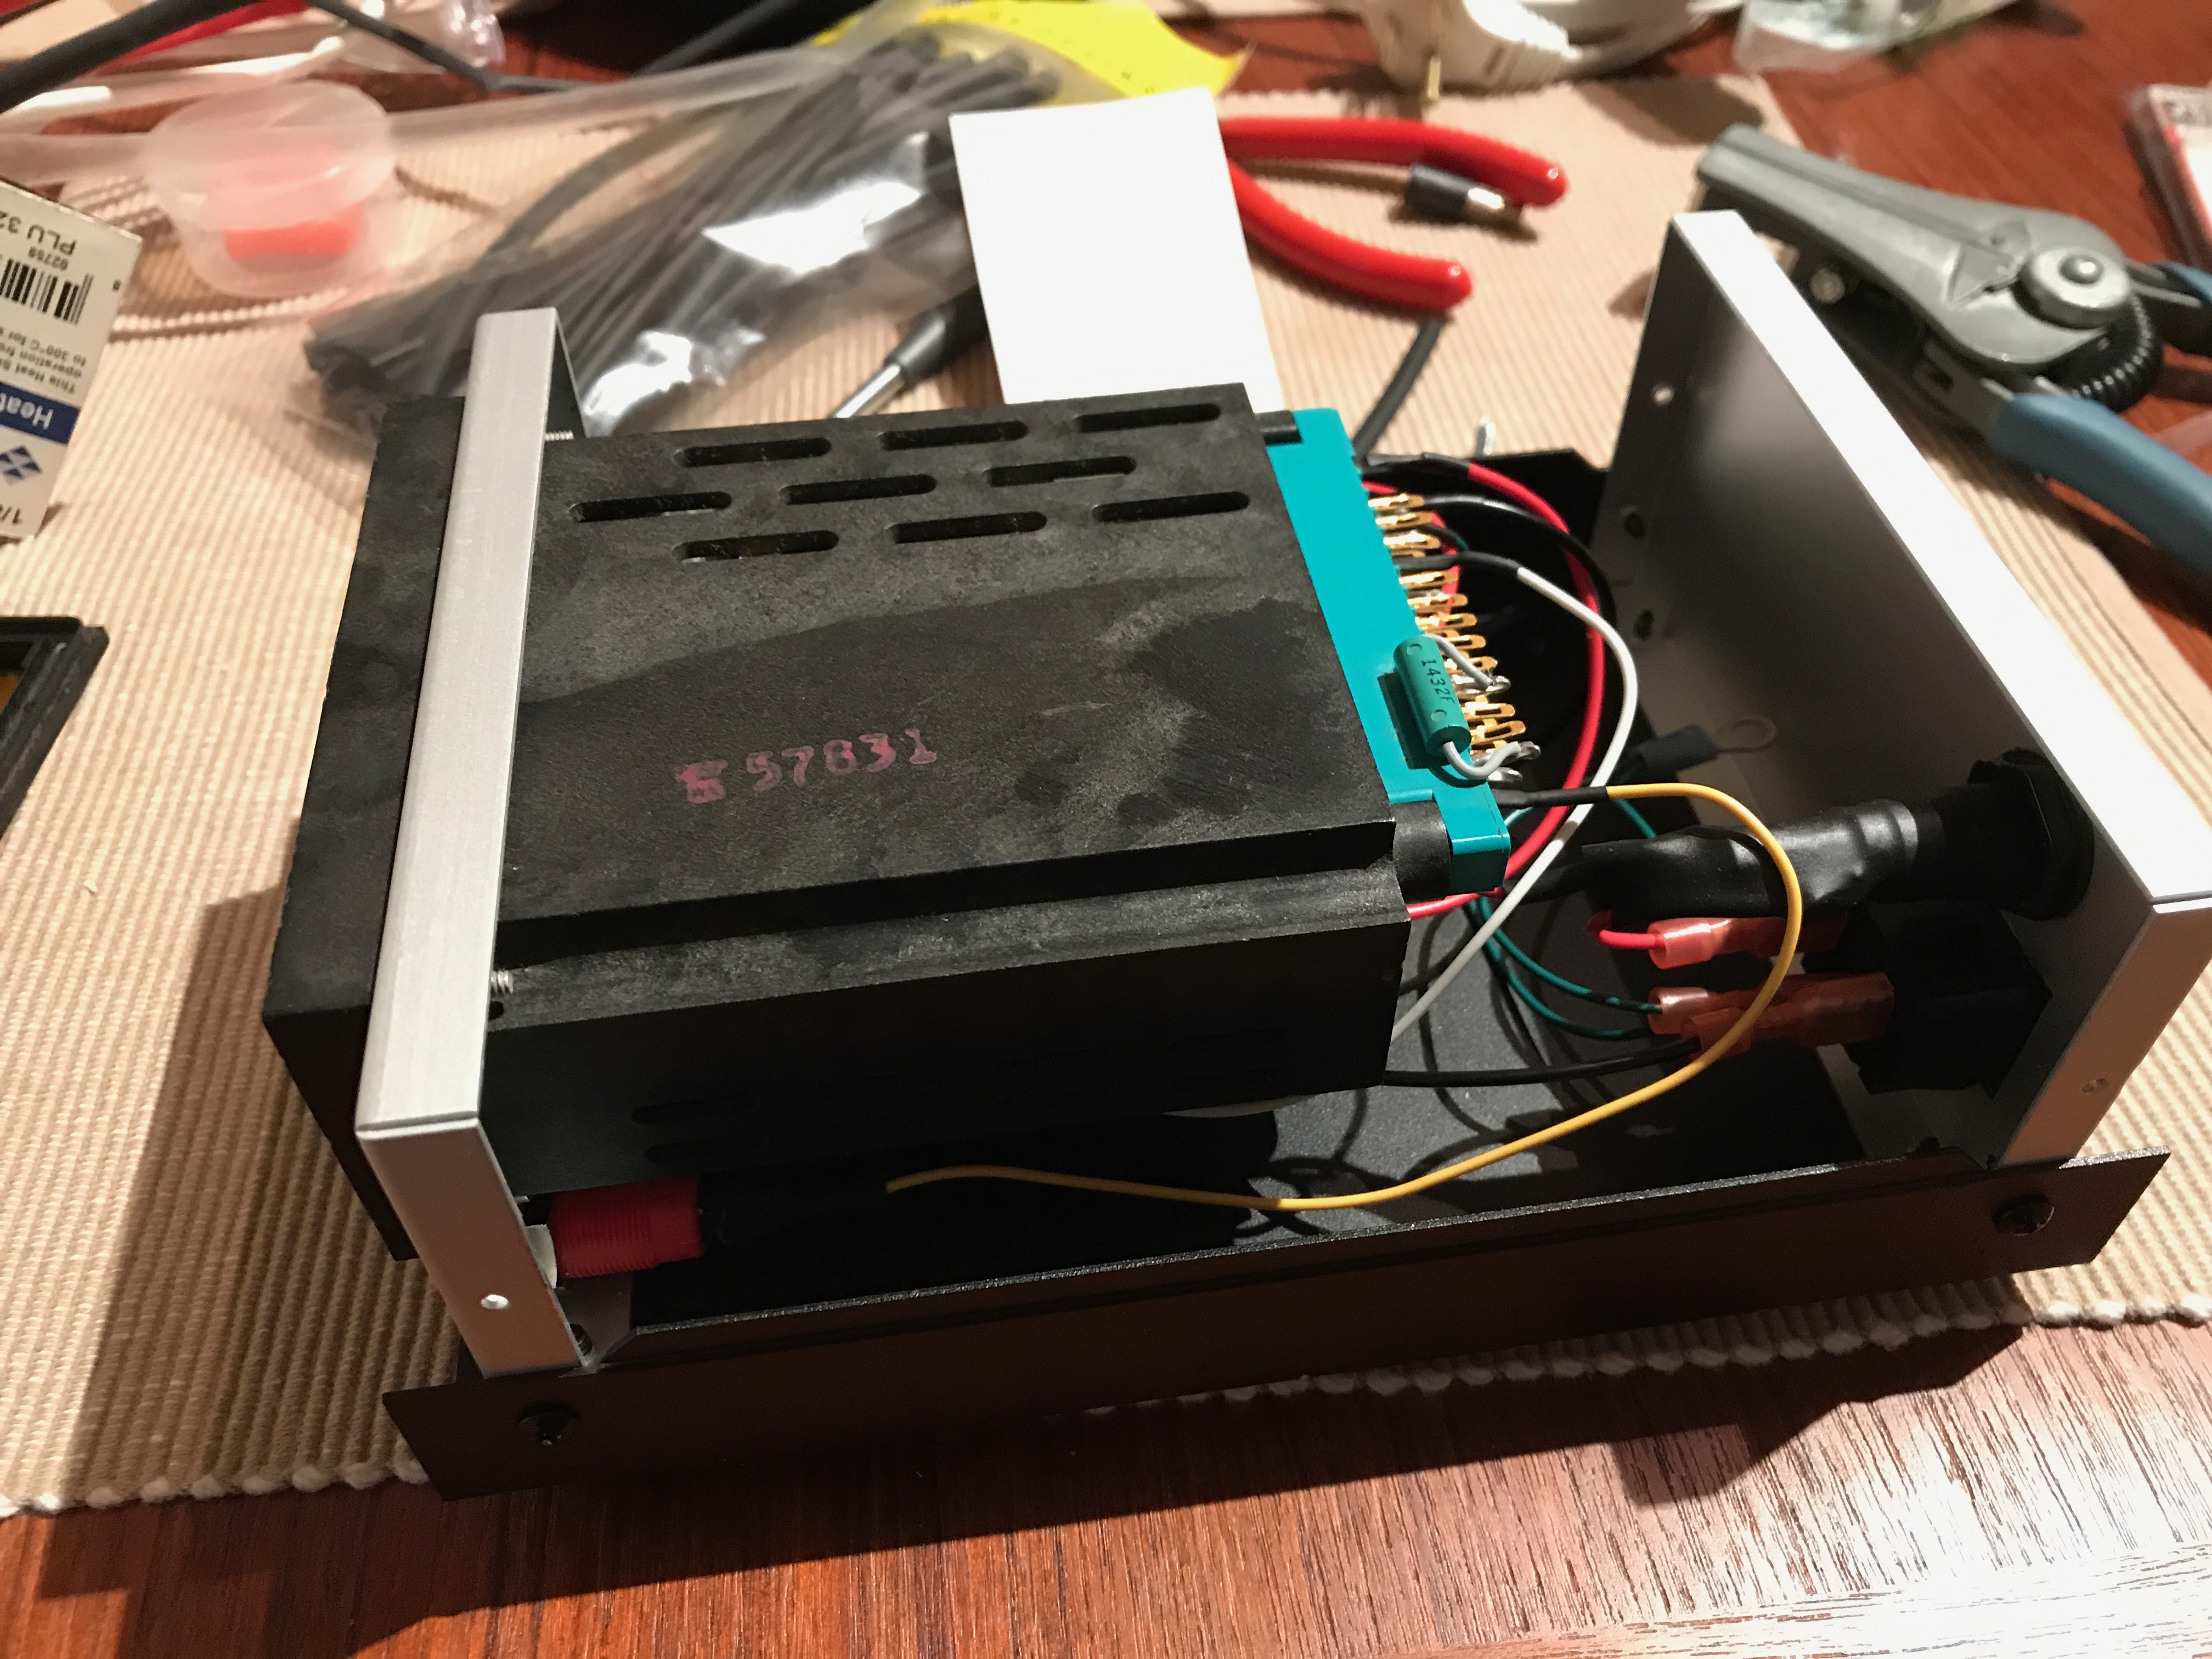
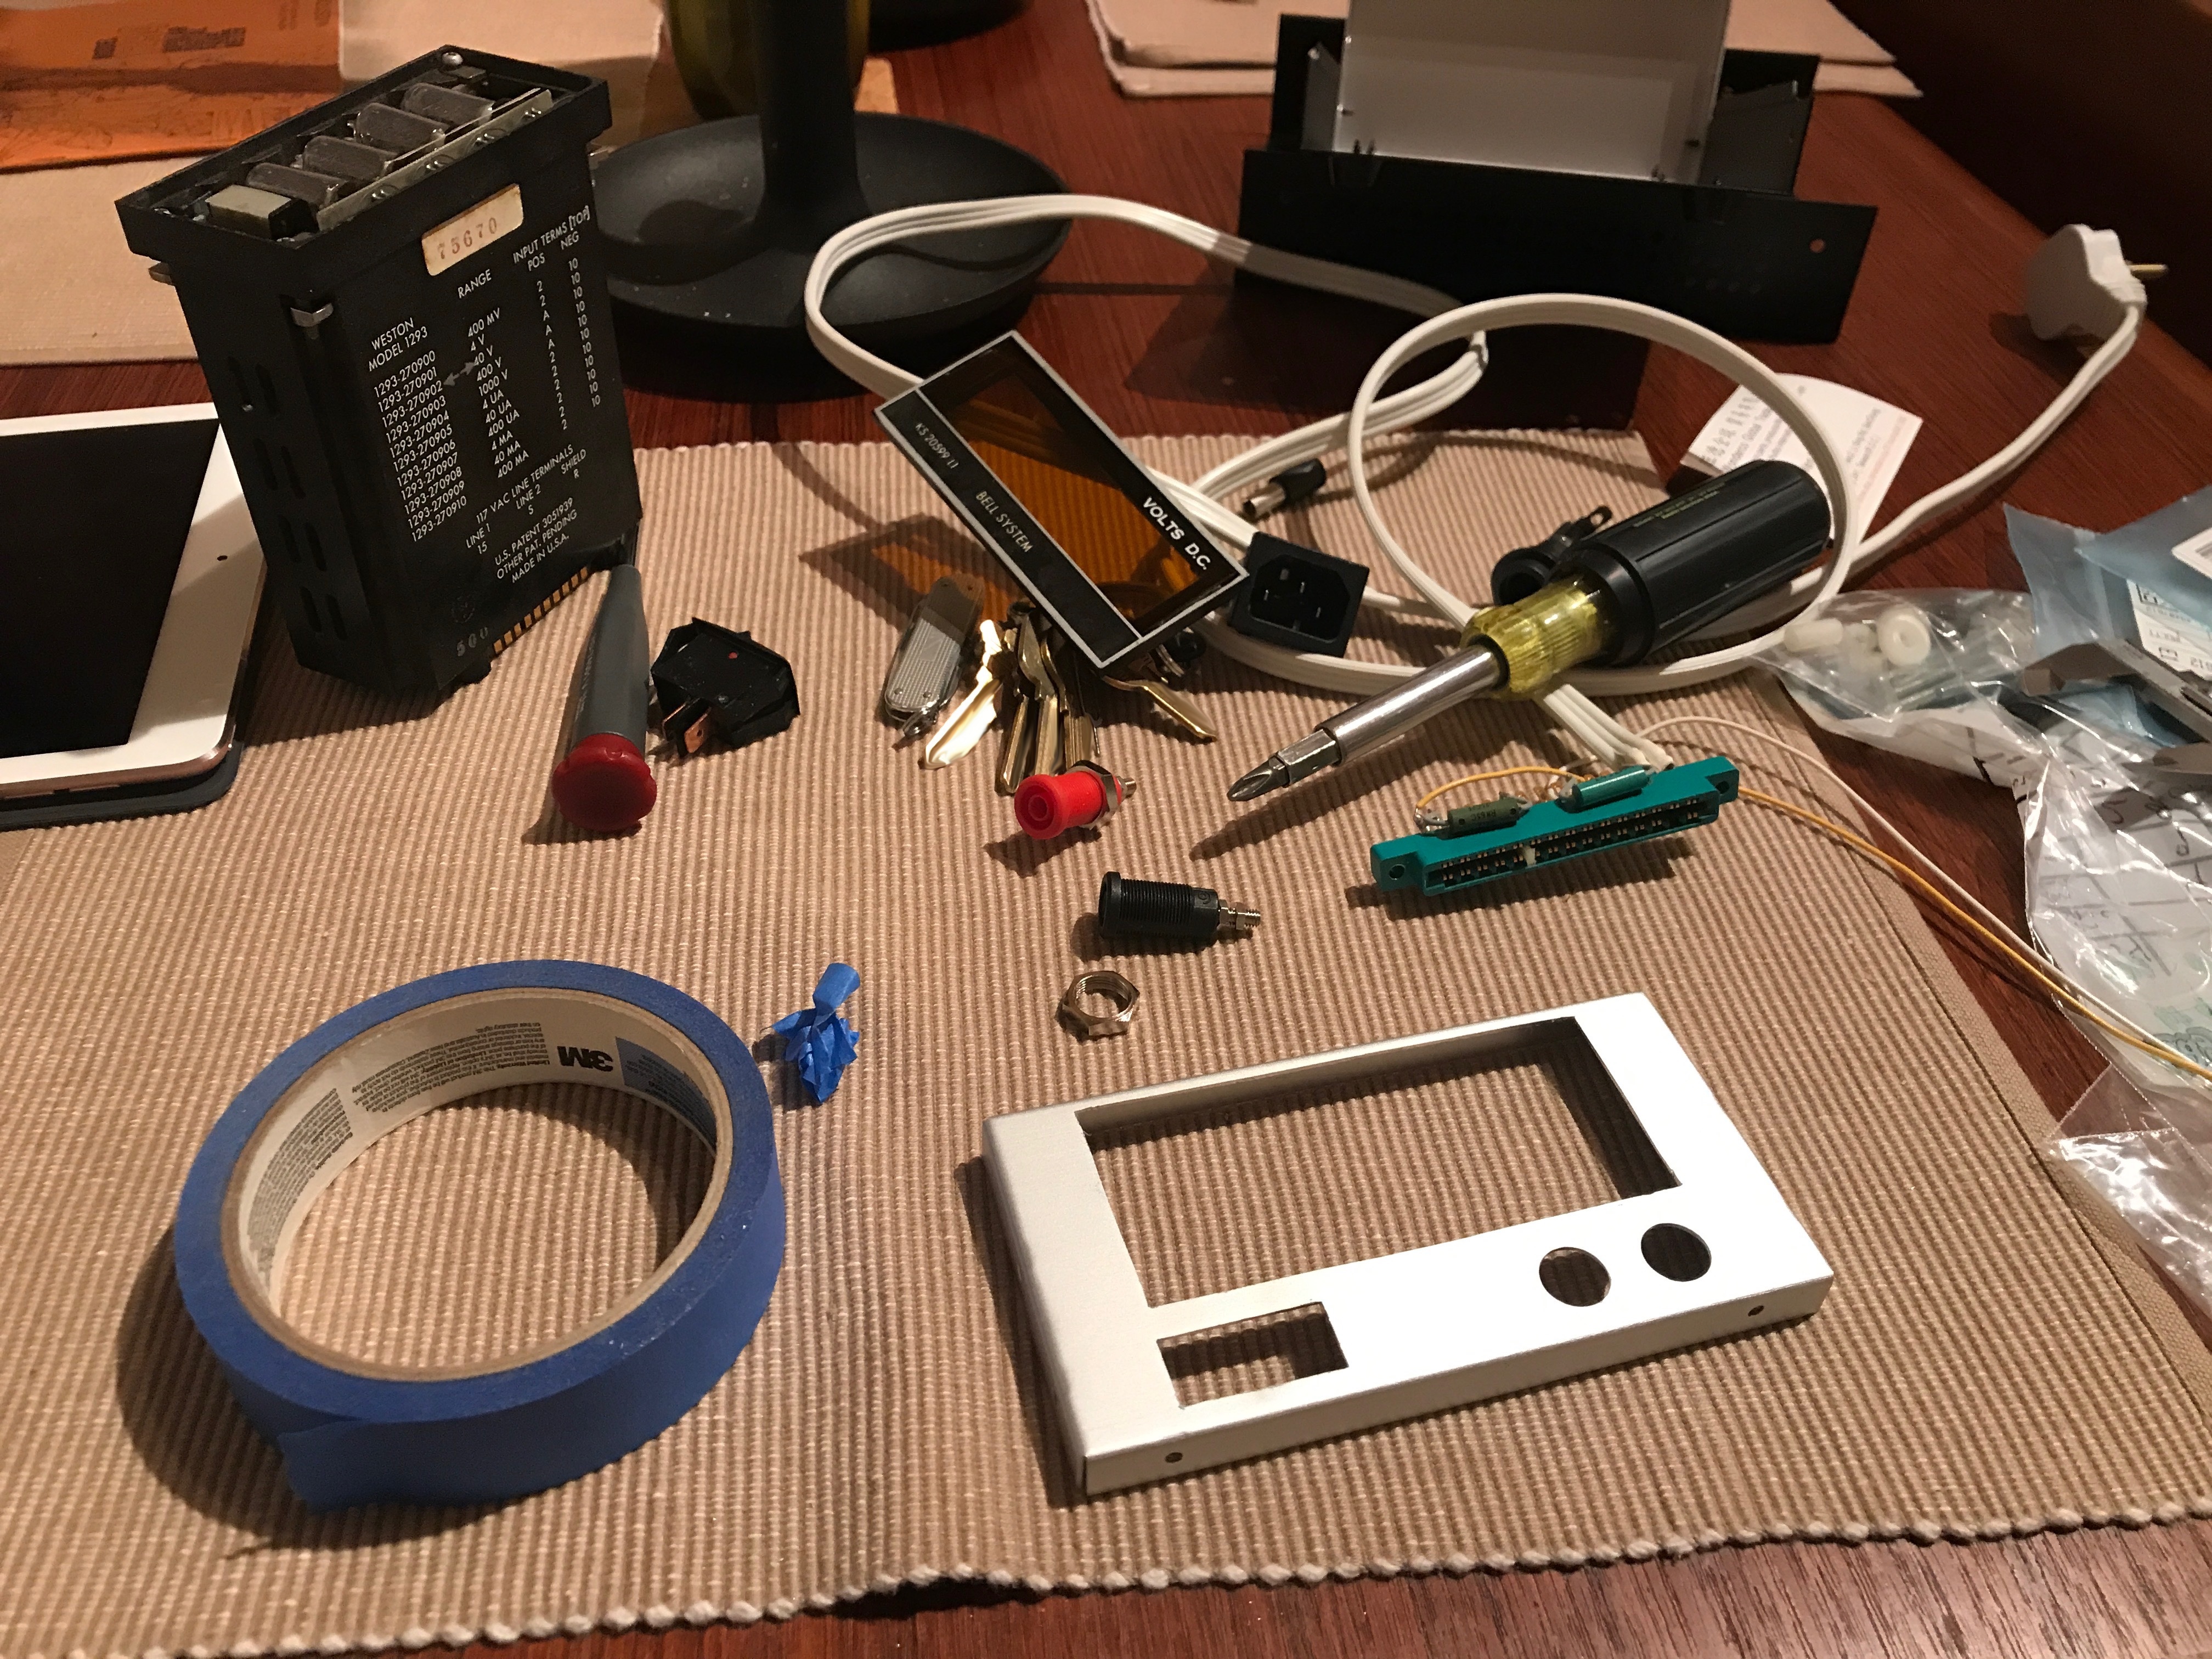
It had been sitting on my shelf without much use in the interim because it was hard to use with just bare wires soldered on a connector on the back, so finally I've gotten around to building an enclosure for it. I also found an original manual for the Weston 1294 on eBay, which provided more context, though there are numerous differences.

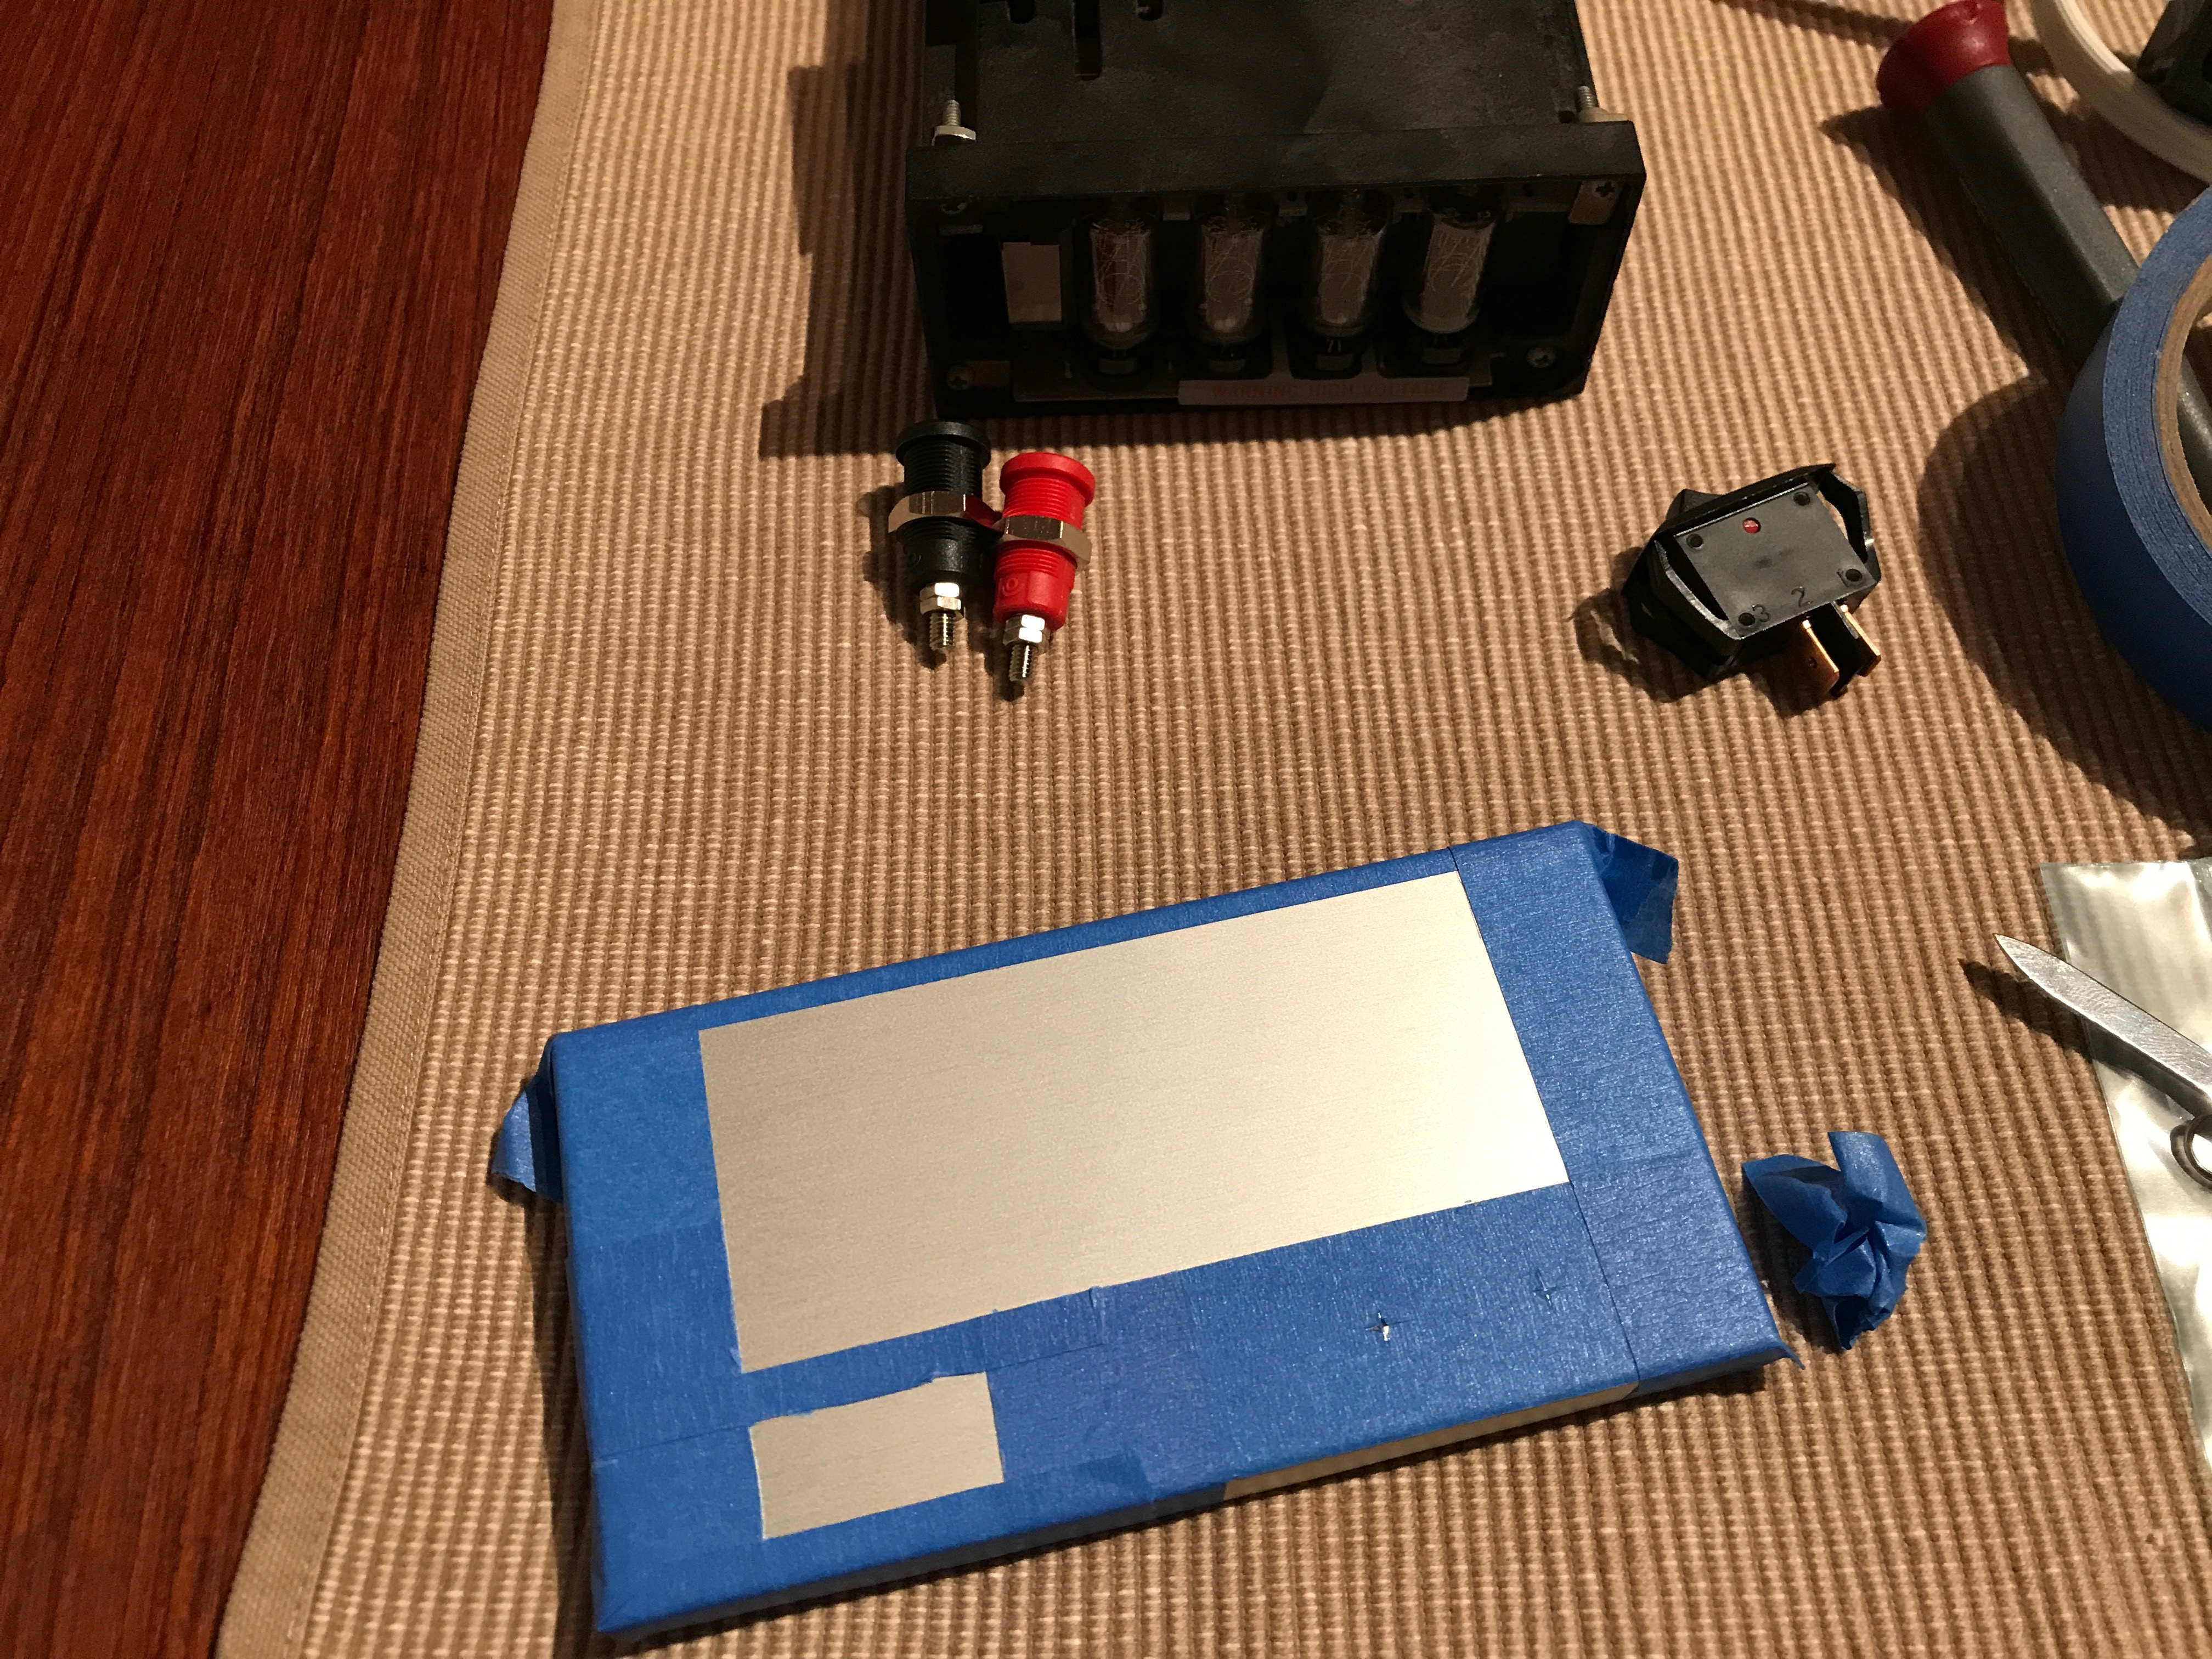
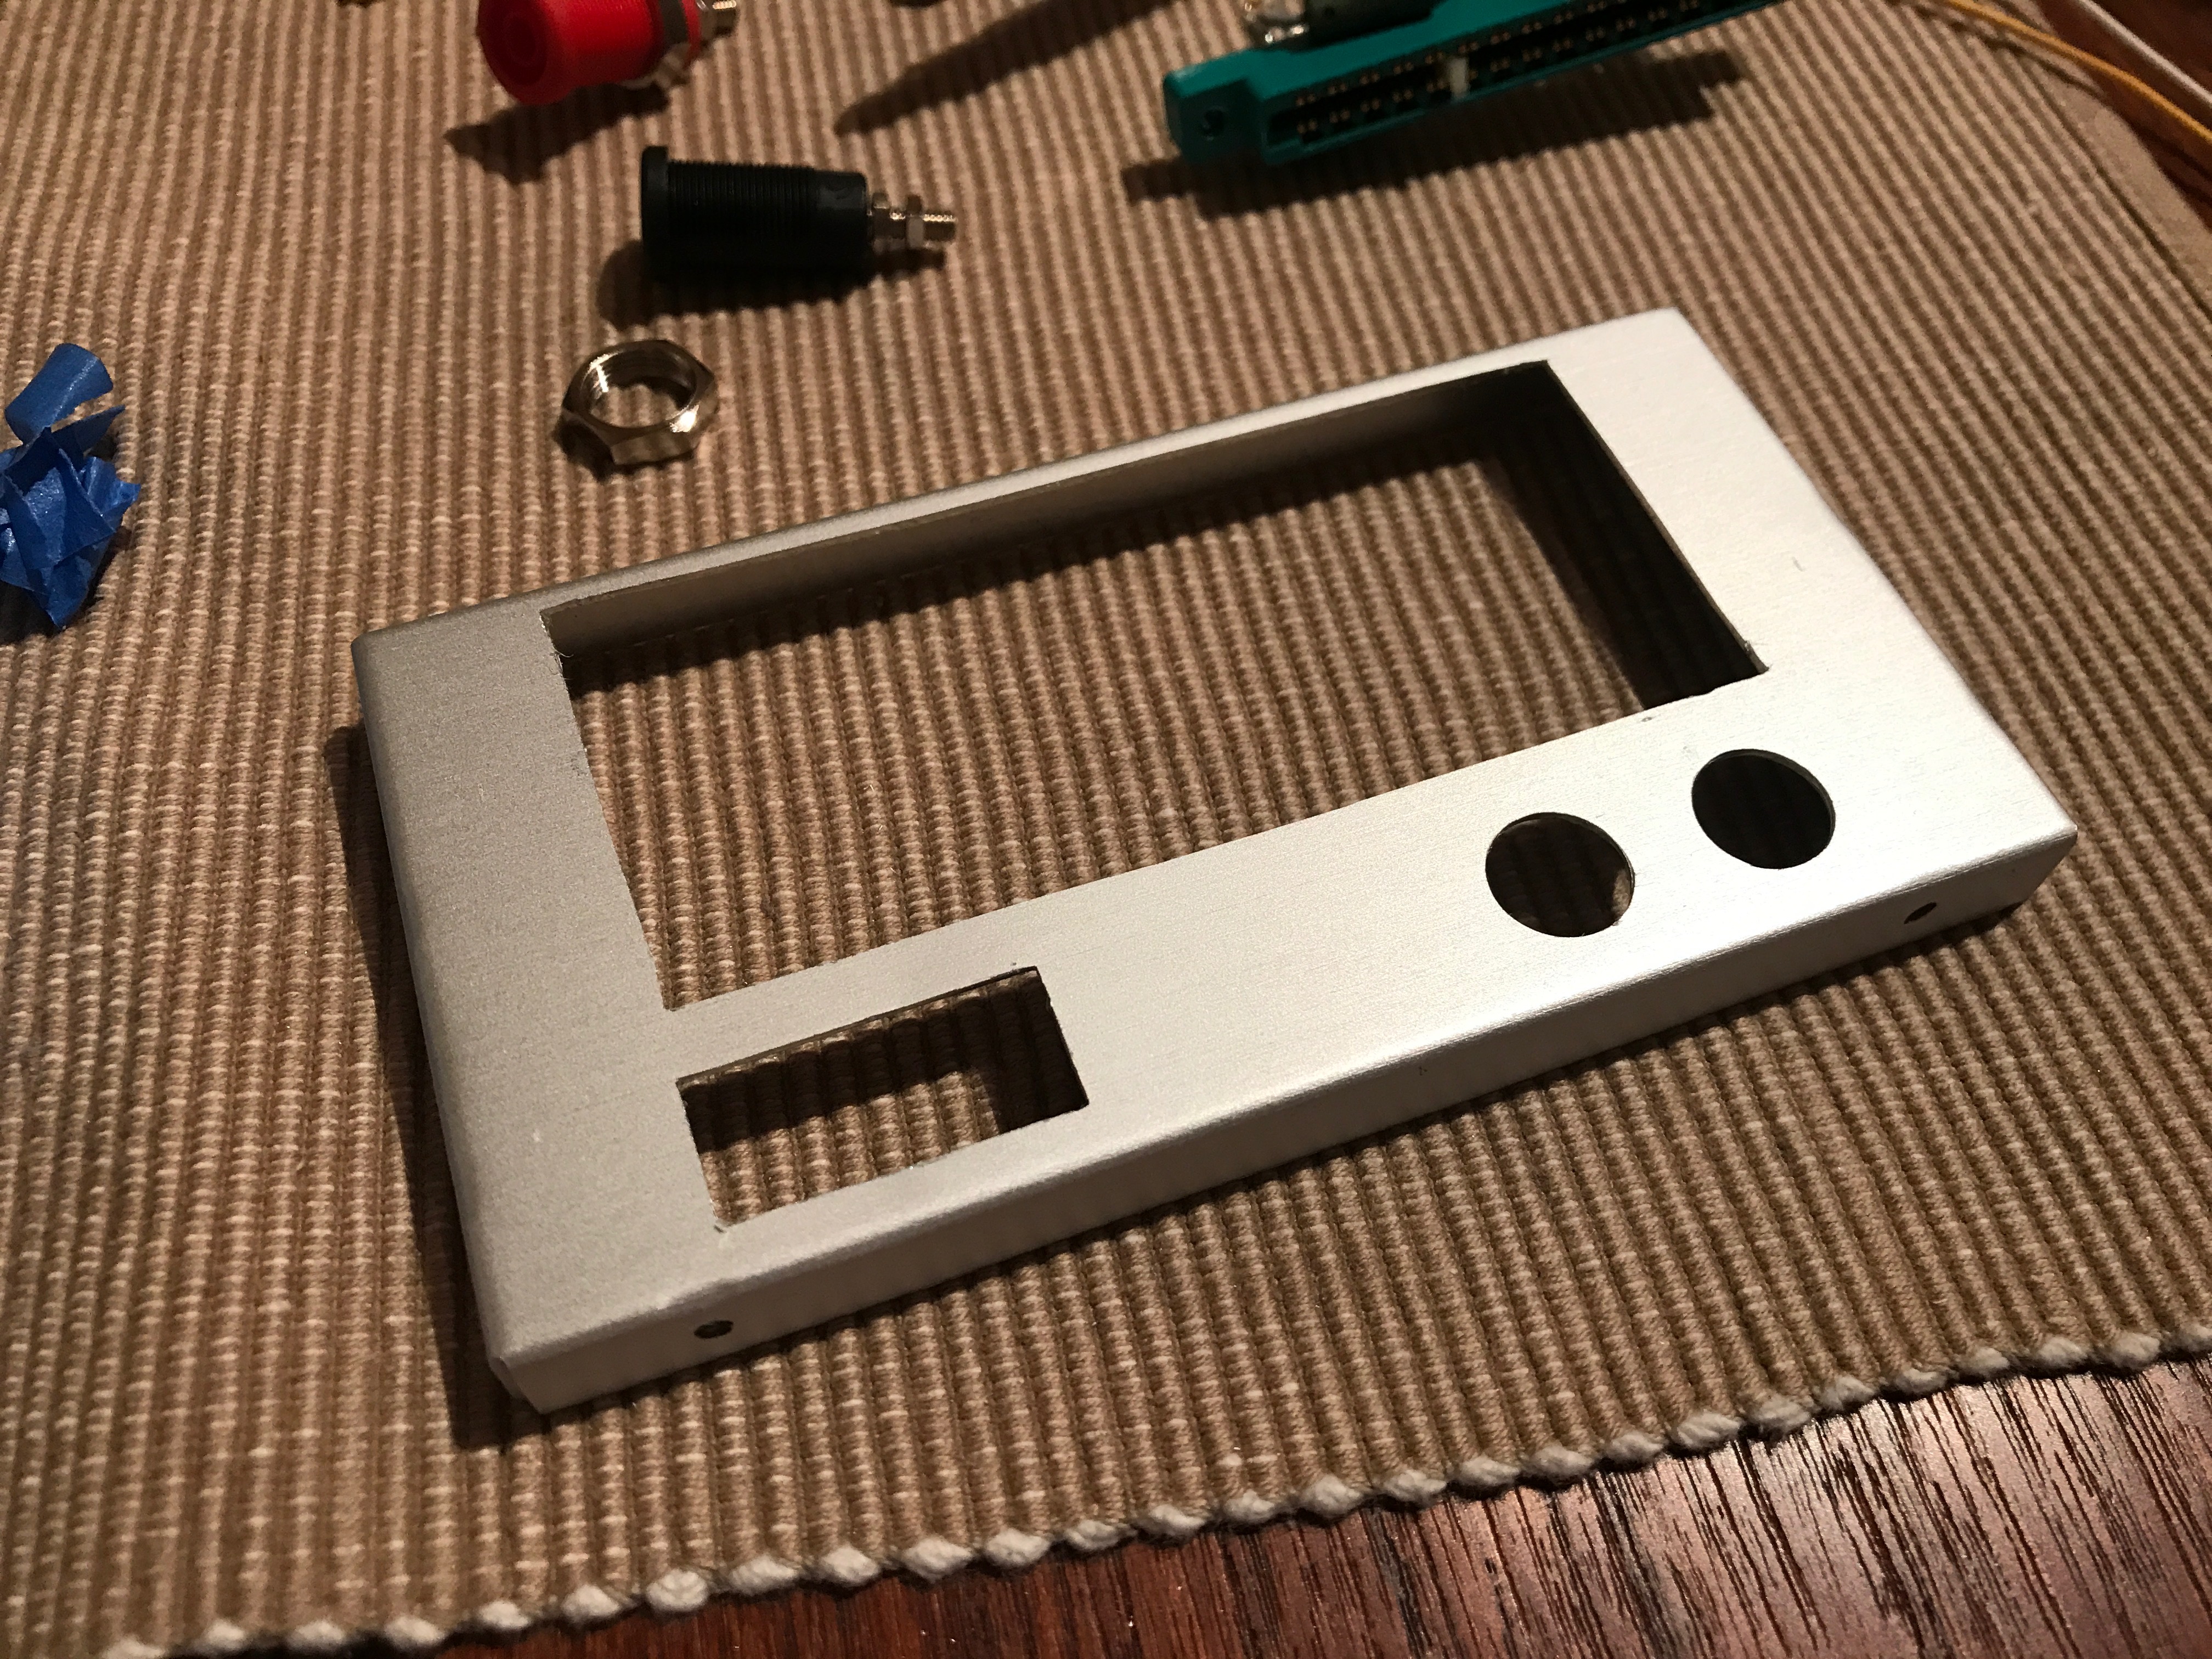
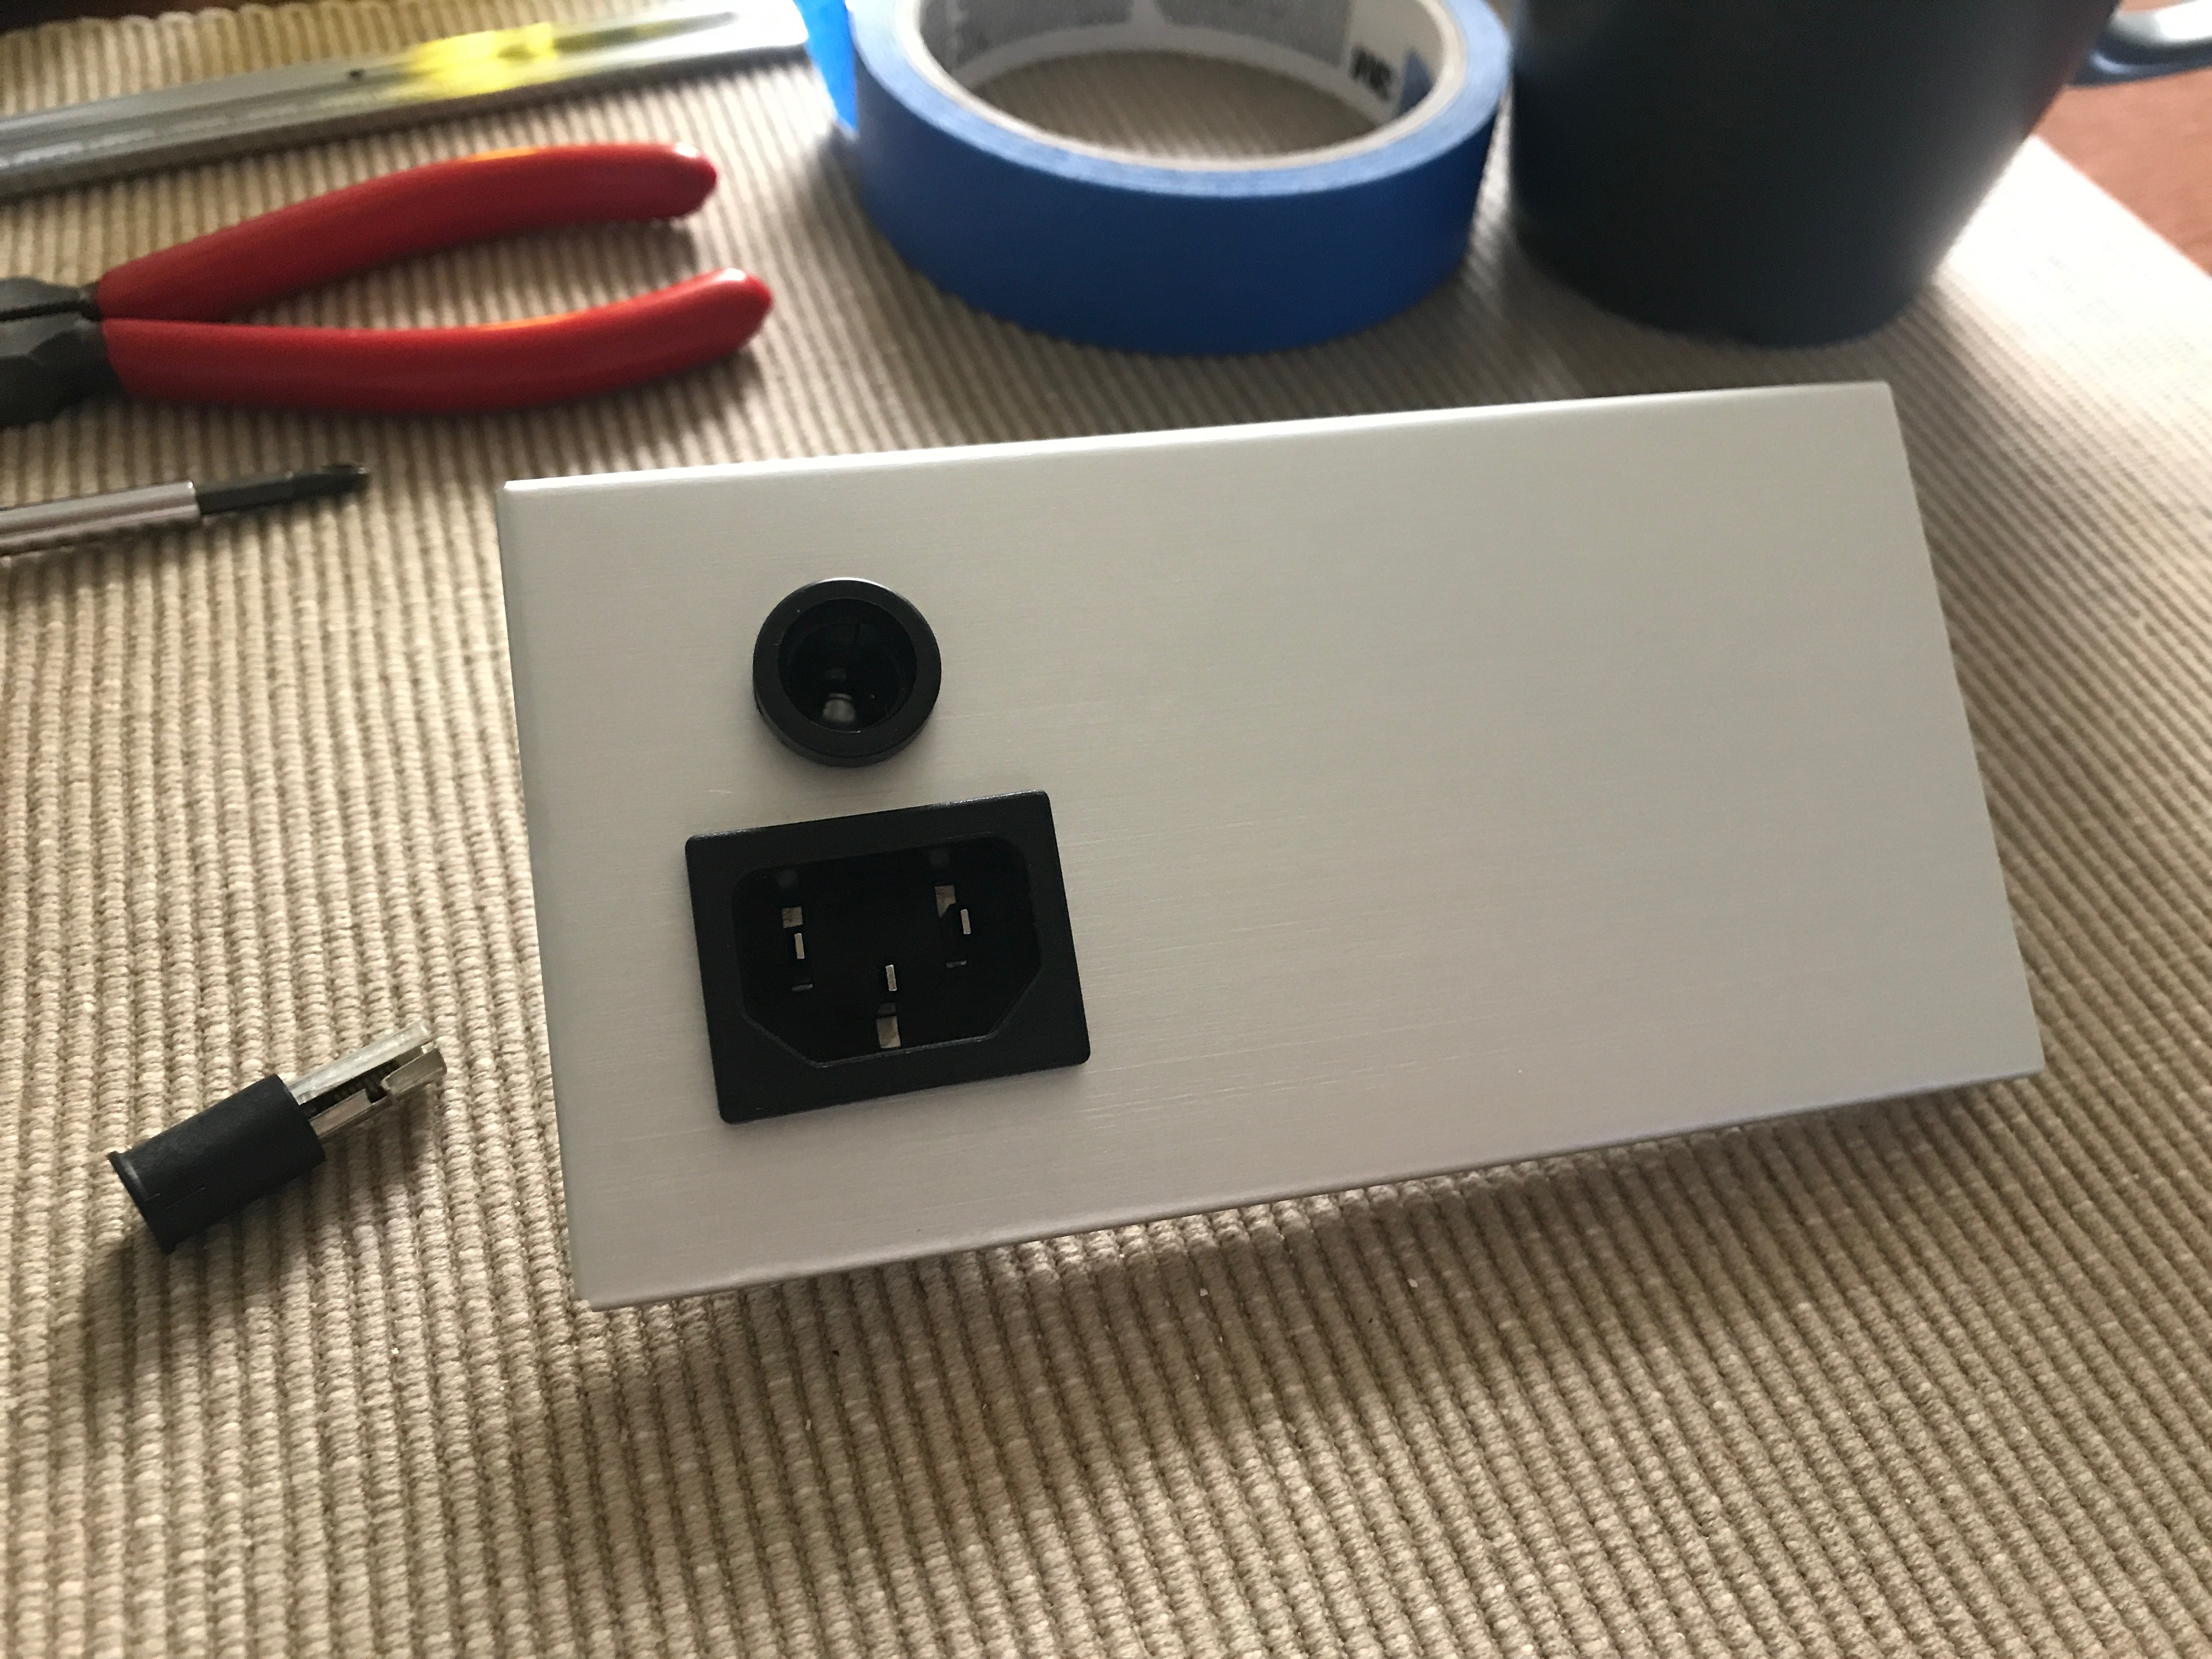
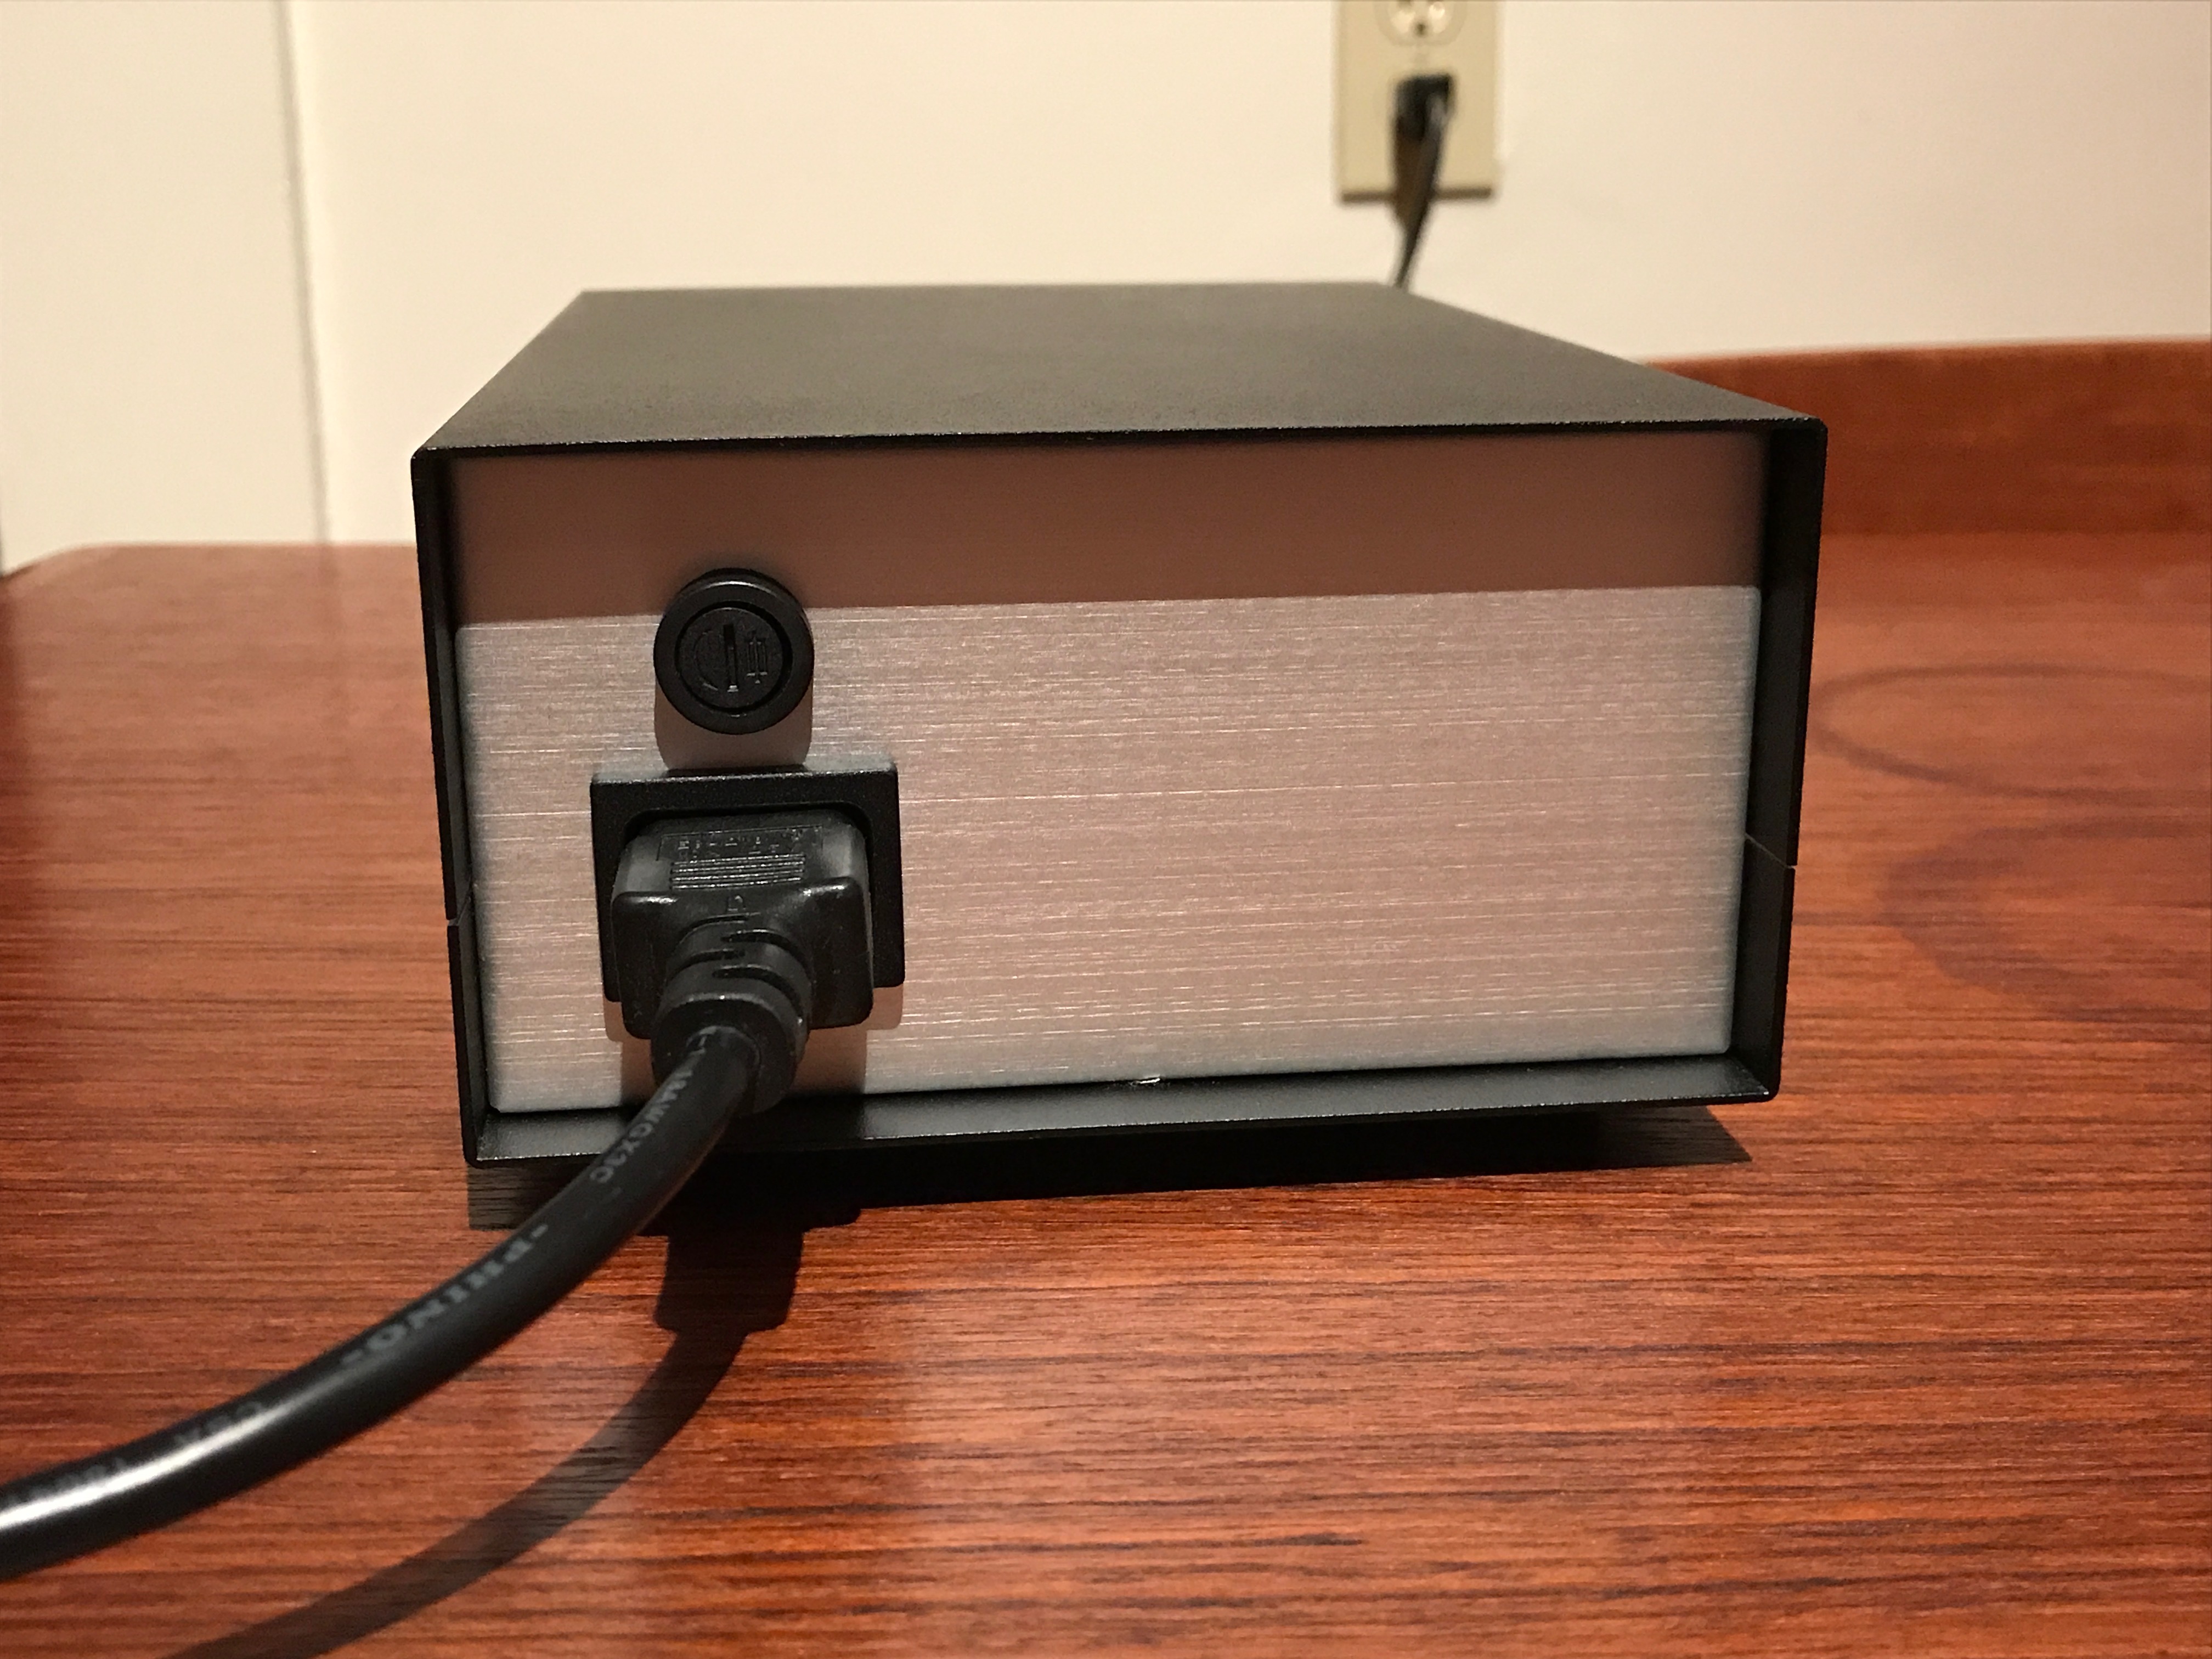
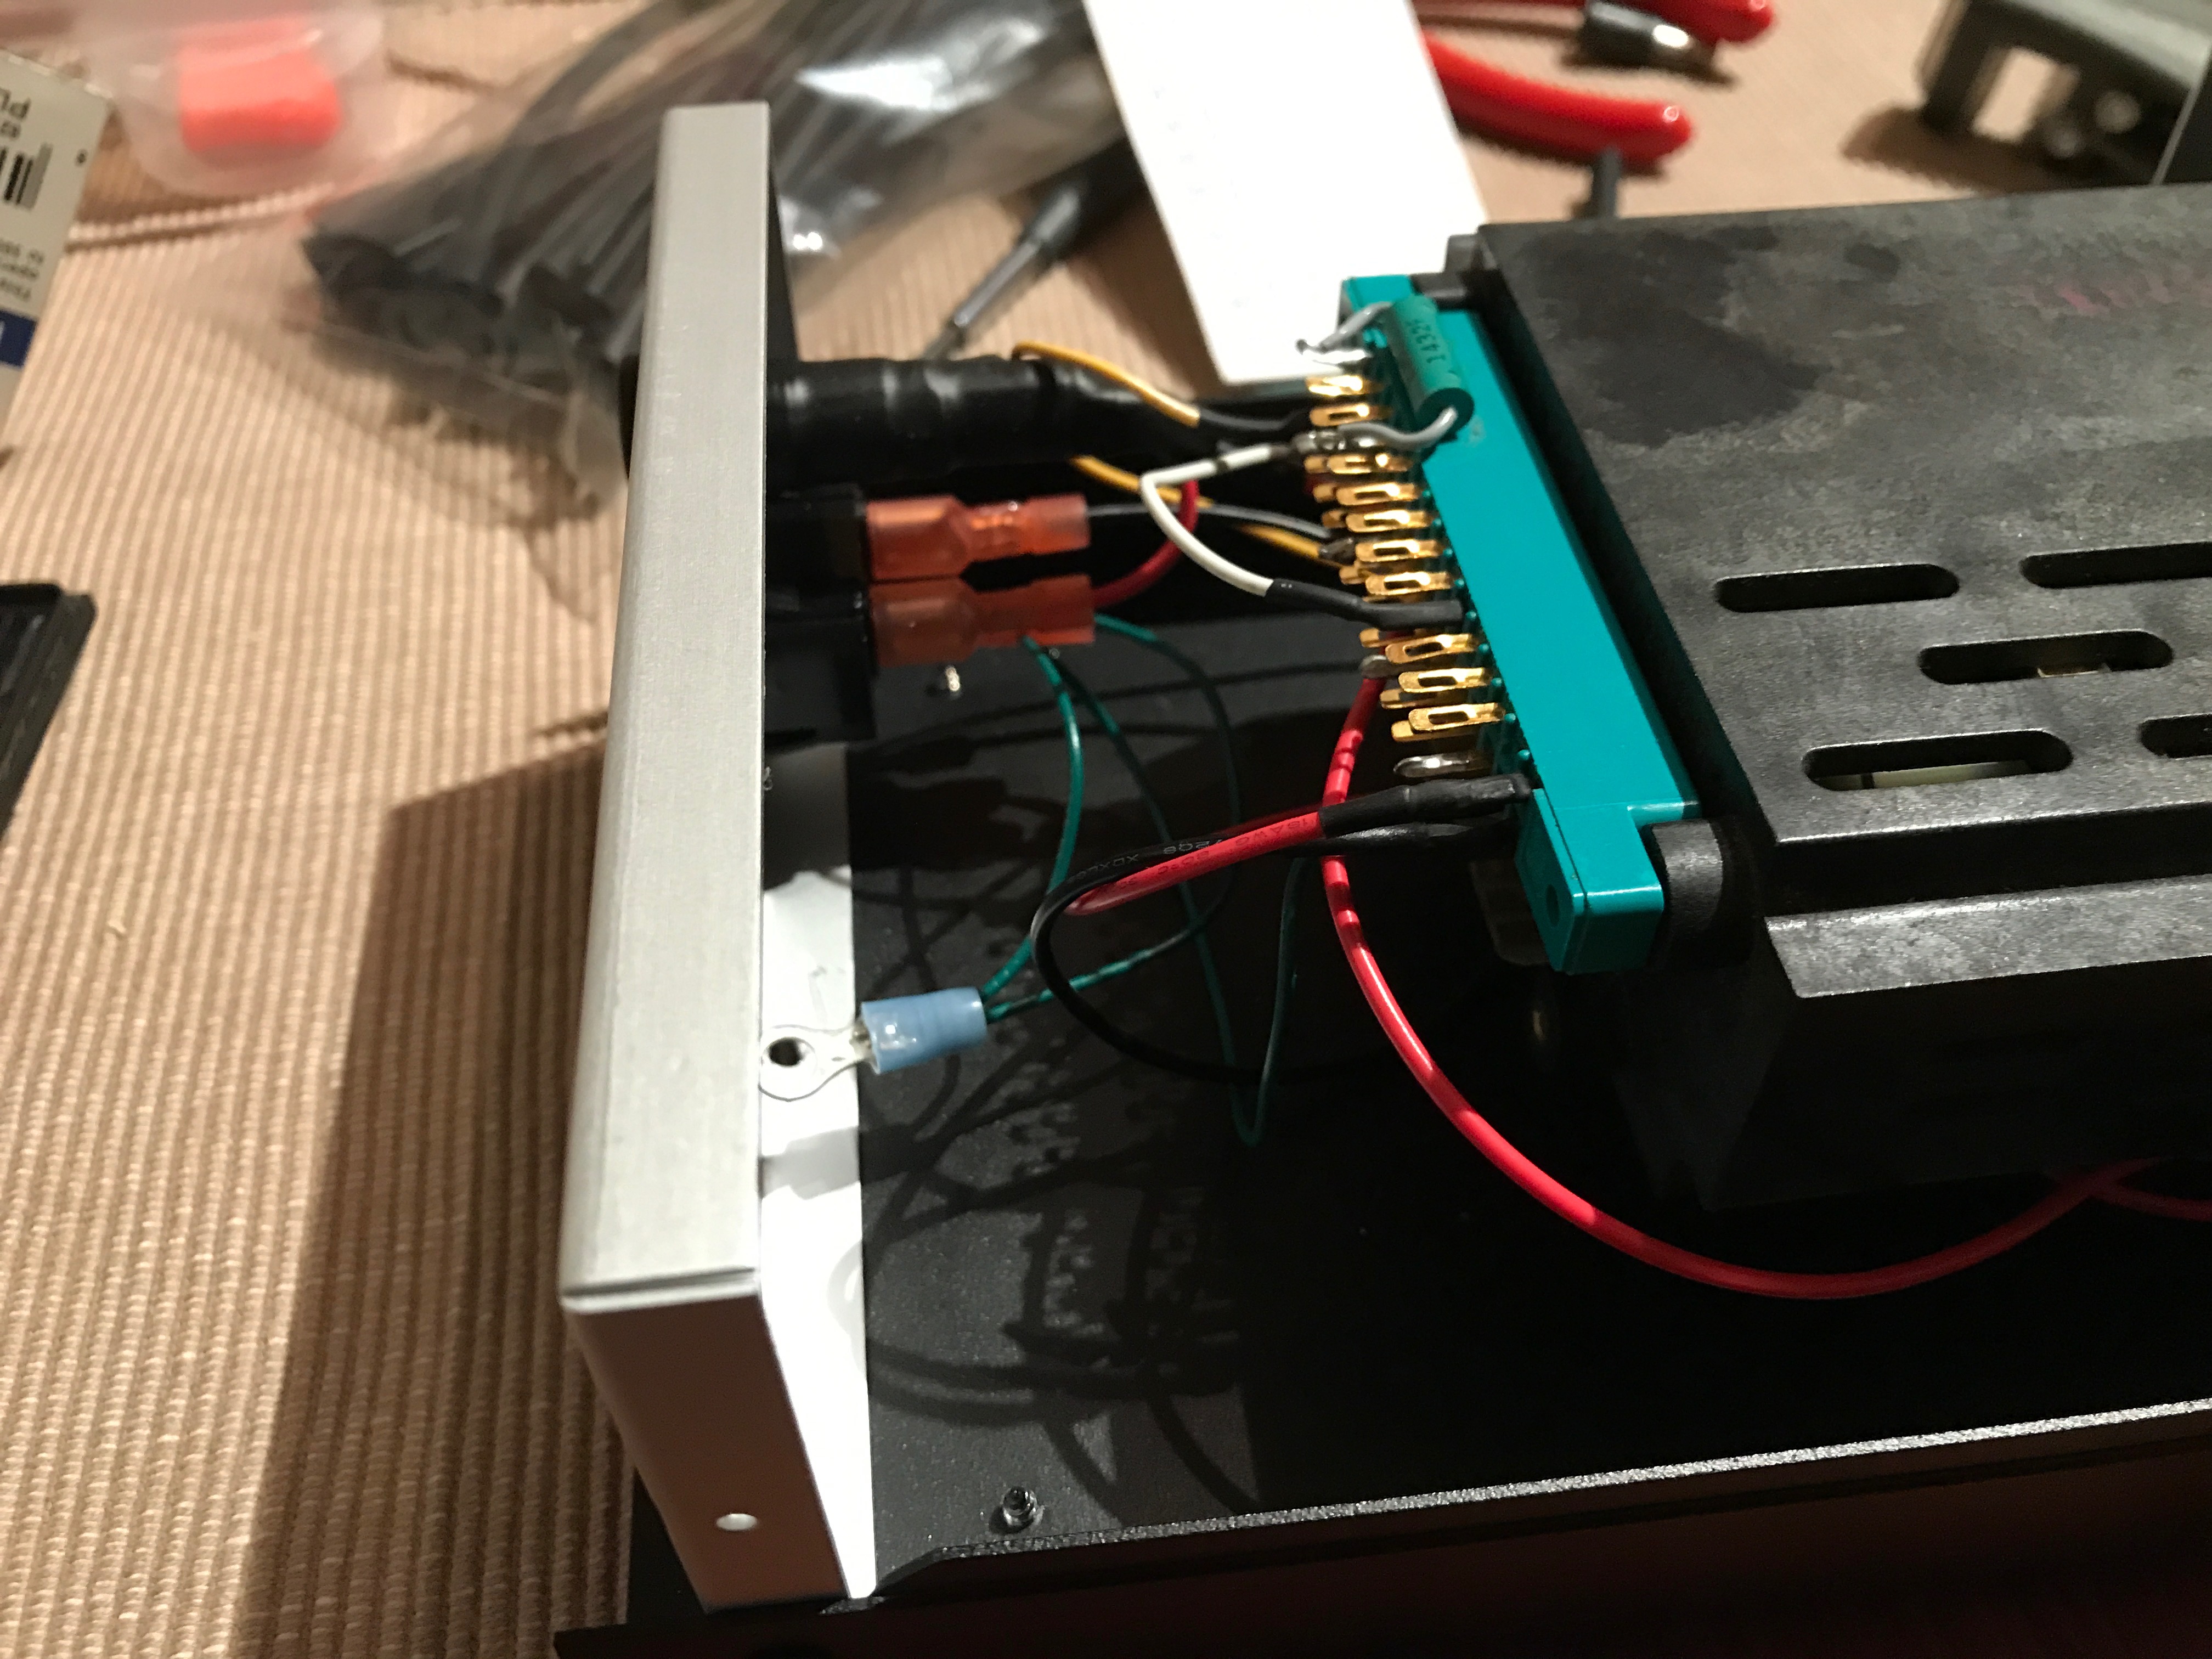
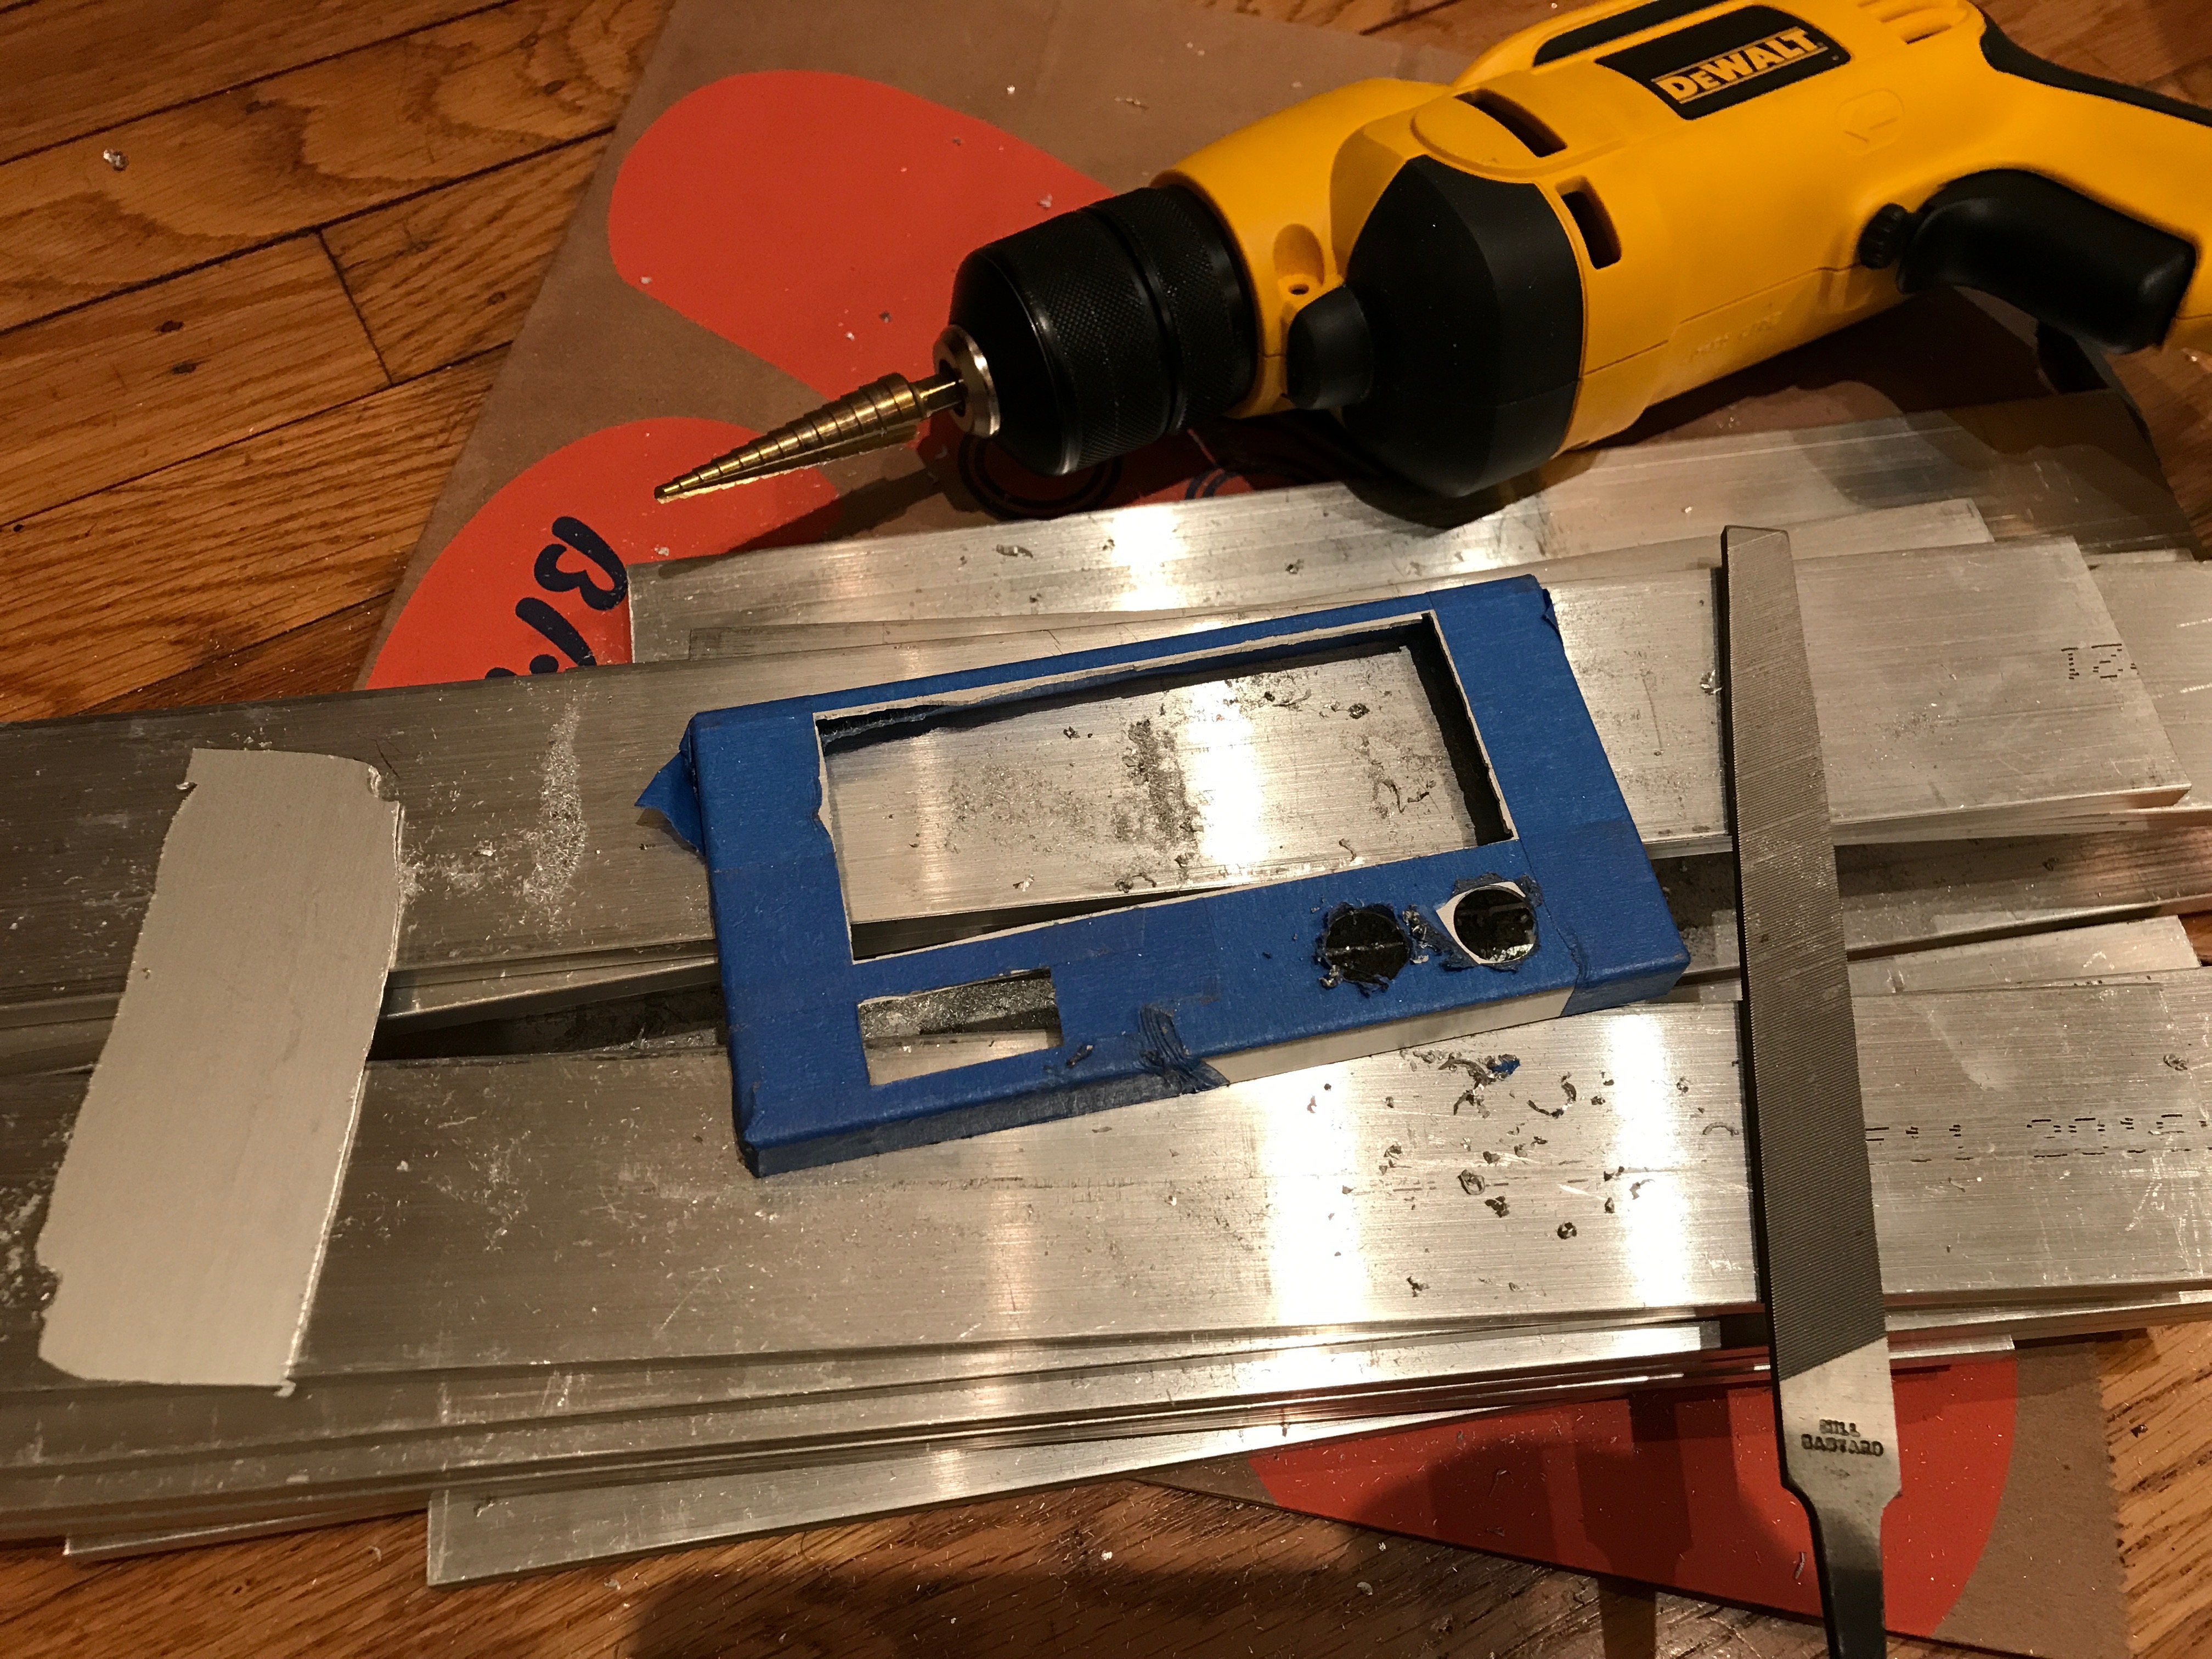
Construction was relatively straightforward, with internal wiring mostly implemented with crimped spade termination and plenty of heatshrink. The most interesting part of the construction was cutting out holes in the aluminum front and rear panels of the enclosure. First I marked the cutouts using blue masking tape. Then I roughed out the holes with a drill and a jigsaw, finally finishing it up using a file. I think this practice of roughing out a hole and filing it to the line must be a standard technique, but I didn't really know how to do this until I saw the amazing craftsmanship on the ClickSpring YouTube channel, where this technique is used a lot.